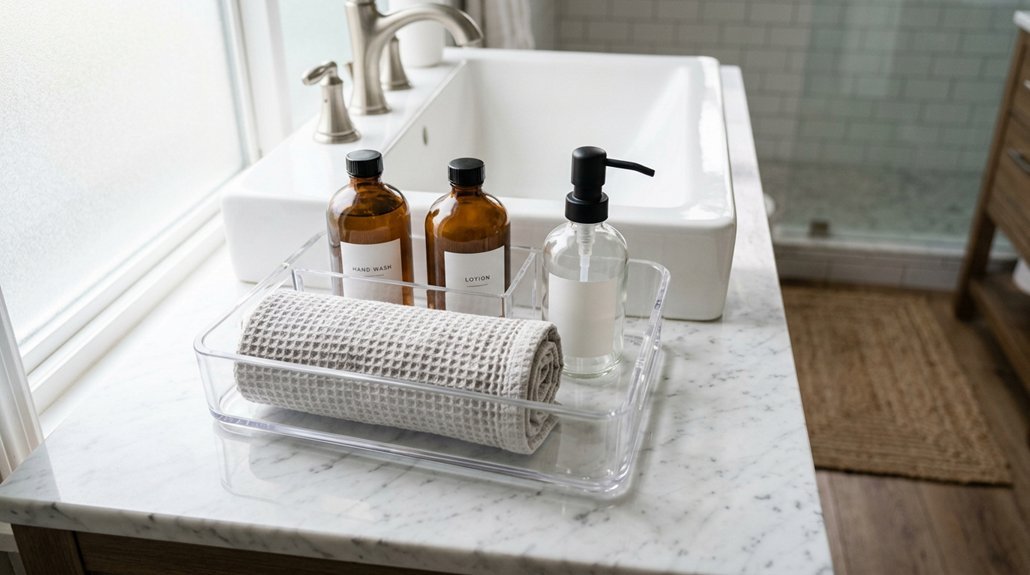
You’re staring at that chaotic jumble beneath your sink, and you know it’s time. You’ve got half-empty bottles, mystery tubes, and probably three half-used first-aid kits crammed where pipes make storage awkward. This seven-step system will transform that mess, but here’s what nobody tells you: measure twice before you buy anything, or you’ll end up with bins that don’t fit around your drainpipe.
The real game-changer isn’t just organizing, it’s planning for the stuff you haven’t bought yet. Want to know which drawers actually slide smooth and which labels stick through humidity? There’s more.
Empty and Purge Your Under-Bathroom-Sink Cabinet
Where do you even start when the space under your bathroom sink feels like a black hole of half-empty bottles and mystery tubes? You begin your under-sink purge by hauling everything out, every single item, until you’re staring at bare shelves and dusty corners.
This bathroom organization reset demands you confront what’s actually lurking back there: expired antibiotics, crusty mascara tubes, and three half-empty lotions you’ll never finish. You toss the garbage without mercy, stash unopened goods for your local Buy Nothing group, and jot down true essentials you’ll actually need to replace.
That clutter reduction feels immediate and satisfying. Suddenly you see the real storage potential, not the chaotic jumble you tolerated for months.
Recommended Products

ESSENTIALS STORAGE PREFERRED: The multi-purpose organizer storage is a good helper to keep your vanity or bathroom countertop tidy. It can also be used as under sink organizer, kitchen organization, pantry organizer, refrigerator storage, cabinet storage. Suitable for storing cosmetics, toiletries, perfumes, cleaning supplies, snacks, bottles, spice jars

【Sliding Drawer Design】The bottom drawer features a pull-out design, providing a convenient way to access items in a limited space.
![[ 8 Pack ] Plastic Storage Baskets, Small Pantry Organization and Storage Bins, Household Organizers for Laundry Room, Bathrooms, Kitchens, Cabinets, Countertops, Under Sink or Shelves, Black](https://m.media-amazon.com/images/I/51uPKx8kVYL._SL500_.jpg)
PRODUCT CONFIGURATION: 8 woven pattern plastic baskets, Black. Dimensions:10.6” L x 7.2” W x 3.2” H, basket use small holes design helping ventilation, better organization and storage items
Sort What’s Left by Category
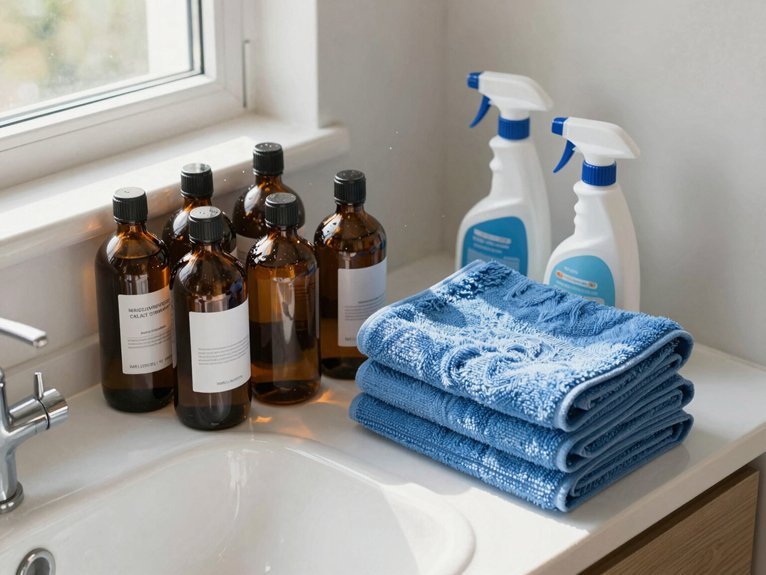
Now that you’ve cleared out the clutter, gather your remaining items and sort them into broad piles like skincare, hair products, dental care, and first-aid supplies. You’ll quickly spot duplicates and overstock, like three half-used shampoos or a forgotten pack of razors, which makes it easy to decide what stays or goes.
This grouping also shows you exactly how much space each category needs, so you can choose the right bins or drawers before you buy anything.
Recommended Products
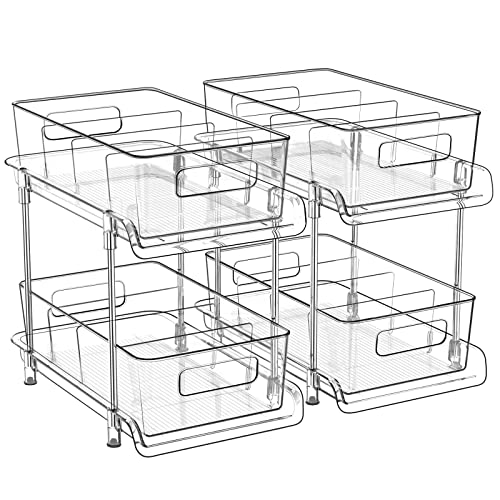
[Upgraded Version]: The pull out cabinet organizer is made of sturdy high-hardness abs plastic and securely linked by four thickened stainless steel support tubes to ensure a stable structure also achieve water-proof and rust-proof. The see-through sides design helps to find your stuff with a glance. The bottom is equipped with four anti-slip feet pads to increase stability, make it non-slip and stable when pull out the organizer bin.

Larger Bathroom Organizer Set: The clear organizer size measures 8.27" x 13.19" x 10.63". The higher height makes this organization and storage versatile for multi-purpose bathroom organizers and storage, such as under the sink organizer bathroom, cupboard organizers and storage, kitchen cabinet organizer, bathroom organization, pantry organizer, etc.
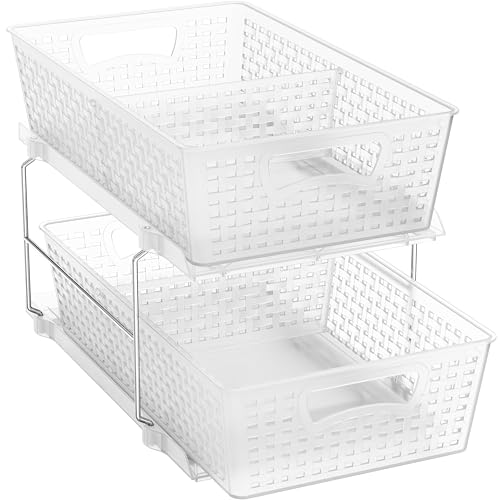
Great Bathroom Organizer Tray, Plastic Perforated Tray in Humid Places
Group Items Together
Why fumble through a jumbled mess every morning when you can sort your under-sink stash into clear, logical groups? Start categorizing everything you’ve kept: skincare, hair products, dental items, first-aid supplies, and cleaning products. This under-sink organization strategy reveals what you actually own and what storage solutions you’ll need.
Visualize your inventory by grouping similar items together. You’ll spot patterns quickly: three half-used moisturizers, an unopened conditioner, or bulk packs you forgot about.
Use clear, labeled bins or drawers for each category so everything stays accessible. Place daily items like skincare and cleaning supplies in front or shallow drawers; tuck bulk or seasonal items deeper. Document your categorized inventory to guide future purchases and prevent restocking mistakes.
Spot Duplicates Fast
Once you’ve grouped your under-sink items into clear categories, you’ll spot duplicates faster than you might expect. This category grouping transforms your jumbled collection into a visual inventory where three half-used moisturizers or twin packs of razors stare back at you. You’ll compare similar items side by side, noticing which conditioners match or which dental floss containers multiply.
Under-sink organization relies on this clarity. When skincare sits with skincare and hair products cluster together, overstock reveals itself without hunting. You’ll catch functional overlaps too: that body oil and bath oil serving identical purposes.
Label bins for each category to lock in these homes. Future reorganizations take minutes, not hours, because designated spots expose new duplicates instantly. This lean approach stops you from buying what you already own, keeping your space efficient and your wallet happier.
Pick the Right Organizer Types for Your Space
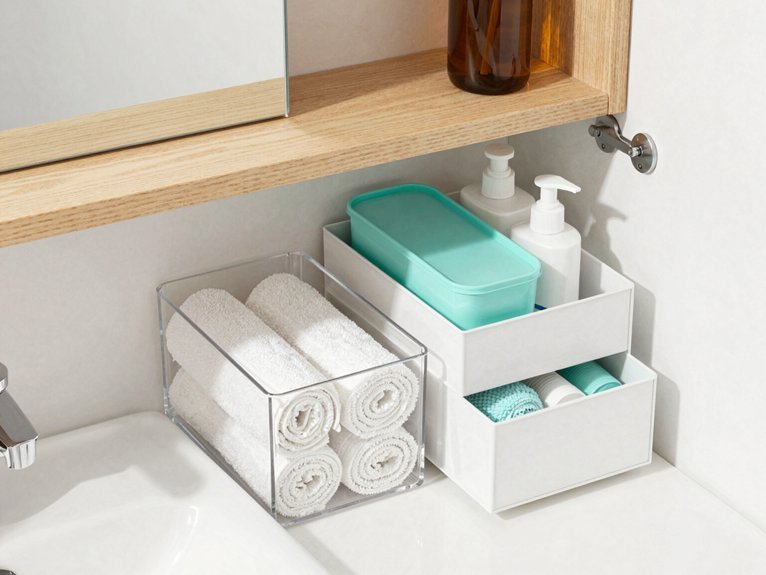
How do you pick organizers that actually fit? Start with smart space-planning for your under-sink area. You’ll want organizers that match your cabinet width, so grab that tape measure before you shop. Systems come in multiple sizes, and you’ll find options good for a standard 22-inch setup.
Pull-out plastic drawers win for visibility and back-access. Two-drawer units let you stash bags left, cleaning supplies center, maximizing every inch. Slim epoxy-coated steel rolling carts or shallow 2-inch inserts slide around pipes without a fight. Clear materials speed up item recognition, and labeled bins cut rummaging time.
Always plan around your plumbing layout, drain sides, and dishwasher position to dodge top-shelf headaches. The right organizers turn chaos into functional storage you’ll actually use.
Recommended Products

【372 Pcs Minimalist Bathroom Laundry Label Set】Labels for bathroom container sets include 168 pcs home laundry room labels and 204 pcs bathroom labels. And includes 2 checklists, the checklist is arranged in alphabetical order. Each bathroom labels waterproof has a corresponding location, and you can easily get the label you need by a list, saving you more time, and bringing more conveniences, making organizing more simple and fun

ALL IN ONE: More than 300 labels include most commonly used bathroom essentials. Over 265 preprinted labels in large black font for bath, beauty and makeup products plus symbols “&”,”+” and number, extra 36 blank labels can customize your own cosmetic items.

【540 Pcs Minimalist Bathroom Laundry Label Set】Labels for bathroom container sets include 220 pcs home laundry room labels and 120 pcs bathroom labels ,200 PCS Blank label . And includes 1 checklists, the checklist is arranged in alphabetical order. Each bathroom labels waterproof has a corresponding location, and you can easily get the label you need by a list, saving you more time, and bringing more conveniences, making organizing more simple and fun.
Measure Your Under-Sink Dimensions Precisely
Where exactly do you start when every under-sink cabinet seems slightly off? You grab your tape measure and tackle under-sink measurements before buying anything, because Samantha learned the hard way that assumed cabinet dimensions waste money fast.
You measure the full width first, wall to wall. Then you record those pesky pipes and valves that steal precious inches. Your cabinet’s depth isn’t uniform, so you check multiple spots and note the maximum for your space planning.
Don’t skip vertical clearance; you’ll need floor-to-pipe height to know if bottles and tall bins actually fit.
Stack these three numbers, width-depth-height, when you shop. You match organizers to your real specs, not the box’s fantasy. You’ll dodge returns and build a system that slides in clean, no obstruction, no regrets.
Recommended Products

𝐌𝐚𝐱𝐢𝐦𝐢𝐳𝐞 𝐔𝐧𝐝𝐞𝐫 𝐒𝐢𝐧𝐤 𝐒𝐩𝐚𝐜𝐞 - Designed with a custom-fit silicone mat and L-shaped structure, this under sink organizer fits perfectly around plumbing while protecting cabinets from water, spills, and leaks. Measuring approximately 11.8"W x 15.9"D x 13.8-16.9"H, it’s ideal for most kitchen and bathroom cabinets.

𝐌𝐚𝐱𝐢𝐦𝐢𝐳𝐞 𝐔𝐧𝐝𝐞𝐫 𝐒𝐢𝐧𝐤 𝐒𝐩𝐚𝐜𝐞 - Designed with a custom-fit silicone mat and L-shaped structure, this under sink organizer fits perfectly around plumbing while protecting cabinets from water, spills, and leaks. Measuring approximately 11.8"W x 15.9"D x 13.8-16.9"H, it’s ideal for most kitchen and bathroom cabinets.

C Shaped Design-Save Space: The Under Sink Organizer kitchen design with C-Shape which allowing you to put it under a kitchen or bathroom sink without hitting the plumbing, and the bottom tier leaves a suitable space for your tall bottles, which can solve your cabinet storage troubles.
Install Pull-Out Drawers and Vertical Storage
You’ll want to measure your pipe layout and cabinet depth before ordering anything, since those protruding pipes can wreck your plans if you ignore them. Grab clear, stacking pull-out drawers instead of lidded bins so you can actually see what’s hiding in the back without playing archaeological dig every morning.
Don’t forget the vertical real estate on your cabinet door, where slim organizers can stash hair tools or cleaning cloths right where you need them.
Recommended Products

[Multi-Purpose Organizers] Small storage drawers help you to organize everywhere in your home. They can be used as organizers and storage for makeup, bathroom countertop, kitchen or laundry under sink, medicine cabinet, pantry, vanity. You can flexibly use our storage organizer for house organization and storage according to your needs.

✅Functional Storage for Any Space: You can use these pantry bins for various things throughout your home to organize and make your life easier. They are fit to pantry organization,ideal for cabinet, kitchen, fridge, bathroom,under sink, closet,laundry room and RV.The clear organizing bins to store drinks, snacks, cans, meat,body face wash, cleaning supplies and daily necessities.

Stackable & Space-Saving Design: Reclaim your countertop and enjoy a clutter-free space. The secure, interlocking design lets you stack these acrylic storage drawers safely, keeping makeup, skincare, office supplies, or bathroom small essentials neatly organized while creating a calm, stress-free environment.
Measuring For Fit
Why guess when you can measure? Grab your tape and take an under-sink measurement before buying anything. Most cabinets give you about 22 inches of width, but pipes jut out and steal precious inches. You’re chasing cabinet fit, not just rough estimates.
Pull-out storage only works if it actually slides out. Check vertical clearance too, or you’ll stack bins you can’t reach. Notice where your disposal and dishwasher sit; they hog side space and force left- or right-side drawer choices. Pipes demand attention: measure around them, and don’t hesitate to pop off top shelves or trim unit height for that flush finish.
Pick adjustable or modular systems. They flex when your plumbing changes and handle varying depths without drama. Smart measuring now saves you from returns later.
Choosing Clear Drawers
Once you’ve got your measurements locked down, it’s time to pick storage that actually lets you see what you own. Clear drawers transform your under-sink organization by giving you instant visibility to back items without emptying everything first. You’ll spot that extra toothpaste or backup cleaner in seconds.
Opt for two-drawer or multi-tier clear organizers to stack vertically and separate categories: shallow 2-inch sections for hair ties and razors, deeper ones for tall bottles. This setup respects pipe clearance while squeezing every inch of usable space.
Clear materials also let you monitor fill levels, so you’ll know exactly when you’re running low on sponges or spray, cutting down on wasteful overstock. Pair your clear drawers with handwritten or printed labels to lock in designated homes. You’ll maintain order and grab what you need fast, no digging required.
Vertical Door Storage
Where’s the rest of your under-sink real estate hiding? It’s on your cabinet doors and walls, and you’re leaving it empty.
Install two pull-out drawers on the left side, stacking them for bags and small items. Put garbage bags in the upper drawer; you’ll grab them constantly.
For that awkward pipe space, wedge a tall, adjustable prize unit underneath. Maneuver it carefully; you’re maximizing vertical storage without blocking drains or shutoffs. Check the feet; they’re compact, but in tighter cabinets you might need to pop off the top shelf piece.
Label everything. Mount vertical storage on doors or interior walls; you’ll keep sprays and scrubbers within arm’s reach while cleaning.
Leave breathing room for expansion; a third drawer or extra pull-outs fit later without fighting your pipes. Smart under-sink organization grows with your stuff.
Label Every Bin to Maintain the System
How do you keep your under-sink system from sliding back into chaos after all that hard work? You label every bin. Labels transform your under-sink organization from a temporary fix into a lasting system. When you commit to bin labeling, you’re creating designated homes that everyone in your household can see and remember.
You can choose adhesive vinyl, printable sheets, a label maker, or even handwritten tags, whatever fits your style and budget. Each option reinforces consistent storage so items return to their proper spots after use. This visibility matters especially in shared bathrooms where multiple people restock supplies.
Clear labels speed up your morning routine and help new household members maintain the setup without constant explanations. By implementing labeling as part of your front-to-back organization plan, you prevent misplacement and ensure long-term adherence to your system.
Recommended Products

STACKABLE DESIGN: The stackable design allows for maximizing space by creating vertical storage. It can be used individually or stacked together to save space on a vanity or bathroom cabinet, keeping items contained and organized

[Multi-Purpose Organizers] Small storage drawers help you to organize everywhere in your home, they can be used as organizers and storage for makeup, bathroom countertop, kitchen or laundry under sink, medicine cabinet, pantry, vanity. You can flexibly use our storage organizer for house organization and storage according to your needs.

Available in 2 Different Sizes: The smaller size (S) measures 8.27" x 13.19" x 9.06", and the larger size (L) measures 8.27" x 13.19" x 10.63". High-Low combos make this bathroom organizer versatile for multi-purpose storage and organization, such as kitchen organization, cabinet organizer and storage, bathroom organizer countertop, pantry organizer, under sink organizer, etc
Reserve 20% Space for Future Items
You’ve got your bins labeled and everything’s running smoothly, but here’s where most people trip up: they stuff every square inch under that sink and call it done. Don’t make that mistake. Reserve 20% of your under-sink space for future items.
This buffer prevents overfilling and keeps your system flexible. You’ll thank yourself when you need to add a new container or your pipes require maintenance. That open zone accommodates expandable storage like extra pull-outs or vertical organizers as your needs shift.
Planning this reserve now means you won’t tear apart your whole setup later. It also keeps back access clear for disposal reconfigurations. Smart under-sink storage isn’t about cramming; it’s about leaving room to grow.
Recommended Products

Multiple Sizes for Diverse Needs: The smaller size (S) measures 7.48" x 12.26" x 9.05", and the larger size (L) measures 7.48" x 12.26" x 11.02". The high-low combination design of this bathroom organizer offers versatile bathroom storage options, such as bathroom organization, pantry organizer, kitchen cabinet organizer, under sink storage, etc.

Upgraded 3-Tier Pull-Out Bathroom Organizer: Allows you to DIY sizes (A: 8.27" x 13.19" x 14.96" or B: 8.27" x 13.19" x 14.56") for various storage organizer needs using combinations of high, low, and middle rods, whether used as bathroom storage, pantry organizer, kitchen cabinet organizer, under sink storage, or cupboard organizers and storage.

Available in 2 Different Sizes: The smaller size (S) measures 8.27" x 13.19" x 9.06", and the larger size (L) measures 8.27" x 13.19" x 10.63". High-Low combos make this bathroom organizer versatile for multi-purpose storage and organization, such as kitchen organization, cabinet organizer and storage, bathroom organizer countertop, pantry organizer, under sink organizer, etc