Like Icarus, you’ve crashed against the wall, paint chips scattered where nails once promised permanence. You’re staring at bare drywall, lease agreement in hand, wondering if art and security deposits can coexist.
They can. Seven methods wait below, each tested on stubborn plaster, rental-grade paint, and that one textured wall everyone regrets. Some will fail you, others will surprise you. You’ll want to know which before you commit.
Hang Art Without Nails: Start With Adhesive Strips
Why wrestle with a hammer when you can stick your art right where you want it? Adhesive strips offer the simplest entry into damage-free art hanging, and Command Strips lead this category for good reason. On painted drywall, you’ll get a rock-solid hold: large strip sets handle up to 16 pounds when you respect the weight limits.
Surface prep makes or breaks your success. You’ll wipe your wall surface with isopropyl alcohol, let it dry completely, then confirm both sides can bond. Skip this, and you’re asking for midnight crashes.
Textured walls fight back against adhesion, so you’ll test a hidden spot first. When it’s time to move, your removal technique matters: pull that tab straight down, parallel to the wall, and you’ll keep your paint intact.
Recommended Products


MAXIMUM FRAME SIZE 8 X 10 INCHES: One package includes 18 pairs (36 strips total) of the Command Small Picture Hanging Strips; four wall adhesive strip pairs hold 4 pounds; maximum frame of 8 x 10 inches

DAMAGE-FREE PICTURE HANGERS: Includes 16 pairs (32 strips) of White Command Medium (10lb) Picture Hanging Strips, unique hassle-free wall hangers for hanging pictures without nails or damage
Pick Methods That Match Your Wall and Weight
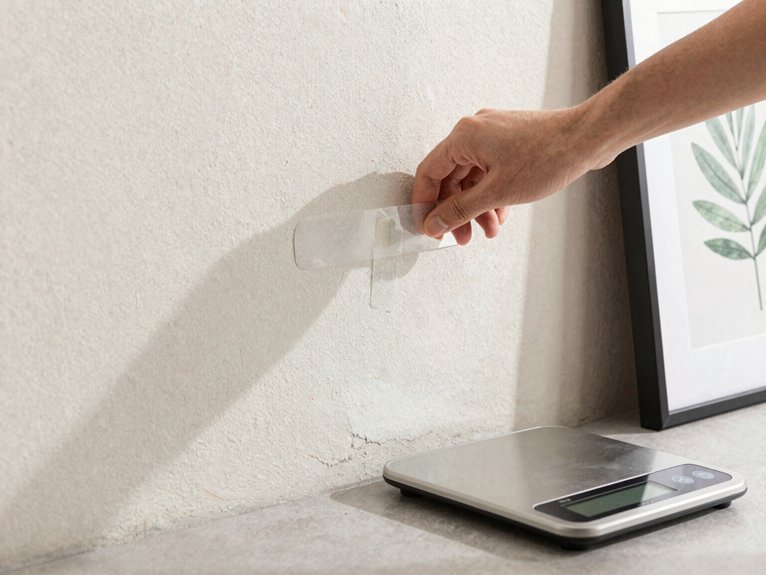
You’ll want to match your method to your specific wall type and art weight from the start, since smooth painted drywall handles adhesive strips well while textured or brick surfaces demand rails, clips, or leaning setups instead. Check your frame’s weight against each option’s limits: small pieces up to 4–6 pounds work with basic command strips, mid-weight frames from 6–12 pounds need multiple strips or stronger adhesive hooks, and anything heavier belongs on a rail or display system.
Don’t skip the prep work, either, clean both surfaces with isopropyl alcohol and make sure your paint is fully cured, or you’ll watch your art crash down within days.
Recommended Products


Premium Materials & Durable Construction: DDMY Adhesive hooks crafted from robust stainless steel and durable PVC; high quality and longevity; remain clean and unaffected by time; non-toxic, recyclable, and transparent

HOLDS UP TO 4 POUNDS: One package of the white Command Sawtooth Picture Hangers includes four picture frame hangers and eight large Command Strips; one adhesive picture hanger holds up to 4 lbs
Surface Type Considerations
Where you plan to hang your art matters just as much as how heavy it is. Your surface type determines which nail-free methods actually work.
Adhesive strips bond beautifully to smooth painted drywall, finished wood, glass, tile, and metal, but only when you’ve done proper wall prep. Clean the wall with isopropyl alcohol first; skip this step and you’re asking for failure. Wait at least seven days after painting so you’ve got cured paint, or you’ll peel it right off when removing your art.
Textured walls are a different beast entirely. Those bumps and ridges break contact with adhesive strips, making them unreliable. You’ll want rails, clips, or leaning displays instead.
Brick and concrete? Same problem. Skip the sticky stuff entirely and go with hardware that grips or leans.
Weight Capacity Guidelines
Once you’ve sorted out what your walls can actually handle, you’ve got to match your hanging method to how much your art weighs. Your surface preparation directly impacts how well adhesive strips perform, so don’t skip that step.
Lightweight frames up to 4-6 lb work great with Command strips on smooth, cured painted drywall. Medium pieces at 6-12 lb need multiple adhesive strips to distribute weight properly.
Heavy or oversized art demands rails, wires, or leaning systems for safe, non-damaging hanging. Brick or concrete wall types reject adhesives entirely; clips and rail systems become your only reliable option.
Textured surfaces weaken adhesion, so factor that into your gallery wall plans. When you hang art without nails, respecting weight capacity prevents crashes and wall damage.
Method Selection Strategy
How do you actually pick the right hanging method when every wall and frame demands something different? Start by matching wall types to your tools: smooth painted drywall and finished wood love adhesive strips, but brick or concrete push you toward rails or leaning displays.
Check weight guidelines before you commit: small frames up to 4–6 lb handle command strips fine, medium 6–12 lb pieces need multiple strips or adhesive hooks, and heavy stuff belongs in nail-free methods like rails. Don’t skip surface prep, since you’ll wipe with isopropyl alcohol and let paint cure fully.
Textured walls kill adhesion, so grab rails or leaning displays instead. Finally, nail your layout and alignment: preview on the floor, center at 57–60 inches, and keep 2–3 inches between pieces for a clean, wall damage-free gallery.
Hang Wire-Backed Frames Without Nails Using Adhesive Hooks
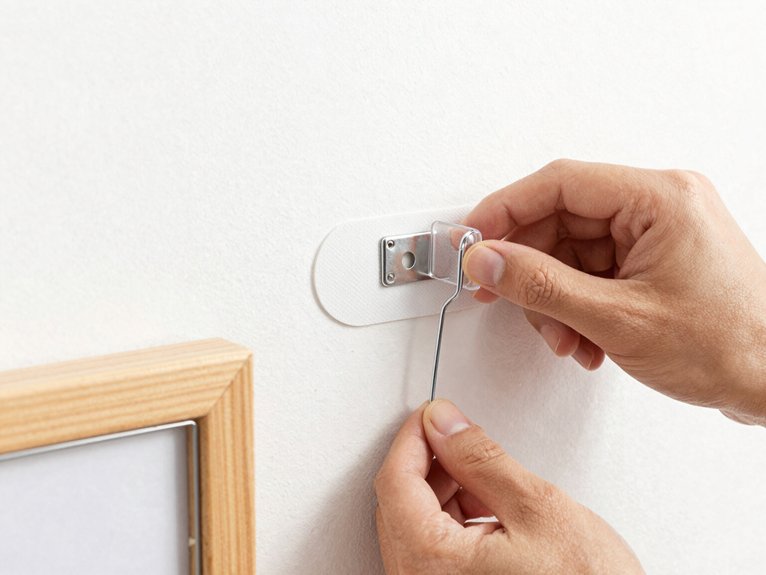
Adhesive hooks offer a straightforward fix when you’re staring at a wire-backed frame and dreading the thought of hammering into your wall. These damage-free, nail-free solutions work well on smooth wall surfaces, making them good renter-friendly tools for hanging wire-backed frames without lease violations.
- Check the weight limit before you buy; most standard adhesive hooks handle 3–8 lbs, but heavier frames need reinforced versions.
- Prioritize wall prep by cleaning both the wall and frame contact points with isopropyl alcohol for maximum grip.
- Press firmly for the full recommended time, skipping textured walls or fresh paint that weakens the bond.
- When it’s time to redecorate, you’ll remove cleanly by pulling straight down per manufacturer instructions, leaving no trace behind.
Recommended Products

INCLUDES - 8 spring clips, 12 small strips

INCLUDES- 3 metallic gray hangers, 6 large strips, 6 stabilizer pairs; 1 hanger holds 5 lbs

【Quality Material】Our drywall picture hanger are made of hardened steel, each picture hook can hold up to 40 pounds, sturdy, reusable and long-lasting.
Use Ledges or Shelves for Easy Rearranging
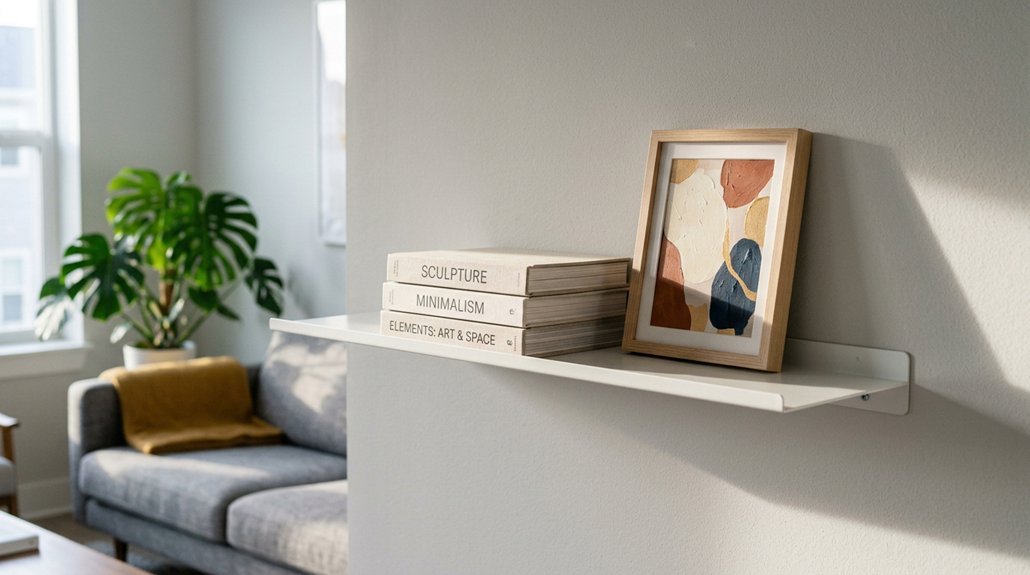
Why wrestle with drills and anchors when a simple ledge lets you swap your gallery in seconds? Floating ledges and shelves create a damage-free hanging system that transforms your wall art display into something you control completely.
You’ll love how ledges eliminate commitment. Lift a frame, slide it left, stack pieces, or stagger heights for instant visual interest. No patching, no drilling, just pure flexibility.
A floating ledge minimizes wall contact while supporting surprising weight when you distribute frames evenly and keep things level. For lighter collections, a tension rod between two shelves works beautifully. Deeper shelves handle heavier pieces without tipping.
You’re rearranging seasonal decor in minutes, not weekends. This approach suits renters, indecisive decorators, and anyone who treats walls like evolving stories, not permanent monuments.
Recommended Products
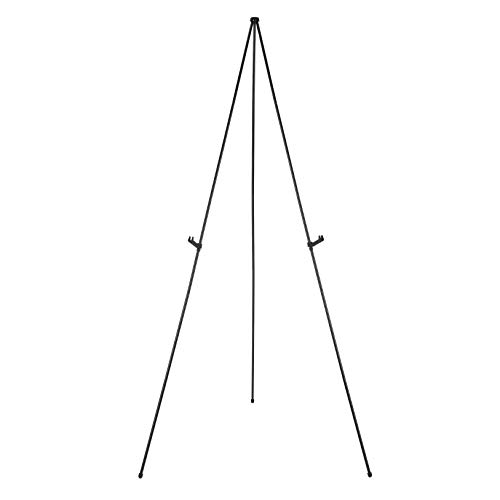
Durable metal and plastic tabletop display easel supports items up to 5 pounds for lightweight posters or signage

ELEGANTLY DISPLAY ANYTHING - Our black metal stand perfectly displays photos, books, artwork, plates, records, cookbooks, & more! Great for home office, kitchen or commercial use.

CHOOSE YOUR LARGE STAND: - 8 inch plate stand fits items of 9″ ~ 24″ Height / Diameter, Lip depth: 2" with a perfect 10° tilt angle design, and 3.75" widened design to hold heavy and thicker artworks, frames and plates up to 10 pounds.
Add Picture Rails for Flexible Gallery Walls
You’ll love how picture rails bring that classic gallery aesthetic into your home, especially if you’ve got crown molding or older architectural details that deserve some company. Once you install a sturdy rail, you’re free to experiment with flexible arrangement options, sliding hooks and cords around until everything looks just right without touching a single nail to your plaster.
It’s a bit of upfront work, sure, but you’ll thank yourself every time you want to swap prints or adjust heights without patching holes.
Recommended Products

✅ 15LB Heavy Duty & Strong Stickiness- Our clear adhesive hooks are built with upgraded thickened glue and premium stainless steel, providing strong load capacity up to 15 pounds. They stick firmly and stay stable for hanging towels, coats, kitchen utensils, bags and daily accessories without falling.
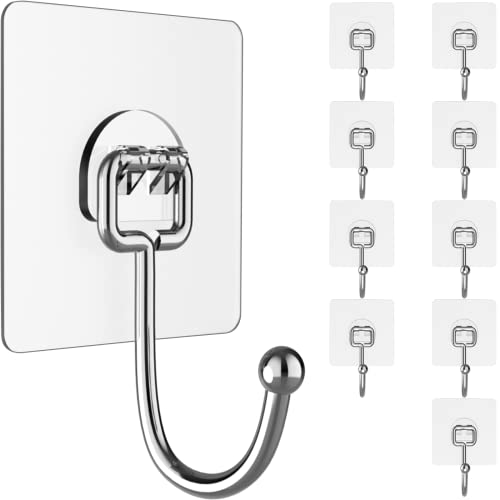
【Super Strong Adhesive Wall Hooks – Multi-Purpose Heavy Duty】Holds up to 44 lbs on smooth surfaces (actual capacity varies from 22–44 lbs depending on surface smoothness). Made of solid stainless steel for durability. Ideal for ceilings, student backpacks, coats, keys, plants, bath towels, picture frames, and more

DAMAGE-FREE PICTURE HANGERS: Includes 12 pairs (24 strips) of White Command Medium (10lb) and 16 pairs (32 strips) of White Command Large (15lb) Picture Hanging Strips, unique hassle-free wall hangers for hanging pictures without nails or damage
Classic Gallery Aesthetic
Where can you find the freedom to rearrange your entire gallery wall on a whim without touching a hammer or filling a single hole? You discover it through picture hanging with a wall rail system, a nail-free approach that transforms your wall decor without delay.
Unlike adhesive strips with limited weight capacity, this damage-free method lets you slide hooks along the rail, adjusting heights and compositions with ease. You preserve that gallery aesthetic while protecting wall integrity, especially in period homes where existing moldings blend without effort.
- Install the rail into structural components for maximum stability
- Choose S-hooks or nylon wires based on your frame weights
- Test your configuration before finalizing placement
- Enjoy unlimited repositioning without new holes
You gain flexibility adhesive strips cannot match, supporting pieces up to 20 kg while maintaining clean, professional lines.
Flexible Arrangement Options
How else could you shift your entire living room gallery from symmetrical to staggered in ten minutes flat? You’d install picture rails, a rail system for an adjustable layout that transforms your gallery wall without touching a hammer.
Picture rails mount once into studs, then you hang artwork using cables and wires or S-hooks that slide horizontally. You gain damage-free repositioning; no adhesive hooks or hanging strips needed. This non-marking approach beats patching nail holes when your taste changes.
Vertical adjustments happen instantly: lengthen or shorten cords to reframe pieces. Heavy frames distribute weight across the rail, not your drywall. Renters in older homes particularly benefit; you keep walls pristine while curating museum-style displays. The flexibility justifies the upfront install effort.
Hang Art Without Nails by Leaning and Layering
Since you’re renting or just hate patching drywall, leaning and layering art against walls skips hardware entirely while still making a statement. You create wall art without nails by trusting gravity and stable floor space, letting frames rest confidently without adhesive strips or hanging systems.
Layering adds depth: you offset multiple pieces at varying depths for gallery walls that feel curated, not cluttered. A sturdy easel display supports heavier works, while low consoles anchor your leaning art arrangement. Unlike picture rail setups, this approach demands zero installation. You’ll dodge damage-free headaches entirely.
- Choose wide-based furniture to prevent tipping disasters
- Position heavier frames against solid bookcases for extra security
- Re-balance your display weekly as pieces naturally shift
- Combine sizes deliberately, mixing small and large for visual tension
Recommended Products

Hanging Adhesive Strips: Picture Hanging strips (20 Pairs/40 Strips, L2.6in x W0.8in) can replace nails or liquid adhesives. Wall hanging strips are backed with high-quality adhesive backing, compared with ordinary double-sided adhesive, stronger adhesion for photos, artwork, or Christmas decorations without damaging the wall

MAXIMUM FRAME SIZE 24 X 36 INCHES: One package includes eight pairs (sixteen strips total) of the Command 20 lb X-Large Heavyweight Picture Hanging Strips; four wall adhesive strip pairs (eight strips) holds 20 pounds; maximum frame of 24 x 36 inches

DAMAGE-FREE PICTURE HANGERS: Includes 8 pairs (16 strips) of White Command Large (15lb) and 8 pairs (16 strips) of White Command Medium (10lb) Picture Hanging Strips, unique hassle-free wall hangers for hanging pictures without nails or damage
Prep Surfaces and Remove Without Damage
Surface prep separates a secure hold from a midnight crash. Grab isopropyl alcohol and wipe both your wall and frame backs thoroughly, letting everything dry completely. This wall preparation step prevents adhesive strips and wall hooks from failing prematurely. Test adhesion on a discreet test spot first, especially on smooth painted surfaces.
Map your layout using level lines and center alignment plans before committing. Press adhesive strips firmly into place, then respect the curing time, usually an hour or longer, before loading any weight. Never exceed weight limits; they’re printed for good reason.
When it’s time to redecorate, you’ll remove without damage by pulling tabs straight down slowly, parallel to the wall. This technique minimizes paint and wallpaper damage, leaving your security deposit intact.
Recommended Products

Versatile adhesive hooks: These no damage hooks adhere effortlessly to surfaces like wood, ceramic, and glass, making them ideal for bathrooms, kitchens, and living rooms. However, they are not recommended for painted or stuccoed walls
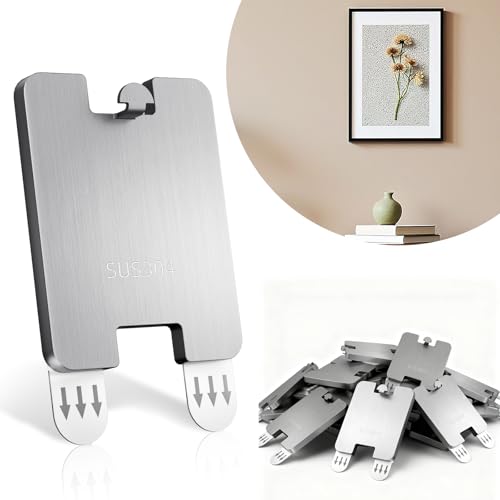
【No-drill Installation Required】Picture hangers for drywall use strong adhesive strips for smooth, painted, and tiled surfaces. Removes cleanly without marks, Very suitable rentals and cherished spaces

Note: Dear customers, please avoid using on freshly painted walls or wallpapered surfaces, as it may cause damage or affect adhesion. Ensure the surface is clean and dust-free for optimal performance. For stability, we recommend 6-8 pairs or more as the optimal number of frames to hang.