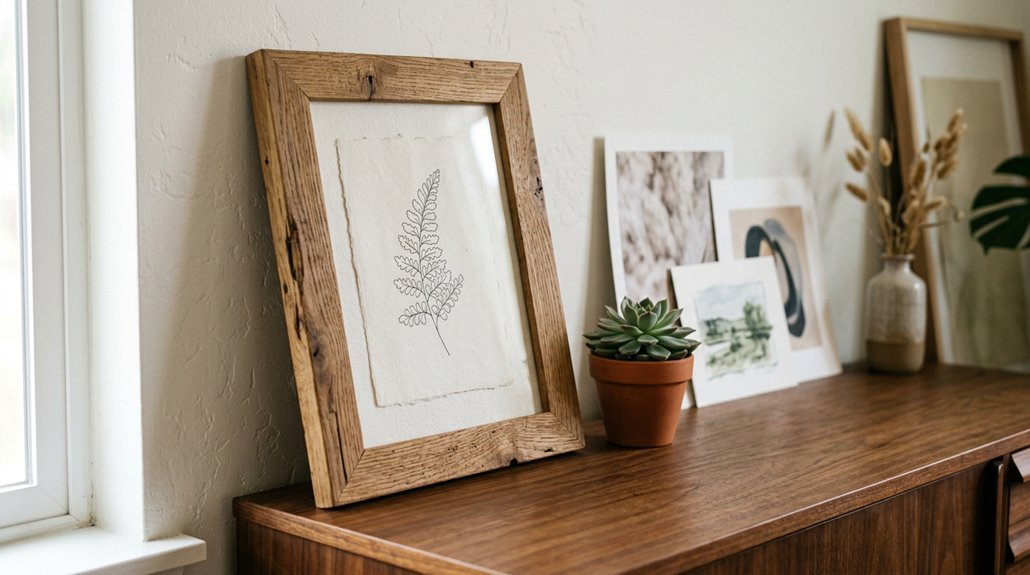
You’ve got blank walls and a pile of frames, but no clue where to start. A gallery wall sounds intimidating, yet it doesn’t have to be.
These five steps break the process into manageable chunks, from gathering inspiration to hammering the final nail. You’ll avoid crooked disasters and mismatched chaos. The real challenge is knowing which piece deserves center stage.
Gather Inspiration and Define Your Color Palette
Where do you even begin with a gallery wall? You start by diving into inspiration sources like Pinterest, Instagram’s #gallerywalls hashtag, and Google Images. You’ll notice what draws you in: maybe it’s mixed media combinations, varied frame shapes, or bold pairings of large and small pieces. Pin these finds and study them.
Next, you define your color palette. This creates cohesion across your entire wall layout. You might choose neutrals with metallic touches, blues with warm wood frames, or another combination that speaks to you. Consider how your frame colors and wall background will influence the overall read.
You’ll also identify a unifying thread: matching frames, consistent tones, or a shared art style that prevents chaos. Finally, you’ll select a focal piece to anchor everything. You’re not mapping floor arrangements yet; you’re building your vision first.
Recommended Products

Modern Minimalist Style: Our Picture frames are carefully packaged with minimalist art in mind, featuring natural colors such as black, white, and brown. Whether used as wall hangings or desk decorations,the gallery wall frame set is suitable for all seasons. We prioritize the perfect balance of aesthetics and functionality, ensuring a comfortable and natural experience for our customers.

Aluminum Photo Frames: Crafted from lightweight aluminum, our metal picture frames provide a modern, rustic look while ensuring long-lasting use. The sleek finish adds a touch of elegance to any setting
Map Your Gallery Wall Layout on the Floor
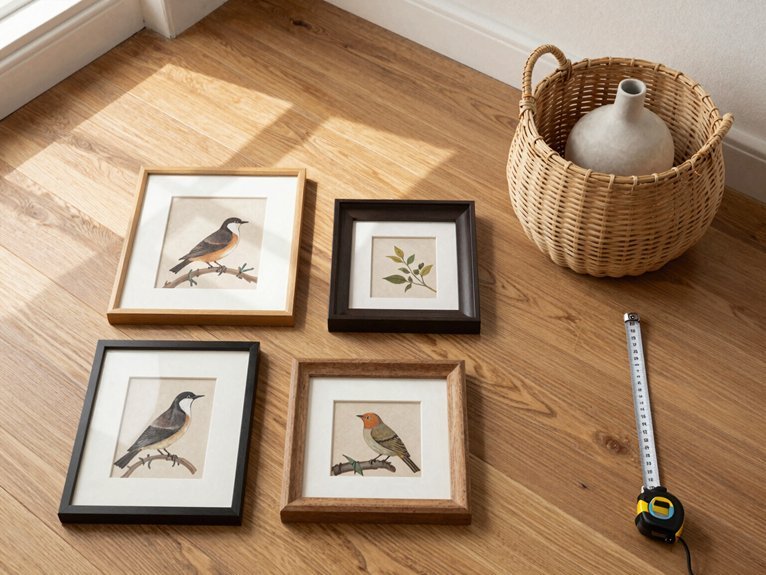
Why risk a wall full of misplaced holes when you can refine your layout first? A floor plan lets you test arrangement without commitment. Here’s how to get your test run right:
Test your gallery wall on the floor first—no holes, no regrets, just confidence before you commit.
- Measure your wall space, then tape a matching box on the floor to represent your layout boundaries.
- Place your anchor piece first, building outward to guide visual flow and achieve balance naturally.
- Adjust spacing between frames freely; this test placement reveals what works before you grab a hammer.
- Snap a reference photo of your final test arrangement to recreate the exact positioning upstairs.
This low-stakes approach lets you experiment with spacing and visual flow until everything clicks. You’ll transfer confidence, not guesswork, to your wall.
Recommended Products

Versatile Sizes for Display: Vittanly 15-Pack Multi-Size Picture Frame Set includes 3x 8x10", 6x 5x7", and 6x 4x6" frames. Perfect for showcasing family photos, artwork in living rooms, bedrooms, and offices

Multi Frames Set: you will receive a set of 6 picture frames, including 1 pcs 11 x 14 inch, 2 pcs 8 x 10 inch, 2 pcs 5 x 7 inch and 1 pcs 4 x 6 inch frames, the sufficient number of photo frames can meet the needs of different applications, each frame comes with a high-definition acrylic panel to protect your photos from dust, transforming your personal space into a gallery cherished school memories, holiday moments, or seasonal celebrations
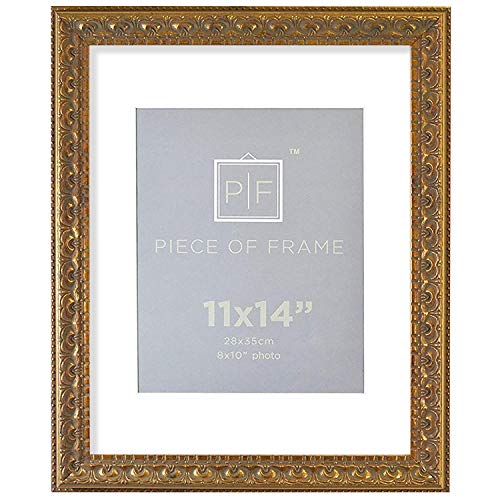
Picture Frame: Bronze Color, Ornate Finish with Gray Undertones, Semi-Smooth
Anchor With Your Largest Piece, Then Build Outward
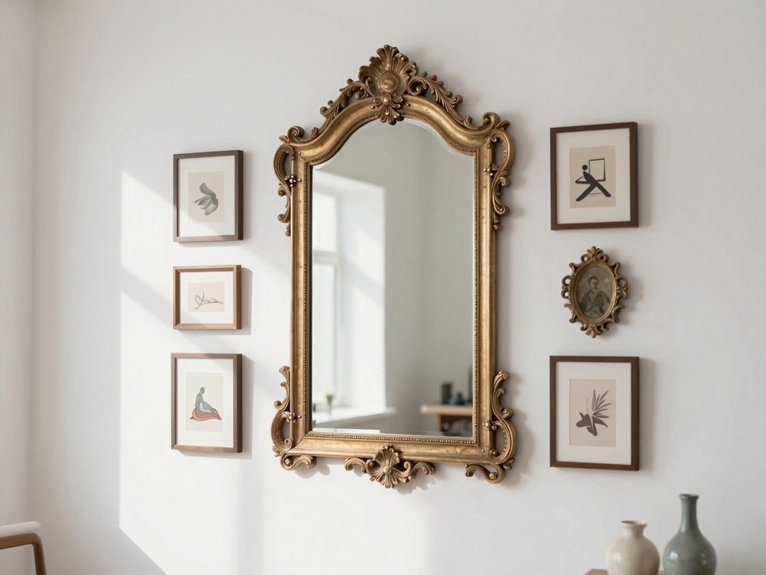
Once you’ve mapped your floor layout, you’re ready to place your anchor piece, the largest frame that’ll define your entire gallery wall’s personality. Position this anchor in one of the four outer corners or slightly off-center when your collection is smaller, so the eye travels around the wall rather than getting stuck in the middle. You’re creating a focal point that pulls viewers in, then sends them exploring.
Place your second-largest piece diagonally from the largest to establish flow and guide placement for everything else. Then fill surrounding gaps with smaller pieces, keeping spacing consistent and framing styles complementary for balance.
Throughout, use floor layouts or giant paper preview templates on the wall to adjust before committing. This method ensures your gallery wall layout feels intentional, not chaotic.
Recommended Products

Efficient & Time Saving : Our professional framing tool greatly minimizes construction errors and improves overall working efficiency by getting rid of tedious and complicated manual measurement processes. Simplify your complex framing layout work and save plenty of working time. This practical stud layout and framing spacing tool is an indispensable accessory for all kinds of frame building and carpentry construction tasks.

【Cuts Building Time Down】This 12 Inch framing tool reduces errors and cuts building time down. Eliminated the measuring and marking the post. Properly aligning the studs greatly and holding the stud in place for nailing. Our premium wall stud framing tool makes framing a breeze.

All-in-One Kit: The Picture Hanging Tool combines levelling, measurement ,marking into a single unit. It could be used as a regular tape measure for simple measurement. It could also be used to check the leveling for items on the wall, such as bathroom accessories. It could satisfy your multiple needs both separately and comprehensively with only one tool.
Alternate Orientations and Mix Frame Styles
While your anchor piece sets the stage, you’ll want to keep viewers’ eyes moving by alternating horizontal and vertical frames throughout your arrangement. Alternate orientations prevent your gallery wall from feeling static, so you’ll mix frames with confidence.
Here’s how you’ll build an arrangement that keeps attention without chaos:
- Start with three frame styles, such as white, black, and wood tones, to add variety while maintaining cohesion.
- Introduce varied shapes and sizes, pairing modern frames with one ornate piece for unexpected balance.
- Create mini-grids of 2, 3, or 4 pieces to structure your wall layout amid the alternation.
- Move inward from larger pieces, ensuring your cohesive composition reads as intentional rather than cluttered.
You’ll achieve an arrangement that feels alive yet harmonious, keeping eyes exploring.
Hang Your Gallery Wall Using Templates and Proper Spacing
With your frames picked and your layout planned, you’re ready to put everything on the wall without turning your drywall into Swiss cheese. Trace each frame onto paper to create templates, then attach them to the wall with painter’s tape to plan before holes. You’ll nail the spacing, keeping frames about two inches apart for a gallery wall that feels connected, not cluttered.
Try a floor layout first: tape out your wall dimensions on the ground, arrange your wall art, and snap a photo to guide your transfer. Start hanging with an anchor piece at center, building outward so the eye flows naturally.
Mark nail locations on your pre-marked templates, then verify alignment after hanging. Templates save your walls and your sanity.
Recommended Products

Mr. Pen nail assortment kit comes with 600 small nails designed for hanging pictures, making it an essential tool for any home, office, or art studio.

ALL-IN-ONE PICTURE HANGING SOLUTION: No more hunting for the right picture hanging hardware – our 322PCS frame hanging kit includes a variety of hangers, giving homeowners, DIY lovers, renters everything they need in one set picture frame hanging kit
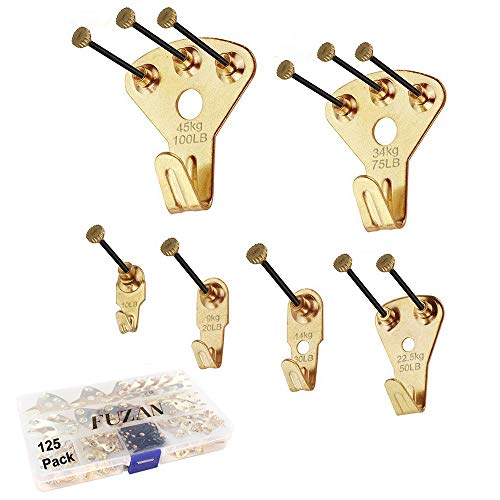
【Wide application】As an effective tool, 125 PCS picture hangers is widely applicable to most items in the home or office. It can hold 10-100 pounds and easily hang photos, decorations, clocks, clothes, kitchenware, small ledges, canvas.