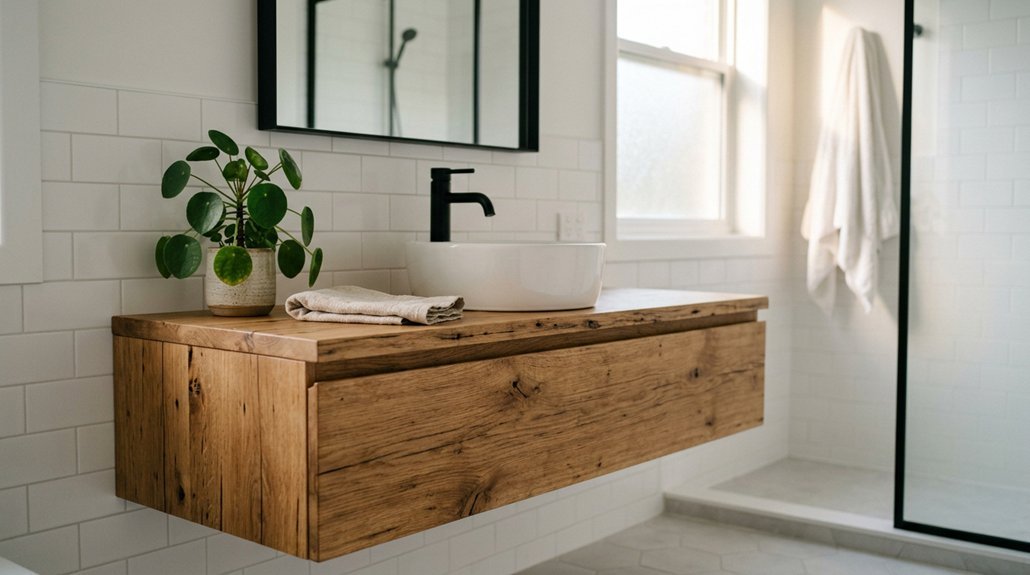
You’ve probably wondered if a tight budget really can transform a dated bathroom into something worth showing off.
The theory holds up: strategic, low-cost changes often outperform expensive overhauls because they force you to focus on what actually matters.
But here’s the catch, most people blow their budget on the wrong upgrades and skip the steps that deliver real impact.
You need a roadmap that separates the game-changers from the distractions, and that’s exactly what’s coming next.
Declutter and Deep Clean First
Before you spend a single dollar on new towels or art prints, you’ll want to strip your bathroom down to its bones and see what you’re actually working with. Start by removing every nonessential item from counters and shelves, keeping only 3 to 5 selected pieces on your vanity. You’ll declutter medicine cabinets by tossing expired products and transferring survivors into matching labeled containers.
Next, you’ll deep clean key surfaces with a multi-surface cleaner, attacking grimy grout lines and dull chrome fixtures until they shine. This prevents mildew and reveals your bathroom’s true potential.
Finally, you’ll create smart storage solutions: install a behind-mirror cabinet or under-sink organizers to hide everyday items. Invest 10 to 15 minutes weekly maintaining this system. You’ll preserve that fresh, simplified look without spending extra.
Recommended Products

What You'll Get: One 32oz spray bottles of Scrubbing Bubbles Foaming Bleach Bathroom Cleaner. Bottle Made from 30% recycled content (excluding dye, trigger, and label)

2-in-1 benefits clean while protecting grout from water, dirt and grime

Deep cleaning grout is a tough job, even for pros, but strong acids remove deep stains from grout to reveal the best clean for novices to professionals alike
Paint Your Bathroom for Instant Transformation
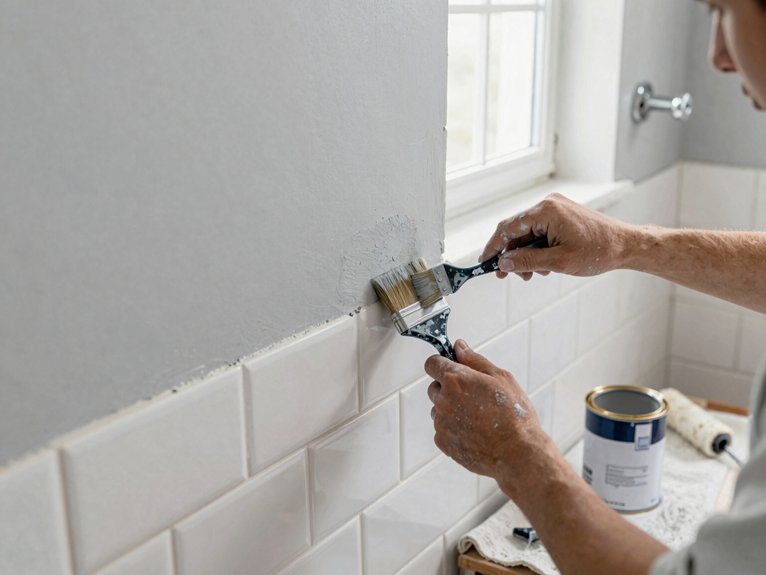
Why spend thousands on new tile when a couple gallons of paint can completely change your bathroom in a single weekend? You’ll stretch your budget further by grabbing high-quality paint-and-primer-in-one, cutting extra purchases while ensuring solid adhesion in humid spaces.
Stick with neutral or white tones for a cohesive, cost-effective look that works well with existing fixtures, or go bold on the ceiling to draw the eye upward and make the space feel larger. Don’t cheap out on regular wall paint: you need moisture- and steam-resistant, washable formulas with quick-dry options built for damp environments.
Hit the walls, ceiling, or even cabinets, and watch your bathroom change without draining your wallet.
Recommended Products

Self-Priming formula - requires no sanding
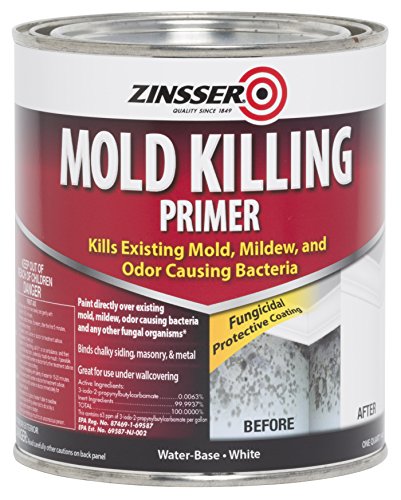
Kills existing mold, mildew, and odor causing bacteria without extensive pre‐cleaning
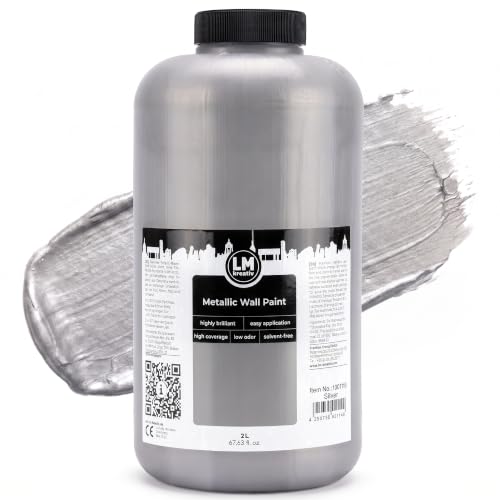
Luxurious Metallic Finish for Bold Interiors: Add depth, elegance, and shine to your space with this metallic wall paint. The radiant, light-reflective finish is perfect for creating modern statement looks or a subtle shimmer across an entire room. Ideal as an interior metallic paint for both full makeovers and striking metallic accent walls.
Swap Your Bathroom Mirror to Open the Space
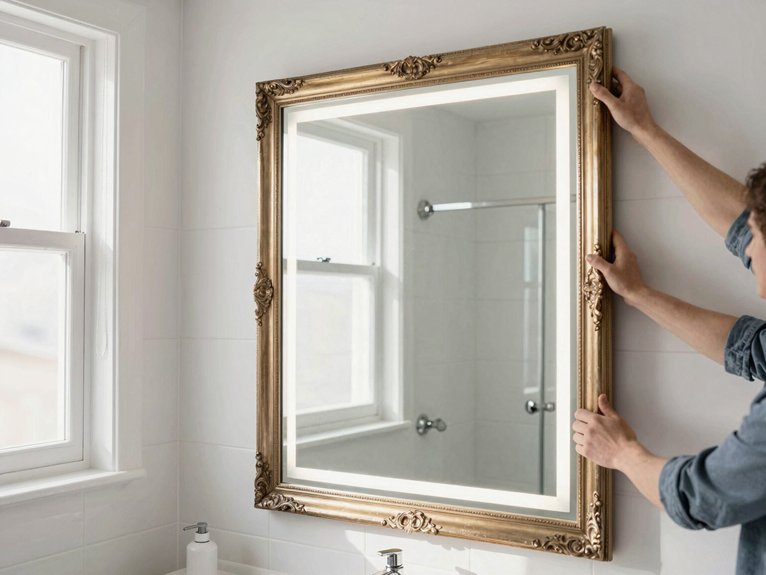
Once you’ve got those walls looking fresh, it’s time to look at what’s hanging on them. Bathroom mirrors can make or break your space. That builder-grade wall-to-wall mirror? It’s eating your visual square footage. Swap it for a framed or backlit option and watch the room breathe.
You don’t need deep pockets. Frame mirror yourself with cheap molding or reclaimed wood. It’s a weekend project that looks expensive but isn’t. No power tools? Grab a large round mirror instead. It breaks up heavy wall coverage and bounces light around like a pro.
Backlit mirrors need just a power source and mounting hardware, and they double as ambient lighting. Pair your new mirror with lighter colors, and suddenly your bathroom rivals that fancy hotel down the street. Your shower curtain will thank you.
Recommended Products
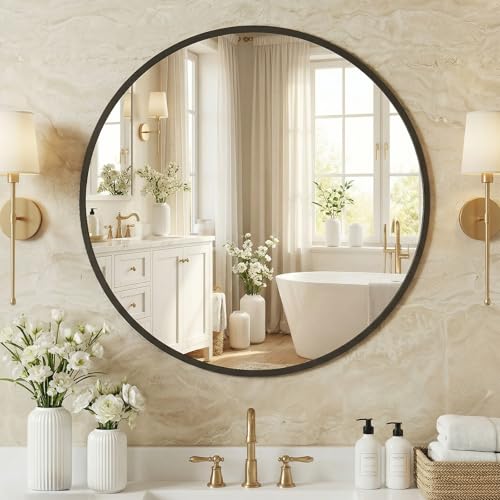
Crystal-Clear Reflection, Zero Distortion: See yourself in perfect detail with NEWBULIG. Crafted with premium high-definition float glass, this vanity mirror delivers a sharp, 1:1 true-to-life reflection—no warping, no blur. Perfect for your bathroom, vanity, or above the sink

Crystal-Clear Reflection, Zero Distortion: See yourself in perfect clarity with SWEETCRISPY. Crafted from premium high-definition float glass, this vanity mirror delivers a sharp, 1:1 true-to-life reflection — no warping, no blur. Perfectly suited for your bathroom, vanity area, or above the sink
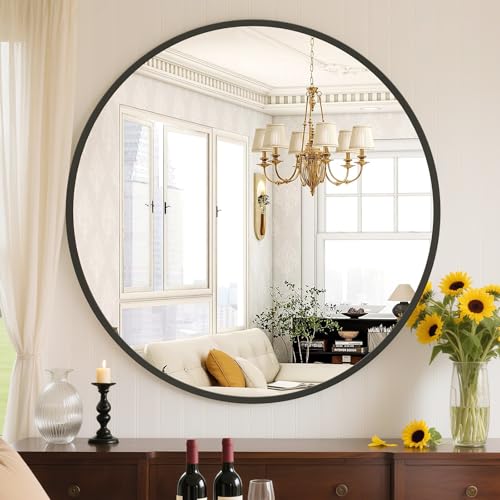
Crystal-Clear HD Reflection with Zero Distortion: Crafted with silver-plated high-definition glass, this vanity mirror delivers a sharp, true-to-life reflection with no warping or visual distortion—for makeup application, grooming, and everyday use
Upgrade Lighting Fixtures to Brighten and Modernize
You’ll transform your bathroom’s entire mood by swapping outdated fixtures or just changing a shade, and you don’t need an electrician’s license to pull it off.
Start with fixture selection tips that match your space’s size and moisture exposure, then follow a straightforward DIY installation guide that’ll save you hundreds in labor costs. Hunt down budget shopping strategies at salvage yards, clearance aisles, and online marketplaces where multi-light bars and classic sconces hide at half the retail price.
Recommended Products

🎵【FCC-Certified Built-In Bluetooth Speaker】Our LED bathroom mirror includes a bluetooth speaker hidden on the back of the mirror. It delivers stable transmission up to 33 feet. Simply pair it with your phone to enjoy seamless music and podcast streaming. No bulky speakers or tangled wires. Clear sound for grooming, skincare and bathing, hands-free. Smart mirror bathroom turns daily bathroom routines into cozy, pleasant moments.
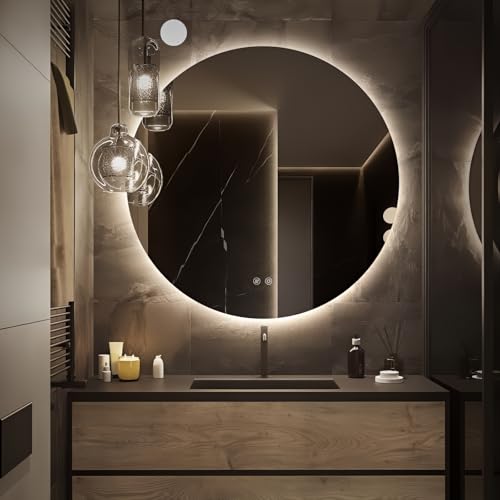
【Circular Backlit Design for Amazing Illumination】 Uniform LED strips wrap around this frameless round backlit mirror, creating shadow-free, even light ideal for makeup and skincare. The LED beads are hidden behind a premium diffuser cover, with no exposed wiring, delivering brighter, more even illumination. With an IP65 waterproof rating, this lighted bathroom mirror adds safety and durability.

【Backlit+Front-lit, Brighter and Clearer】: WISSMIELS led bathroom mirror is designed with a combination of front lit mirror and backlit mirror, emitting front light and back light simultaneously, which is twice or more brighter than other bathroom mirror with only front lit or backlit; Our vanity mirror with lights is bright enough for makeup, shaving, dressing or skin care. No dark, no fuzzy , super bright and clear. The Stylish look and design is perfect for your bathroom remodel and upgrade
Fixture Selection Tips
What’s the quickest way to make your bathroom feel like a completely different room without touching a single tile? You upgrade your lighting fixtures. New fixtures instantly brighten the space and cast everything in a flattering glow.
Stick to your budget with these smart moves:
- Swap shades instead of full fixtures for a fraction of the cost
- Scout secondhand stores and clearance sections for unexpected finds
- Pair with dimmers to control mood without a full remodel
You’re after warm white bulbs around 2700–3000K; anything cooler feels like a hospital exam room. Layer your lighting with a main ceiling fixture plus wall scones or vanity lights to banish shadowy faces during your morning routine. Match finishes like brushed nickel or matte black to your existing hardware. Cohesive styling pulls the whole room together.
DIY Installation Guide
Why spend hundreds on a contractor when swapping your bathroom lighting takes barely an afternoon and a few basic tools? You’ll tackle this DIY installation with confidence once you cut power at the breaker, remove old fixtures, and mount new ones using the included hardware.
For budget-friendly upgrades, hunt secondhand shops and clearance racks, then pop in LED bulbs. They’re worth every penny for energy savings and longevity. You’ll want layered lighting: pair overhead fixtures with vanity or sconce lighting to banish shadows where you shave or apply makeup.
Pick moisture-rated finishes like brushed nickel or matte black so humidity won’t destroy your work. Handle mounting brackets and shades yourself, but call a licensed electrician if wiring needs updating. Safety always trumps pride, and you’ll still pocket serious savings.
Budget Shopping Strategies
Where can you find a $200 chandelier for forty bucks and bulbs that’ll outlive your lease? You hunt secondhand shops and clearance racks, that’s where. Smart budget shopping strategies turn dumpster-bound fixtures into statement pieces that’ll make your shower curtains look designer.
Here’s your battle plan:
- Scout salvage yards and online marketplaces for gently used sconces or three-light bars, you will slash 70% off retail without sacrificing style.
- Swap shades, not fixtures, you will refresh tired vanity lights for under $15 while you paint your bathroom walls.
- Buy 2700K–3000K LED bulbs in bulk, you will cut energy bills and eliminate harsh shadows around mirrors.
Match your lighting warmth to your color palette, you will double perceived brightness without touching a paintbrush.
Hang Your Shower Curtain at Ceiling Height
You’ll instantly make your bathroom feel bigger when you mount that curtain rod right up at the ceiling, forcing everyone’s eyes to travel upward and creating the illusion of soaring height. This simple trick doesn’t just fake extra square footage, it also masks any cracked tile, water stains, or sloppy caulk jobs lurking on your upper walls.
Grab an extra-long curtain that kisses the floor, and you’ve got yourself a budget-friendly upgrade that looks straight out of a boutique hotel.
Recommended Products

POWERFUL CLEANING ACTION: The Pink Stuff Multi-Purpose Cleaner is formulated to tackle tough stains and grime, leaving surfaces sparkling clean with minimal effort

One step cleaning and protection: adds protection each time you clean

POWERFUL HOT STEAM - 1050 watts with 3-5 minutes fast heat-up and emits pressurized powerful hot steam 230℉ for up to 8-12 minutes
Creates Visual Height
If you’re working with a cramped bathroom that feels more like a closet than a retreat, raising your shower curtain rod to ceiling height is one of the cheapest tricks in the book. This simple move immediately adds visual height to any bathroom on a budget.
Here’s why you’ll love this upgrade:
- You’ll trick the eye into seeing a taller ceiling by drawing focus upward.
- You’ll replace short, stubby fabric with long, flowing panels that suggest luxury.
- You’ll create a subtle accent wall effect without paint or wallpaper.
Skip busy patterns that fight for attention; pick a solid color instead. Secure that rod into studs, or use heavy-duty anchors so your curtain doesn’t crash down. The result is a bathroom that feels airy, not cramped.
Hides Imperfect Walls
Why settle for staring at cracked plaster or wavy drywall when a simple curtain swap can wipe those flaws from sight? Mounting your shower curtain rod near the ceiling transforms your bathroom into budget decor magic. You’ll draw eyes upward, masking wall imperfections that normally demand costly repairs.
Grab a longer curtain and extend that rod well above your shower opening. The fabric drapes down, creating a seamless screen that hides uneven edges and rough patches completely. Choose solid colors or subtle patterns; they’ll keep attention on the clean vertical lines rather than what’s lurking behind.
This trick works especially well in older homes where walls have settled into waves. Smooth-gliding rings complete the look, giving you polished style without the renovation bill.
Affordable Luxe Look
That same ceiling-high trick that hides your wall’s battle scars does something else for your bathroom: it fakes you into thinking you’ve got more height than you actually paid for. You’re working with budget decor, so every visual inch counts.
Here’s how you nail this luxe look:
- Mount your rod 12–18 inches above the tub edge; buy an extra-long shower curtain to match.
- Pick washable fabric in solid neutrals; it reads expensive and lasts longer than cheap plastic.
- Grab smooth, oversized rings and a brushed metal rod; matte black or champagne bronze finishes seal the deal.
You don’t need custom anything. You’ve just stretched your walls upward, and your wallet barely noticed.
Update Hardware and Faucets to Pull It All Together
Where do you start when your bathroom feels tired but your wallet feels lighter? You grab your screwdriver and swap the hardware. Those dated brass knobs and pulls? They drag everything down. You replace them with budget-friendly options in brushed nickel, matte black, or champagne bronze.
You buy multi-packs to slash per-item costs and keep finishes cohesive across cabinets and drawers. You pick shapes that won’t look dated in two years: cone, bar, or round knobs. You match your hardware finishes to existing faucets and lighting for unity without spending much.
When you tackle faucets, you choose single-handle or wall-mounted designs. Fewer parts mean fewer headaches, and you get that pared-down look you want. Small swaps, big impact.
Recommended Products

Interior/Exterior use on new or previously painted drywall, concrete, wood, masonry, metal and glossy or difficult surfaces

Stops peeling paint

PAINT + PRIMER IN ONE: Evolve’s paint-and-primer formula helps you get great coverage from the start, sealing your surface and reducing the extra work of multiple coats.
Use Peel-and-Stick Tile for a Quick Backsplash Update
You’ll save hours and skip the mess of mortar when you transform your backsplash with peel-and-stick tiles, but don’t get carried away. Stick to small zones where they’ll look intentional, not cheap.
Clean that wall like your adhesion depends on it, because it does, then hunt sales for extra sheets so you won’t panic over mistakes or future dings. Select finishes that fake real grout lines and echo your existing hardware, and you’ll land a refresh that reads high-end even when you’re counting pennies.
Recommended Products

Round Mirror High Definition: The silver coated mirror gives a high definition, natural and realistic image.

Round Silver Mirror High Definition: Our round mirror can provide a high-definition image that is natural and clear

Round Black Mirror High Definition: Our round mirror can provide a high-definition image that is natural and clear
Selecting Your Tile Style
Why spend thousands on traditional tile when you can transform your bathroom backsplash in a single afternoon? Peel-and-stick tiles deliver that instant upgrade without the mess, cost, or commitment of traditional installation.
Here’s how you nail the selection:
- Prioritize moisture-resistant materials that won’t bubble, lift, or degrade in humid conditions
- Select cohesive colors that complement your existing fixtures and create visual flow
- Target smaller zones like backsplashes or single accent walls to maximize impact per dollar spent
You’ll find styles mimicking subway tile, marble, and geometric patterns at $1-3 per square foot. Buy extra sheets during sales to ensure pattern continuity. Check reviews for real-world bathroom performance; some budget options yellow or peel within months.
Skip full-room coverage; strategic placement looks intentional, not cheap.
Applying With Precision
How do you turn a clean wall into a finished backsplash without the grout, the mess, or the weekend-eating labor? You grab peel-and-stick tiles and work smart.
Start by cleaning, drying, and smoothing your surface; any dust kills adhesion. Work in small sections, aligning tiles with existing fixtures so everything flows together. Press firmly, squeegee out bubbles so your backsplash stays put for years.
Target just the vanity area or one accent wall. You’ll get maximum punch without draining your wallet. Hunt sales for extra sheets, use offcuts to fill gaps, and choose finishes that match your hardware.
This isn’t forever-tile, but it’s durable, watertight, and renter-friendly. You complete this refresh in an afternoon, not a weekend, and your bathroom finally looks finished.
Refresh Your Bathroom Vanity on a Budget
Where exactly does your bathroom feel most dated? You’ll likely spot the vanity first. It’s the workhorse that shows every scratch, water ring, and style misstep from decades past. But here’s the good news: you don’t need a full replacement to transform this space.
Three Ways to Refresh on a Dime
- Repaint the vanity using leftover wall paint or a bold new shade; you’ll create a cohesive focal point that anchors the entire room for nearly nothing.
- Swap the hardware in coordinated multi-packs; brushed nickel or champagne brass pulls cost pennies per piece but read like luxury.
- Replace the countertop with discount laminate from big-box stores; it’s budget-friendly, durable, and instantly modernizes your setup.
Finish with a peel-and-stick backsplash behind the basin. You’ve just saved thousands.
Recommended Products

🎵【FCC-Certified Built-In Bluetooth Speaker】Our LED bathroom mirror includes a bluetooth speaker hidden on the back of the mirror. It delivers stable transmission up to 33 feet. Simply pair it with your phone to enjoy seamless music and podcast streaming. No bulky speakers or tangled wires. Clear sound for grooming, skincare and bathing, hands-free. Smart mirror bathroom turns daily bathroom routines into cozy, pleasant moments.
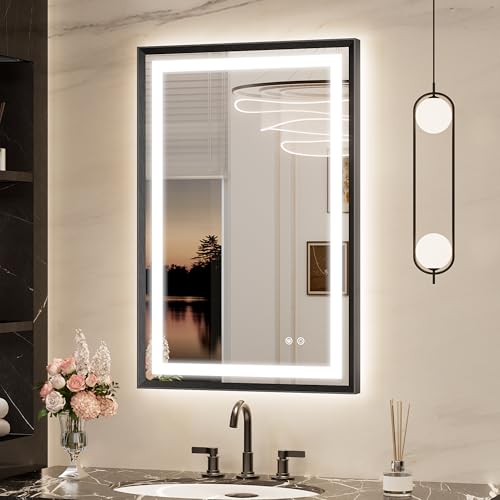
【Frontlit & Backlit Lighting】Unique construction design in this bathroom LED Mirror delivers both front and back lighting in one touch, combining brightness for daily tasks with ambient glow for a relaxing atmosphere. UL-certified LED Lights strips provide up to 50,000 hours of reliable illumination.

【Sleek Modern Design with Enhanced Safety】This bathroom mirrors for over sink features seamless acrylic-wrapped LED light strip, eliminating exposed wiring for a clean, contemporary look. Equipped with a high-density 120 LEDs/meter cool white (6000K) backlight system, this bathroom mirror with lights delivers ultra-bright illumination while enhancing waterproof performance and safety.
Add Open Shelving for Stylish Storage
When you’re staring down a messy countertop every morning, what’s really stealing your peace? Clutter kills calm, and that’s where smart storage ideas save your sanity.
Open shelving transforms dead wall space into functional display. You mount floating shelves above your sink or toilet, maximizing vertical storage while keeping surfaces clear. It’s one of the most budget-friendly upgrades you can tackle yourself.
Scavenge old wood planks or grab discount shelves from hardware stores. Adjustable brackets let you customize spacing for towels, toiletries, whatever you stash. Paint the hardware to match your fixtures for a pulled-together look.
Style with restraint: woven baskets, glass jars, maybe one small plant. You’re aiming for clean, not crowded. These shelves work hard but look effortless, giving you that hotel bathroom vibe without the hotel bill.
Recommended Products

Acid-free grout cleaner: Safely cleans grout without harsh acids. Will not degrade grout or damage tile, marble, granite, or natural stone

Simple & Easy to Use: wait 3-10 hours and rinse stains away without scrubbing required

Deep Cleans Stubborn Stains & Grime Designed with ultra-stiff, densely packed bristles, this scrub brush generates rich foam to effectively remove tough dirt, grease, and stains from shoes, laundry collars, sleeves, bathrooms, tiles, floors, and more—without damaging surfaces.
Finish With Soft Towels and Polished Accessories
Why do luxury bathrooms feel so welcoming? You’ve reached the final step, now finish with soft towels and polished accessories to complete your transformation.
The final layer of luxury: soft towels and polished accessories transform your bathroom into a space worth lingering in.
Upgrade your textiles. Choose oversized white bath sheets and matching makeup towels, they reflect light and expand perceived space. Ivory or soft gray work too if white feels too clinical.
Polish your hardware. Swap dated finishes for champagne bronze or matte black, these polished finishes deliver boutique-hotel impact without gutting your bathroom.
Curate your surfaces. Decant products into uniform containers, corral bathroom accessories on moisture-resistant trays in coordinating metals. This eliminates visual chaos.
You’ve now layered texture, shine, and intentionality throughout. The result feels expensive because every detail serves a purpose. Your budget bathroom just became the room you’ll actually want to linger in.
Recommended Products

PAINT + PRIMER IN ONE: Evolve’s paint-and-primer formula helps you get great coverage from the start, sealing your surface and reducing the extra work of multiple coats.

DIRECT-TO-DAMP WALL PRIMER FOR CONCRETE: Formulated to apply directly on damp walls, this primer bonds to interior or exterior concrete, masonry, and cast‑in‑place surfaces—perfect for basements, cellars, garages, and other moisture‑prone areas

Latex‐Base Mould & Mildew‐Proof Waterproofing Paint