Step into the world of shimmering elegance with these stunning pearl-inspired nail designs that promise to elevate your manicure game.
From subtle iridescent finishes to bold statement nails, these 28 fabulous designs will definitely have you craving a little pampering. Each look captures the essence of pearls, embodying sophistication and that oh-so-perfect glow that only an iridescent finish can provide. Whether you’re preparing for a special occasion or just want to treat yourself, there’s something here for everyone. Get ready to adorn your fingertips with creativity and shimmer that reflects your unique style.
1. Opalescent Ombre
The opalescent ombre is the perfect fusion of subtlety and style. It starts with a soft white at the base, gradually transitioning into a stunning pastel hue that represents the classic iridescent look.
This design not only elongates your fingers but also gives them a dreamy quality. The beauty of the ombre effect lies in its smooth gradient, which can be achieved with a makeup sponge for that flawless blend.
Tips: Use a top coat for a glossy effect, and consider adding a sprinkle of very fine glitter on the tips for an extra twinkle.
Unique Insight: Layering different shades can create depth, making your nails look like they’re embracing the light, much like pearls do in natural light.


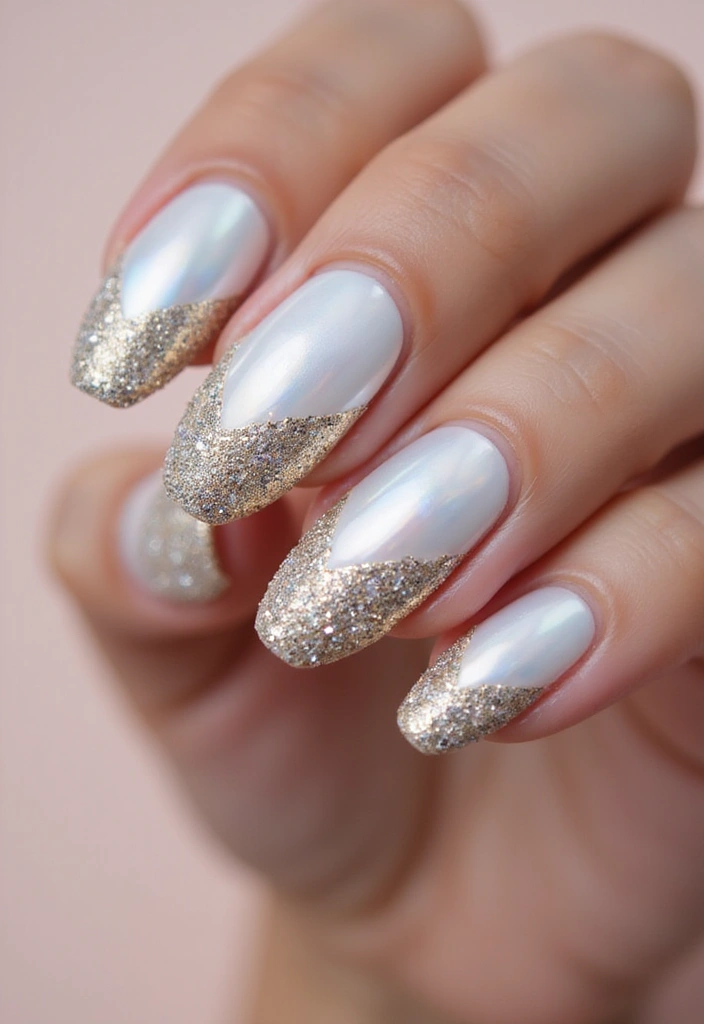
2. Pearlized French Tips

Put a pearl twist on the classic French manicure for a chic and modern look. Instead of the traditional white tips, opt for a pearlescent polish that catches the light beautifully.
This design is not only timeless but also incredibly versatile, perfect for both everyday wear and formal occasions.
How to Achieve: Apply a soft pink or nude base coat, then carefully paint the tips using a pearl finish polish for that lustrous look. Finish with a glossy topcoat to seal in the shine.
Trend Alert: Consider adding tiny pearl accents at the base of the nails for an added touch of elegance.


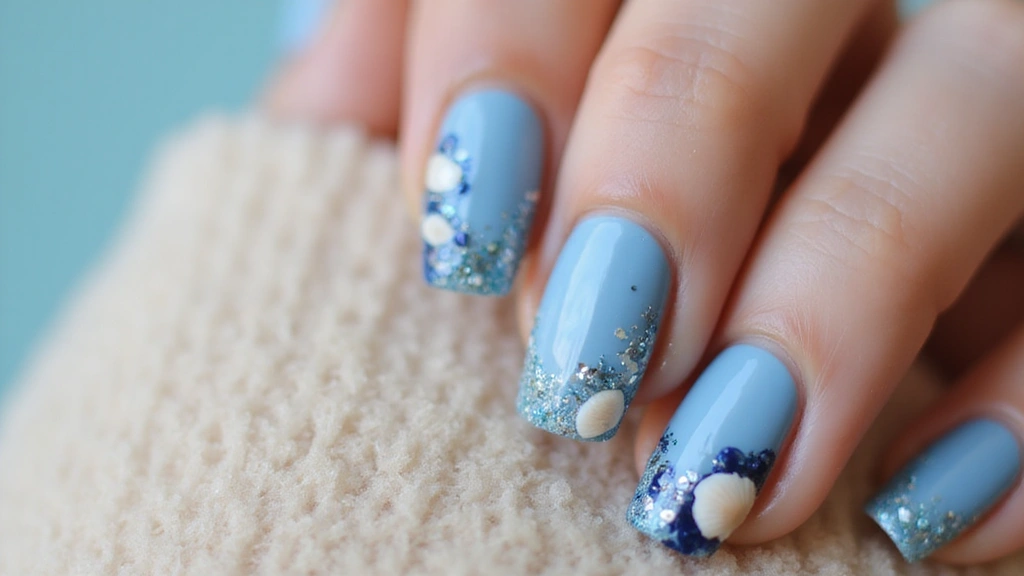
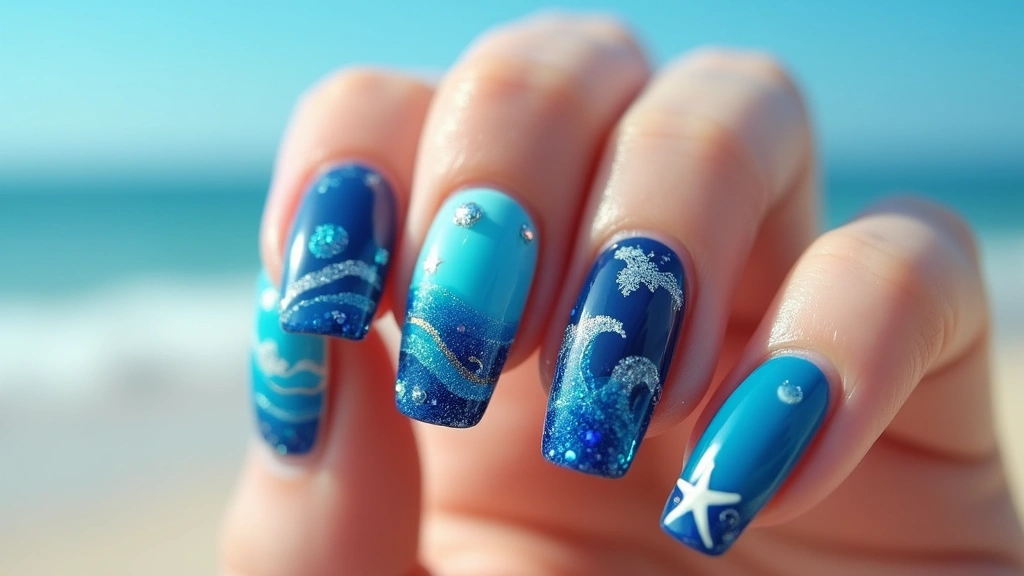
3. Shimmering Shells
Looking to channel a beach vibe? The shimmering shells nail design is perfect for bringing a touch of sea-inspired beauty to your manicure.
This style incorporates a soft base color with delicate shell-inspired details, such as waves and shells painted in iridescent hues. You can use a fine brush or nail art pen for precise details.
Trendy Combination: Pair soft blues and white for a fresh ocean look or opt for sandy beige with golden accents for a sunset vibe.
Quick Tip: A matte top coat can really make the shimmering details pop, giving your manicure a unique finish.


4. Iridescent Glitter Fade

If you love a little sparkle, then the iridescent glitter fade is a must-try. This design starts with a beautiful base color and finishes with a fade of glitter that glimmers like pearls in sunlight.
Choose your favorite base color—soft nude, light pink, or even a bold blue—and gradually add glitter towards the tips of your nails for a stunning gradient.
Application Tip: Use a makeup sponge to dab glitter onto the tips for an even application and seamless fade.
Fun Fact: Pairing contrasting glitter colors can create a mesmerizing effect, making your nails stand out even more.


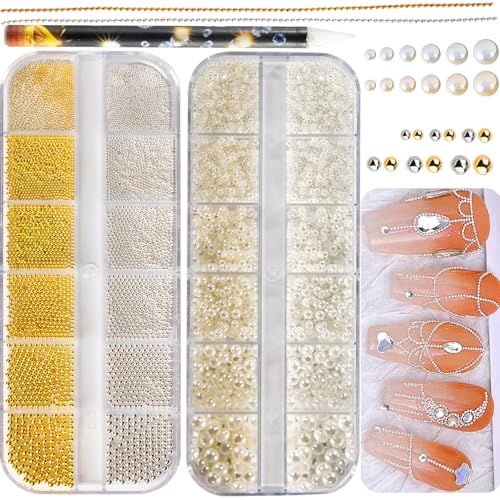
5. Pearl Accents

Sometimes, less is more! Pearl accents on a minimalistic nail design can add sophistication without overwhelming your look. Start with a simple nude or clear base, and strategically place tiny pearl-like embellishments on a couple of your nails.
This subtle yet fashionable design is perfect for those who appreciate the beauty of simplicity and elegance.
Application Tips: Use nail glue to secure the pearls, and make sure to finish with a high-gloss top coat for a polished look.
Insider Tip: Mixing different sizes of pearls can create an artful effect that draws the eye without being too flashy.
6. Rainbow Iridescence
Bring out your inner mermaid with rainbow iridescence! This design features layers of colors that shift and shimmer like a soap bubble. Starting with a white or clear base, apply thin layers of iridescent polishes in overlapping colors.
For the best results, apply each layer sparingly to maintain a light, airy feel.
Pro Tip: Seal the look with a glossy topcoat to ensure the colors pop and maintain shine.
Creative Twist: Add tiny rhinestones at the cuticles for a touch of glam that complements the rainbow effect beautifully.


7. Pearlized Marble Effect

Marble nails are a classic, but adding a pearl twist takes them to the next level. Start with a white or light grey base and then use a thin brush to create soft swirls of pearlized colors, like pale pink, lavender, or soft blue.
This design simulates the look of marble while infusing a soft luminescence that resembles polished stones.
Technique Tip: Use a clean-up brush dipped in acetone to refine the edges of your marbling for a clean finish.
Matching Colors: Pair with a glimmering silver or gold accent nail for an added touch of luxury.


8. Glittering Pearl Drops
For the bold fashionista, glittering pearl drops are an eye-catching way to stand out. This design features a base of pearl-like polish adorned with glitter drops that catch the light with every turn.
You can play with different shapes and sizes of glitter to create a unique look that embodies creativity and fun.
Application Tip: Use a dotting tool to create different sizes of drops, ensuring they’re evenly spaced across the nail.
Trendy Insight: This look pairs beautifully with statement jewelry, making it perfect for nights out or special occasions.


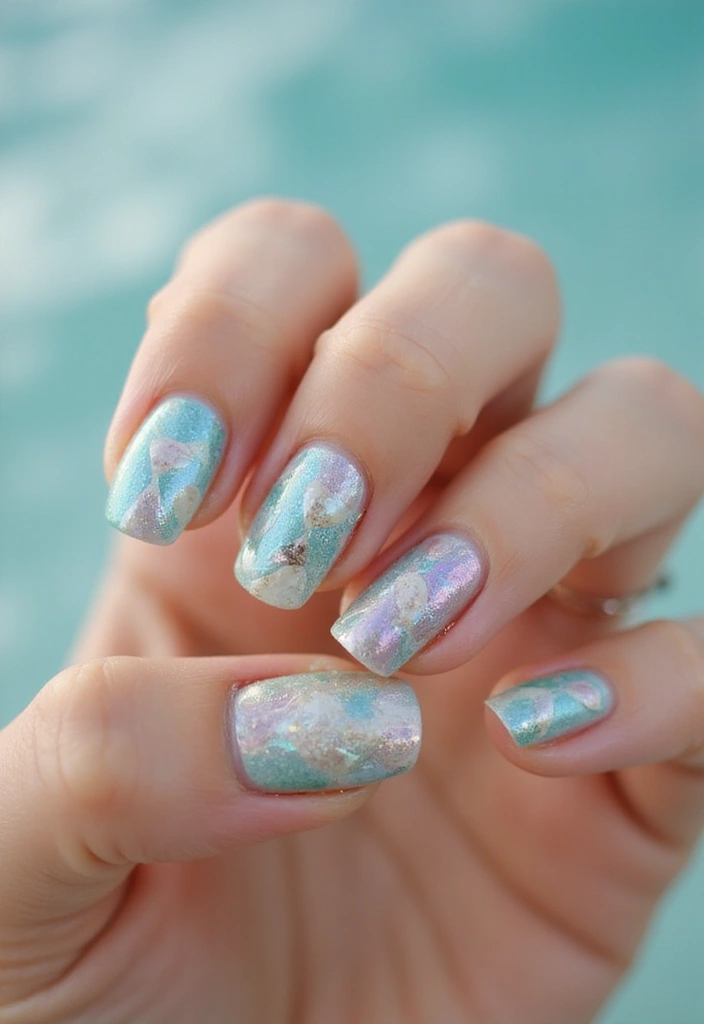
9. Pearl-Inspired Geometric
Geometric designs are all the rage, and when combined with pearl-inspired hues, they create a stunning visual impact. Start with a neutral base and add geometric patterns using a pearlescent polish.
Think triangles, lines, or even abstract shapes that catch the light and create depth.
Creative Tip: Use nail tape to create clean lines and shapes, ensuring precision in your design.
Color Coordination: A combination of soft pastels or a monochromatic palette can create a sleek and modern look that’s perfect for any occasion.


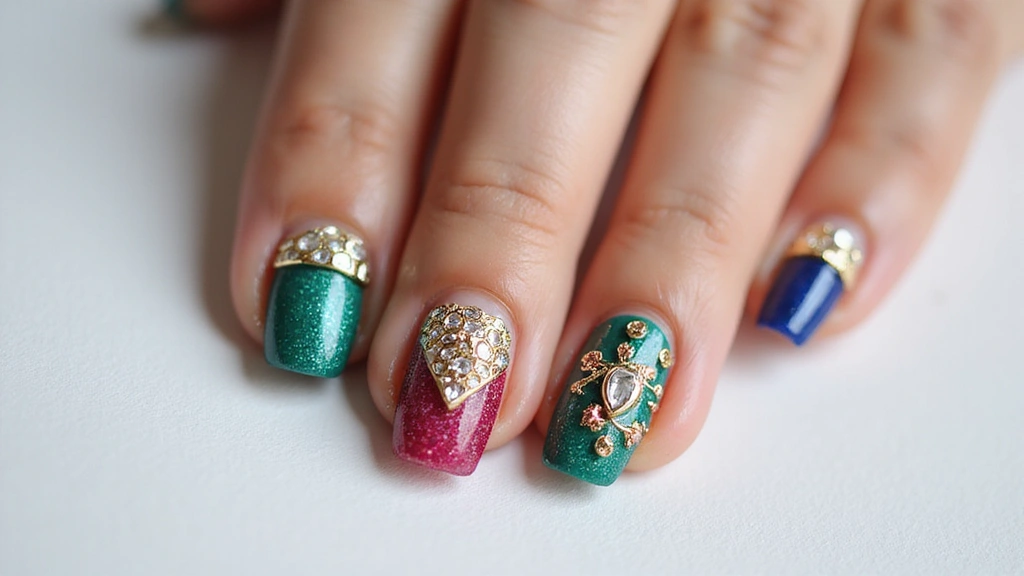
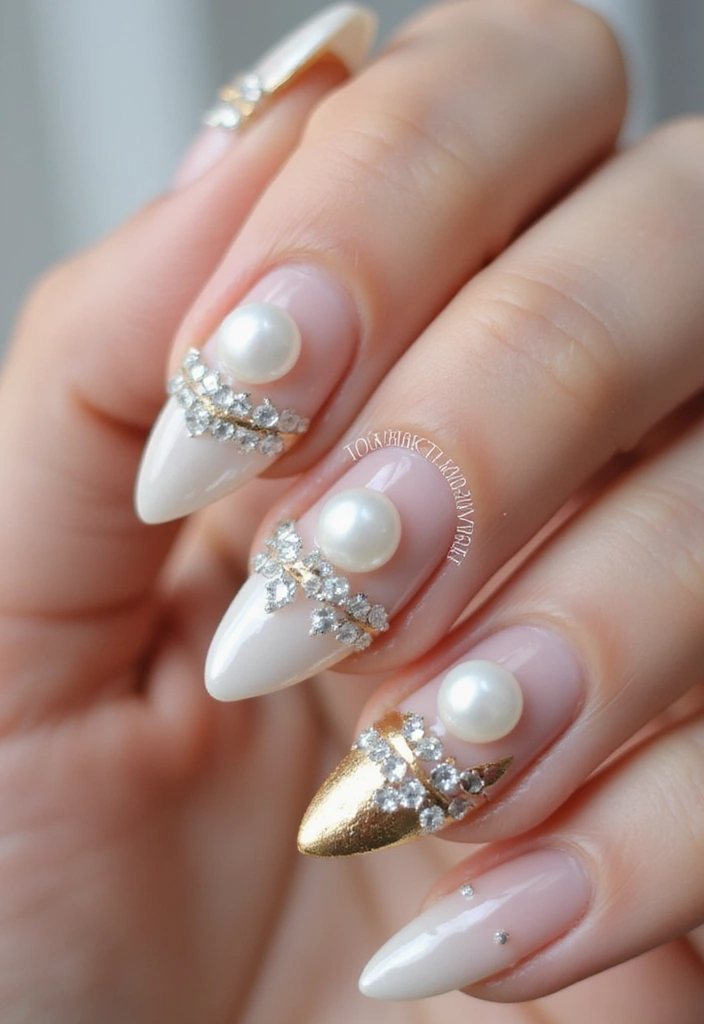
10. Pearl and Rhinestone Bling

If you’re all about the bling, then pearl and rhinestone nails are a perfect choice. This design features a pearl base with strategically placed rhinestones for additional sparkle.
Start with a pearl polish and then apply your rhinestones on the accent nails for a stunning contrast.
Application Tip: Consider varying the sizes of the rhinestones for an artistic flair and secure them with a strong top coat.
Fashion Forward: This look is fabulous for weddings, parties, or any special events where you want to make a statement.
In a world full of trends, be a classic – pearl and rhinestone nails are your ticket to timeless elegance! Add that extra sparkle and let your nails steal the show at every occasion.


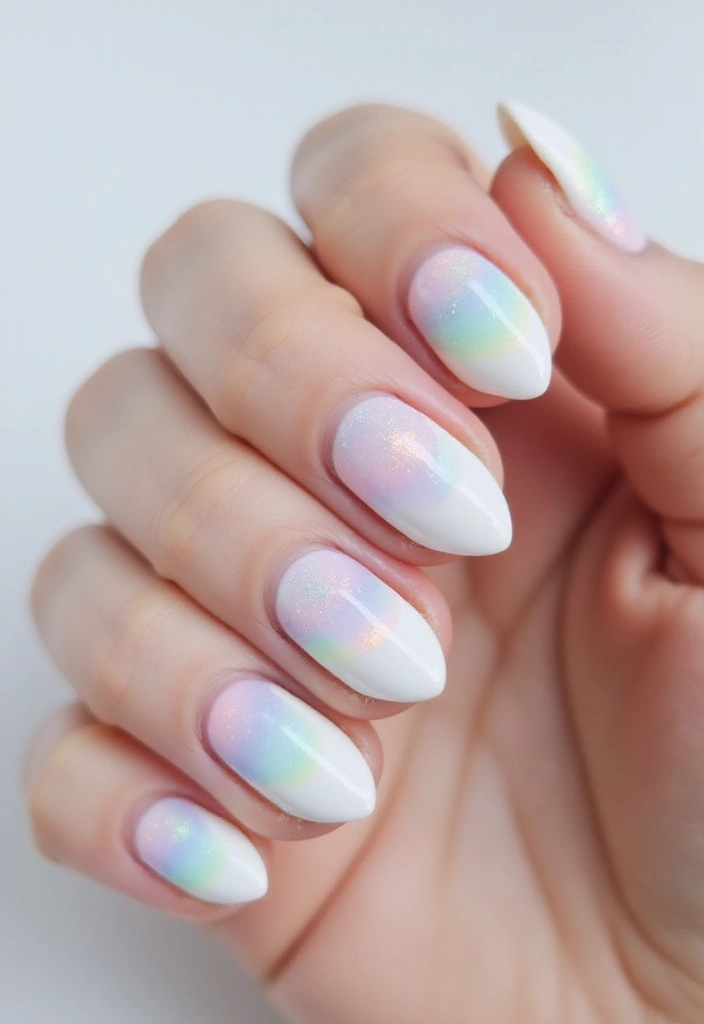
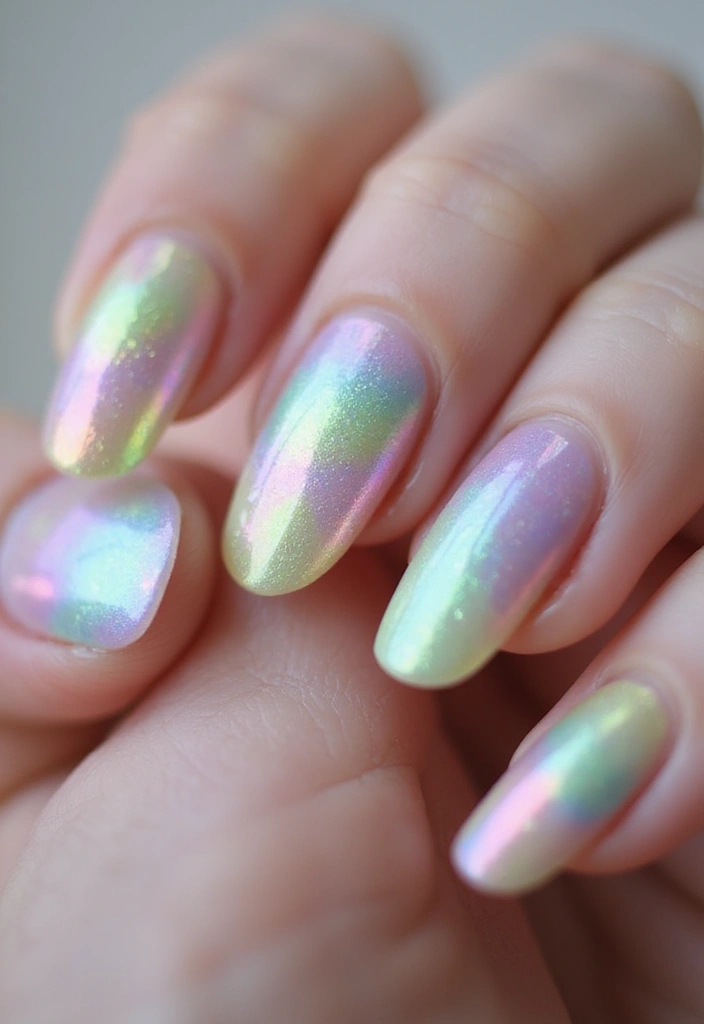
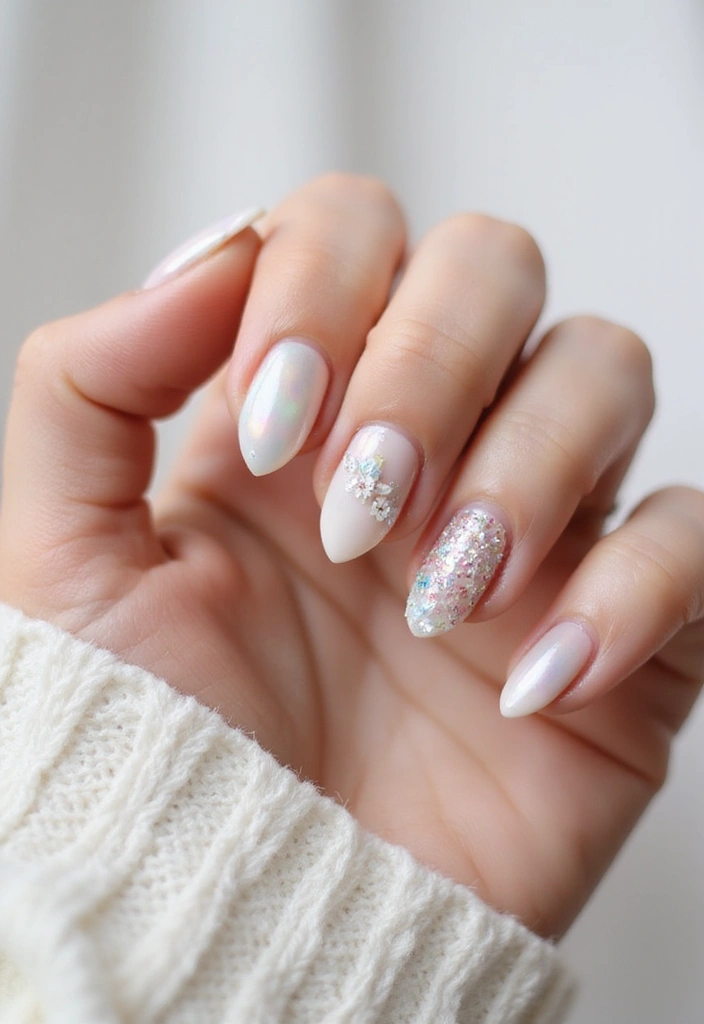
11. Pearl Holographic Nails

Holographic nails with a pearl finish are a mesmerizing trend that adds a unique twist to your manicure. The reflective quality of holographic polish allows for a multidimensional look that’s captivating from every angle.
Layer a holographic topcoat over a light base color to get that stunning effect.
Tip: Choose holographic polishes that complement your skin tone to really make your nails pop.
Fun Insight: The best part of holographic nails is how they change color in different lighting, making them a fun surprise!


12. Subtle Pearl Texture
A subtle pearl texture adds a unique touch to your manicure while keeping it elegant. This design can be achieved by using a textured pearl polish that offers a soft, matte finish.
The textured look gives your nails depth and a tactile quality. Pair this with a glossy topcoat on accent nails for contrast.
Tips: Make sure to allow the textured polish to dry completely before applying any topcoats to maintain the desired look.
Unique Touch: Subtle pearl texture is perfect for a sophisticated office look or casual outings where you want to keep things classy.


13. Soft Pearl Swirls

Soft pearl swirls are an ethereal nail design that captures the essence of elegance. This look combines a sheer base coat with delicate swirls of pearlized polish applied delicately across the nails.
You can use a thin nail art brush to create this delicate design that’s perfect for any occasion.
Technique Tip: Use a small amount of polish on your brush to control the flow and create subtle swirls.
Color Play: Combining white with pastel hues can enhance the softness of this design, making it ideal for spring or summer events.
14. Pearlescent Dots

Pearlescent dots are a fun and chic way to add a playful twist to your nails. Using a dotting tool, create tiny dots of pearlized polish across a solid base for a fresh, trendy look.
You can go for a gradient of colors or a simple monochromatic scheme—either way, the result is an eye-catching design.
Application Tip: Ensure each dot is evenly spaced for a polished finish.
Style Insight: This design works beautifully for both casual settings and more formal occasions, allowing versatility in your manicure.

15. Pearl Cascade
For an ultra-glamorous look, the pearl cascade design is a must-try. This design features a cascade of pearl-like polish that flows beautifully down the nails, giving a waterfall effect.
Start with a solid base color and then create a gradient of pearlized shades that cascade down from the cuticle.
Technique Insight: Use a sponge to dab the polish at the cuticle and blend downwards for a seamless look.
Styling Tip: This design pairs perfectly with long nails, making them look even more elegant and elongated.
16. Metallic Pearl Shine

Metallic pearl nails are for those who want to stand out with a bold, shiny look. This design incorporates metallic pearl polish that reflects light beautifully, giving a luxurious finish.
You can opt for solid metallic colors or create intricate designs using a combination of metallic and pearl-like polishes.
Application Tip: Apply a base coat to help the metallic polish adhere better and enhance its shine.
Trend Tip: Pair with matte accents to create an interesting contrast that plays with texture.


17. Pearlized Lace Details
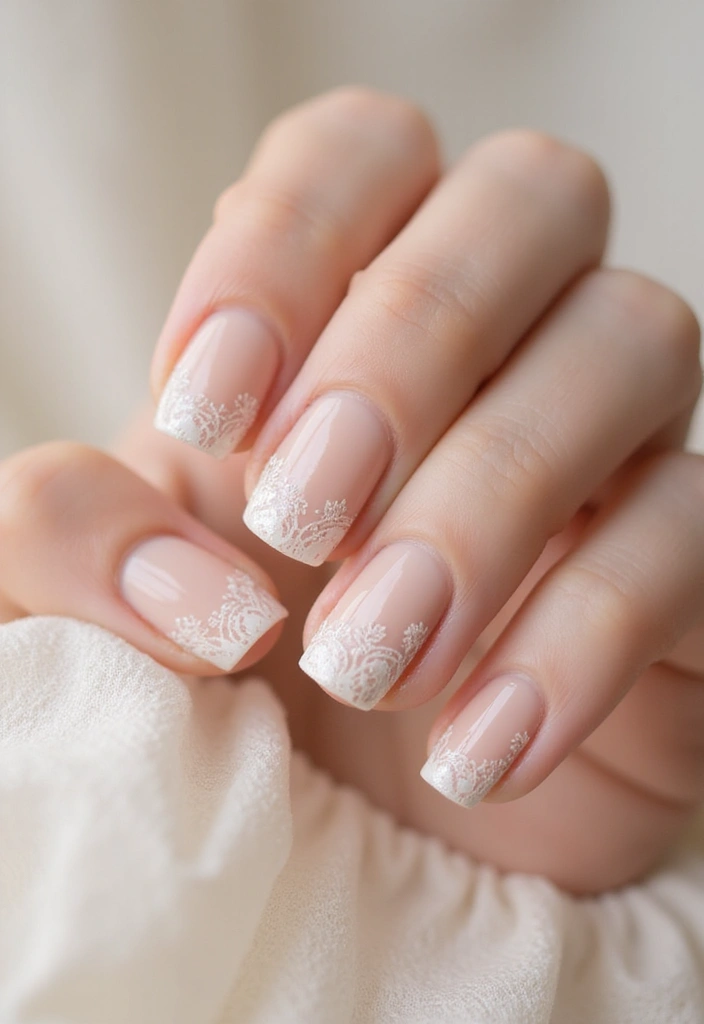
For a romantic and sophisticated vibe, pearlized lace details are a stunning option. This design involves delicate lace patterns painted in pearlescent shades over a nude or white base.
You can use a nail art brush or stamping plates to create intricate lace designs that mimic the softness of lace fabric.
Tech Tip: Be patient and take your time with the detailing for a flawless finish.
Perfect For: This design is perfect for bridal nails or any special occasion where elegance is key.


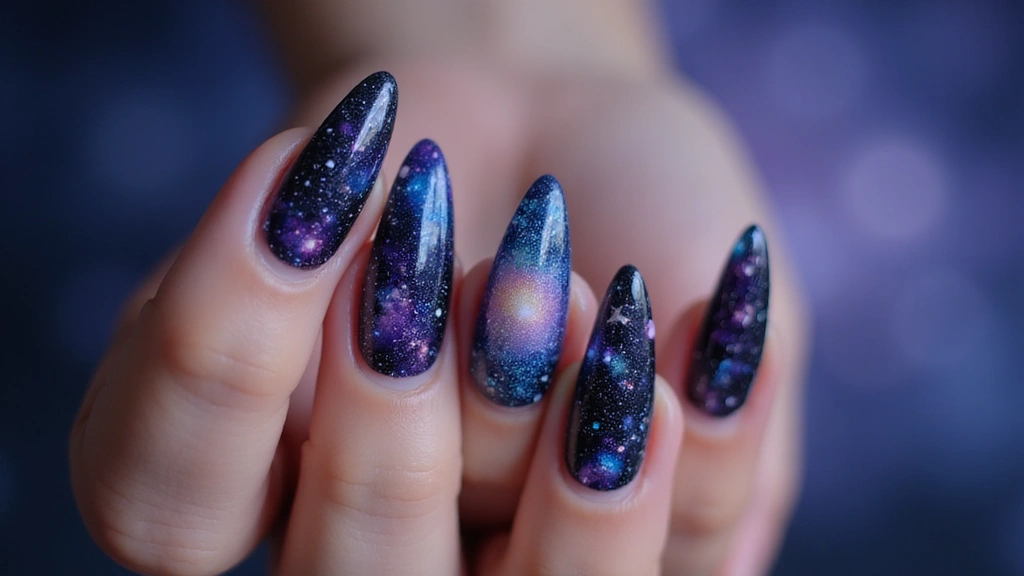
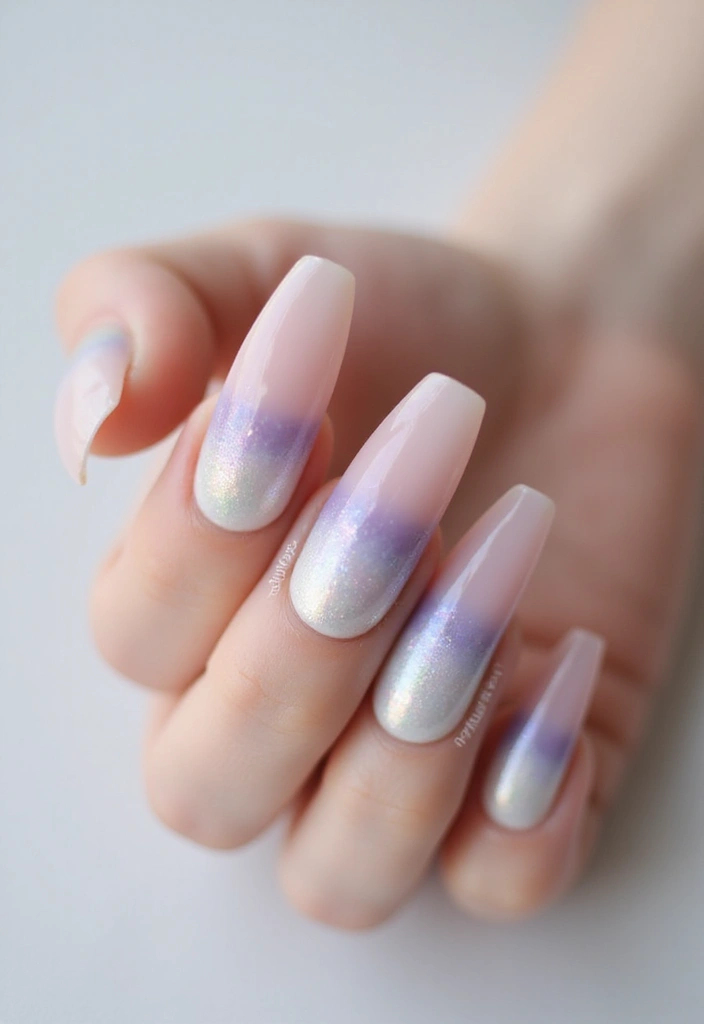
18. Twilight Pearl Glow
The twilight pearl glow captures the essence of a dreamy evening sky with shades of purple and blue, reflecting a soft pearl finish. This design features a blend of colors that transition seamlessly, much like the sunset fading into night.
Start with a light base and layer your pearl polishes gradually to achieve the perfect twilight blend.
Application Tip: Use a sponge for adding the color layers, and be gentle with the transitions for a smooth finish.
Perfect Pairing: This design goes beautifully with a starry accent on one nail, enhancing the night sky theme.
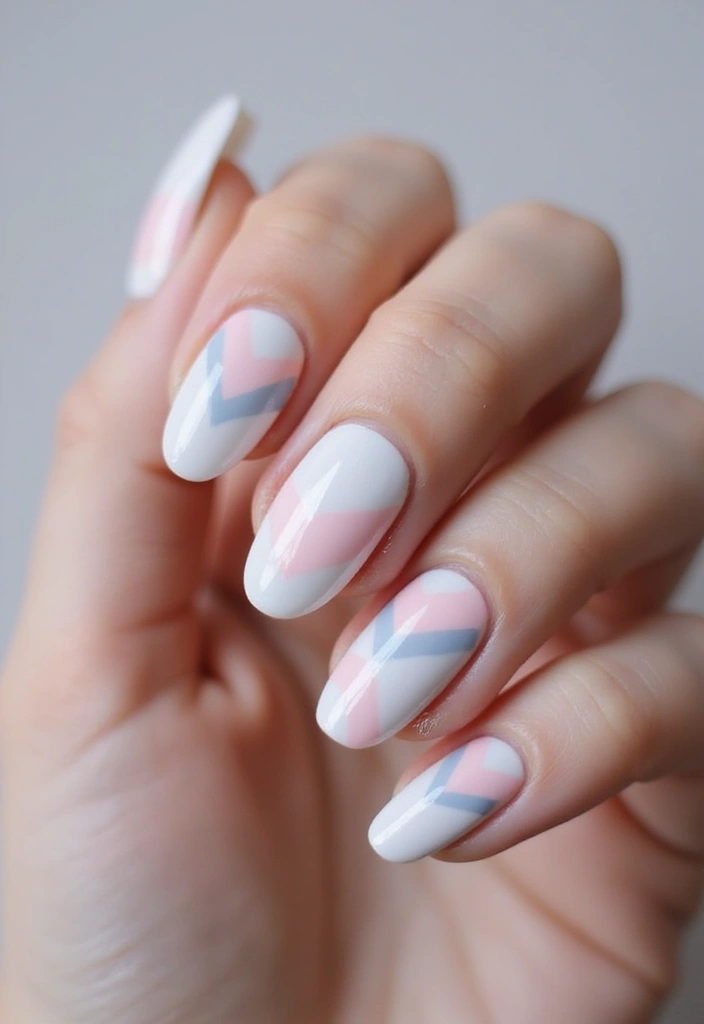
19. Pearlescent Chevron
Chevron designs are a fun and dynamic way to showcase your nails, especially when paired with a pearlescent finish. This design features alternating chevron patterns painted in different pearlescent shades.
You can start with a neutral base and then layer your chevrons for a bold effect.
Application Tip: Use nail striping tape to create clean lines and shapes for that perfect finish.
Color Ideas: Mixing light pastels or using contrasting bold colors will give your chevron design a vibrant look.


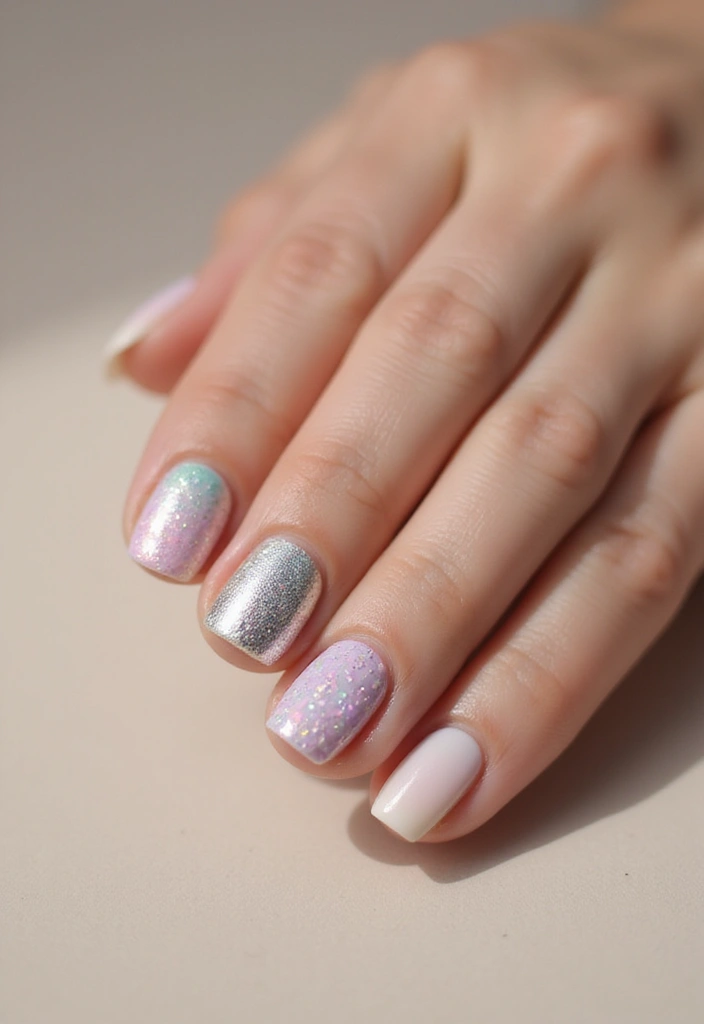
20. Glossy Pearl Flakes

Glossy pearl flakes are a trendy way to add texture and sparkle to your nails. This design involves applying small flakes of pearlescent polish over a solid base.
The flakes catch the light beautifully, creating a stunning effect that resembles crushed pearls.
Application Tip: Apply a thin coat of base color, let it dry, and then gently press the flakes into the polish before sealing with a topcoat.
Visual Appeal: This look is perfect for those who want a little glam without going overboard.


21. Pastel Pearl Design

Pastel pearl designs are soft, delicate, and perfect for those wanting a subtle touch of elegance. Using soft pastel shades like mint, lavender, or baby pink, create a pearlescent finish that enhances natural beauty.
This design is perfect for casual outings or everyday wear.
Application Tips: Always apply a base coat for an even finish, and use a quick-dry top coat to maintain the shine.
Style Insight: Pastel pearlescent nails are timeless and can be paired with any outfit, making them a versatile choice.
Soft pastel pearls are like whispers of elegance on your nails, perfect for everyday moments. Embrace the timeless glow and let your nails shine with subtle sophistication!
22. Pearl and Lace Encapsulation

For an intricate and stunning design, consider encapsulating lace with a pearl-like finish. This involves laying lace on the nail and covering it with a clear or pearlescent topcoat.
The result is a stunning 3D effect that makes your nails truly unique.
Application Insight: Make sure to apply thin layers to avoid bulkiness and ensure a smooth finish.
Perfect For: This design is ideal for special occasions like weddings or anniversaries where elegance is essential.
23. Frosted Pearl Tips
Frosted pearl tips offer a lovely twist on the traditional French manicure. Instead of a glossy finish, this design employs a frosted topcoat for a sophisticated look.
Start with a soft base and create a frosted effect at the tips using a pearlescent polish.
Application Tip: Apply the frosted polish lightly to maintain an ethereal quality.
Stylish Pairing: This design pairs beautifully with minimalist jewelry, making it an excellent choice for daily wear.


24. Pearlescent Neon Burst
For those who want to make a bold statement, the pearlescent neon burst design is an exciting option. This look combines neon colors with a pearlescent finish for a vibrant yet polished look.
Start with a neon base and add pearlescent accents for a pop of shine.
Application Insight: Use bright neon colors as a background and apply pearlescent polish in fun patterns on top.
Event Ready: This design is perfect for parties or festivals, adding a playful twist to your nails.


25. Abstract Pearl Art
Abstract pearl art is a creative way to express your personality through your nails. This design involves applying random shapes and lines in pearlescent shades on a solid background.
Use a thin brush to create an abstract look, playing with colors and shapes for a unique design.
Application Tip: Don’t be afraid to mix different colors and even textures for a more dynamic look.
Creative Insight: Abstract designs allow for endless creativity, making each nail a miniature piece of art.


26. Pearl and Metallic Fusion
The fusion of pearl and metallic finishes creates a bold and luxurious look for your nails. This design combines pearlescent colors with shiny metallics, resulting in a striking contrast.
You can use metallic polish as an accent or intertwine it with pearlescent shades for a dynamic effect.
Application Tip: Use a fine brush to create patterns and lines, ensuring both colors complement each other well.
Fashion Insight: This design works beautifully for evening events, elevating your style to new heights.
27. Shimmering Pearl Caviar

Shimmering pearl caviar nails are a textured design that mimics the look of caviar using tiny pearl-like beads. Start with a solid base and apply these beads to the nails for a stunning 3D effect.
This design not only looks chic but also feels unique, providing an exciting tactile experience.
Application Tip: Use a dipping technique to apply the beads evenly across the nail.
Event Suitable: This design is perfect for special occasions where you want to showcase a playful yet elegant nail art.
Elevate your nail game with shimmering pearl caviar! This chic design offers not just a stunning visual effect but a unique tactile experience that’s perfect for special occasions. Let your nails shine with a Pearlfect Glow!


28. Dazzling Pearl Dip

For a truly eye-catching effect, the dazzling pearl dip design is an innovative approach to your manicure. This involves dipping your nails in a pearlescent powder for a unique finish that’s both shiny and textured.
Choose a base color, and once dry, gently dip your nails into the pearlescent powder for a beautiful finish that mimics the look of real pearls.
Application Tip: Make sure to seal your design with a topcoat to preserve the shine and ensure longevity.
Event Ready: Perfect for special evenings, this design will undoubtedly make your nails the center of attention.
Elevate your nail game with a dazzling pearl dip! ✨ This innovative technique not only adds shine but also gives your manicure texture that’s as eye-catching as real pearls. Seal it with a topcoat for a pearlfect glow that lasts!


Conclusion
With these 28 lustrous pearl nail ideas, you’re all set to transform your manicure game into something truly elegant and eye-catching.
Each design offers a unique twist, whether you prefer subtlety or boldness. Embrace your creativity and let your nails shine with your personality! Don’t forget to share your favorite designs and try out new combinations to keep things fresh and fun.
Frequently Asked Questions
What are some popular pearl nail designs featured in the article?
The article showcases a variety of stunning designs, including the Opalescent Ombre, Pearlized French Tips, and Shimmering Shells. Each design offers a unique twist on traditional nail art, incorporating iridescent colors and glossy finishes that reflect light beautifully. Explore these nail art ideas to elevate your manicure game!
How can I achieve a glossy finish for my pearl-inspired nails?
To achieve that sought-after glossy finish, start with a high-quality pearlescent polish and finish with a clear topcoat. This will enhance the shine and protect your nail art. Additionally, consider using a buffer to smooth out the nail surface before applying polish for an even more lustrous look!
Are there any tips for maintaining iridescent nails?
Absolutely! To keep your iridescent nails looking fresh, apply a topcoat every few days to maintain that stunning shine. Avoid prolonged exposure to water and harsh chemicals, as these can dull the finish. Regular touch-ups can also help keep your nails looking fabulous and extend the life of your manicure.
Can I customize pearl nail designs to match my style?
Definitely! Customization is key to making your pearl nail designs reflect your personality. You can mix different shades, add glitter accents, or incorporate unique patterns like florals or geometric shapes. Use your creativity to explore various combinations that suit your style and preferences!
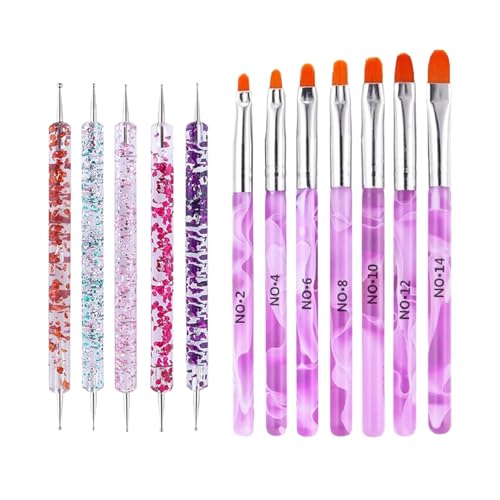
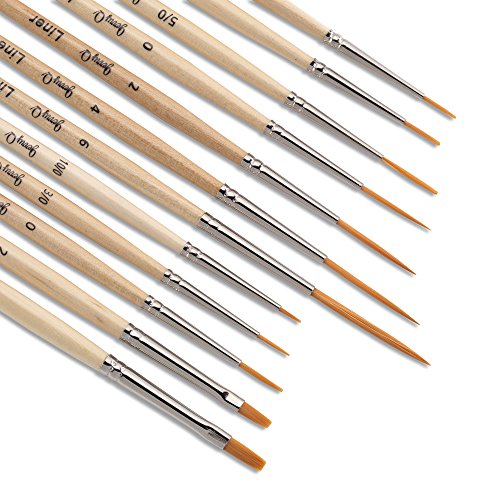
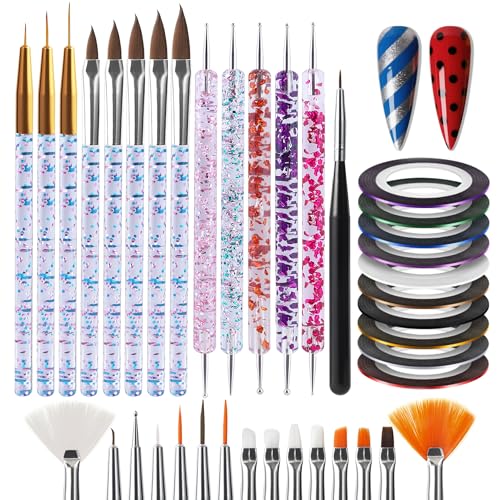
What tools do I need to create pearl-inspired nail art at home?
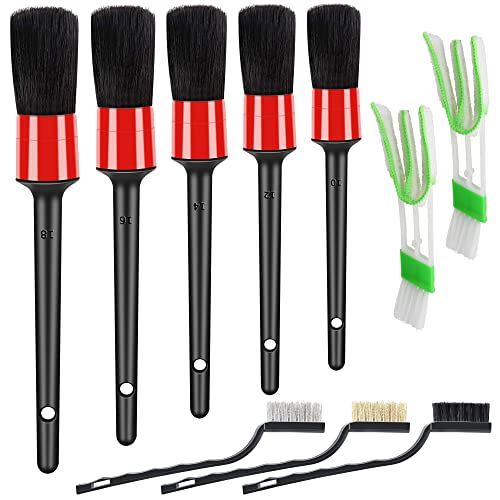
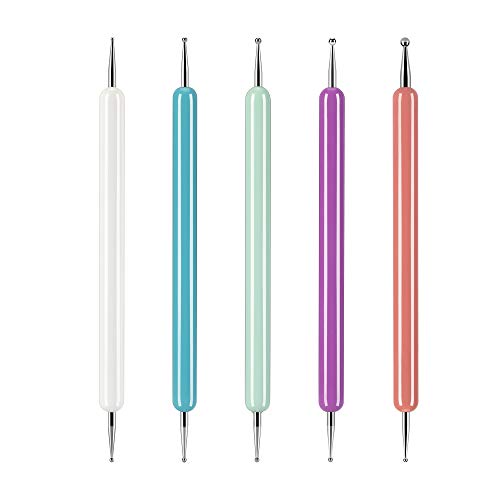
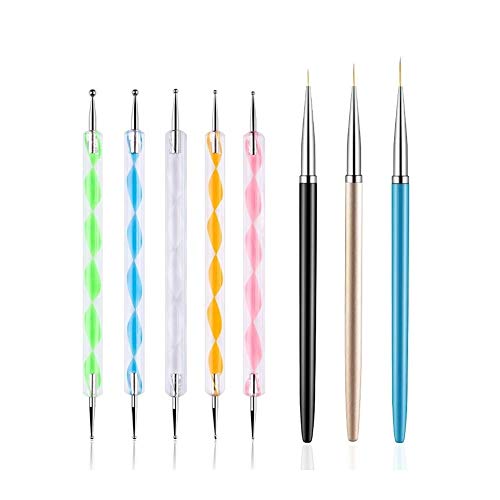
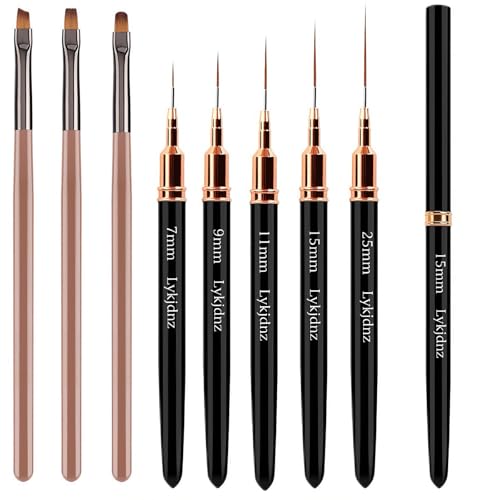
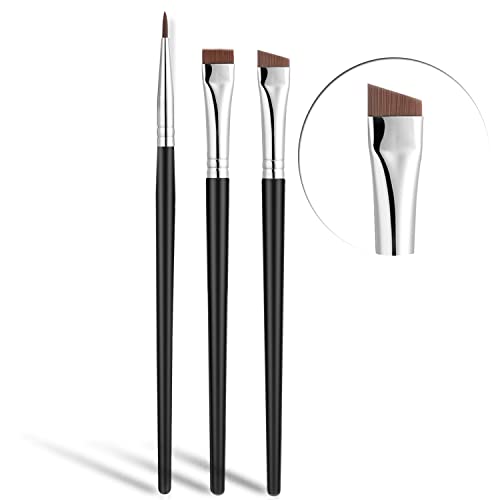
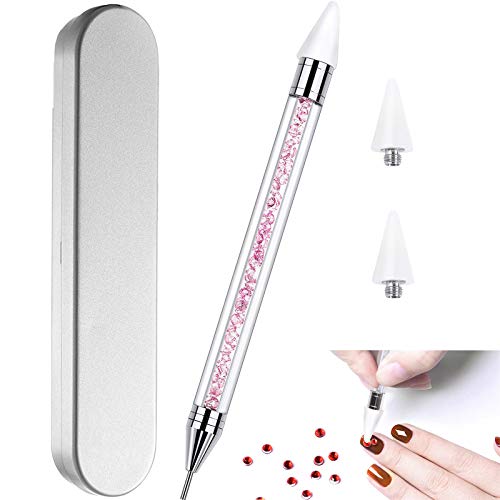
Creating stunning pearl-inspired nail art at home is easier than you think! Essential tools include a base coat, your choice of pearlescent or iridescent polishes, a clear topcoat, a dotting tool for detailed designs, and nail brushes for intricate work. With these tools, you can experiment with various techniques and nail art ideas to achieve that perfect pearlfect glow!