Stepping into the world of luxury nail art is like entering a candy store for your fingertips, where every detail counts. From intricate designs to the latest trendy colors, achieving professional perfection is not just for the salon anymore. With the right techniques and a little imagination, you can create stunning manicures that are both salon-quality and chic.
Whether you’re a nail technician looking to impress clients or simply someone who wants to elevate their day-to-day nail game, this collection of 28 must-try manicure ideas is your ticket to fabulous nails. Explore a range of nail art designs and DIY manicure tips that will leave you feeling glamorous and confident. Get ready to indulge in intricate details and luxurious care that will transform your nails into a statement of style and elegance.
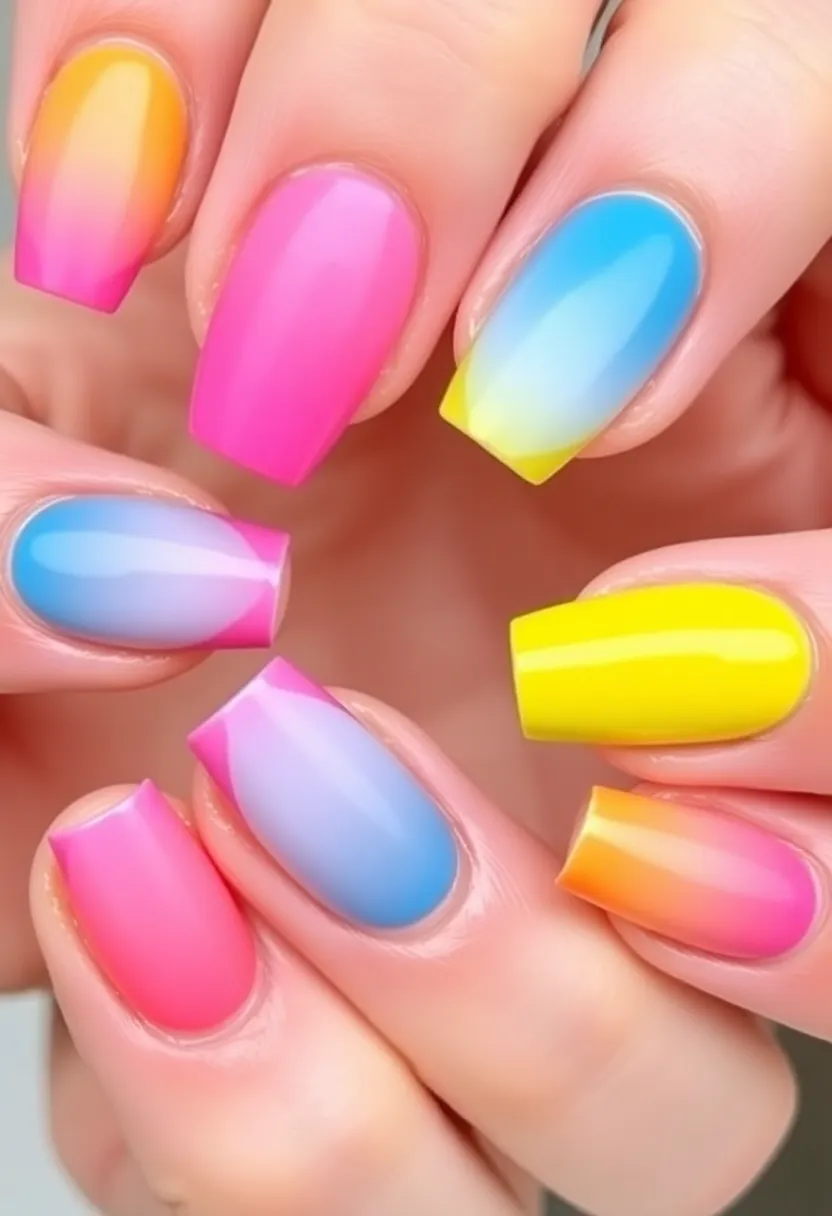
1. Ombré Elegance
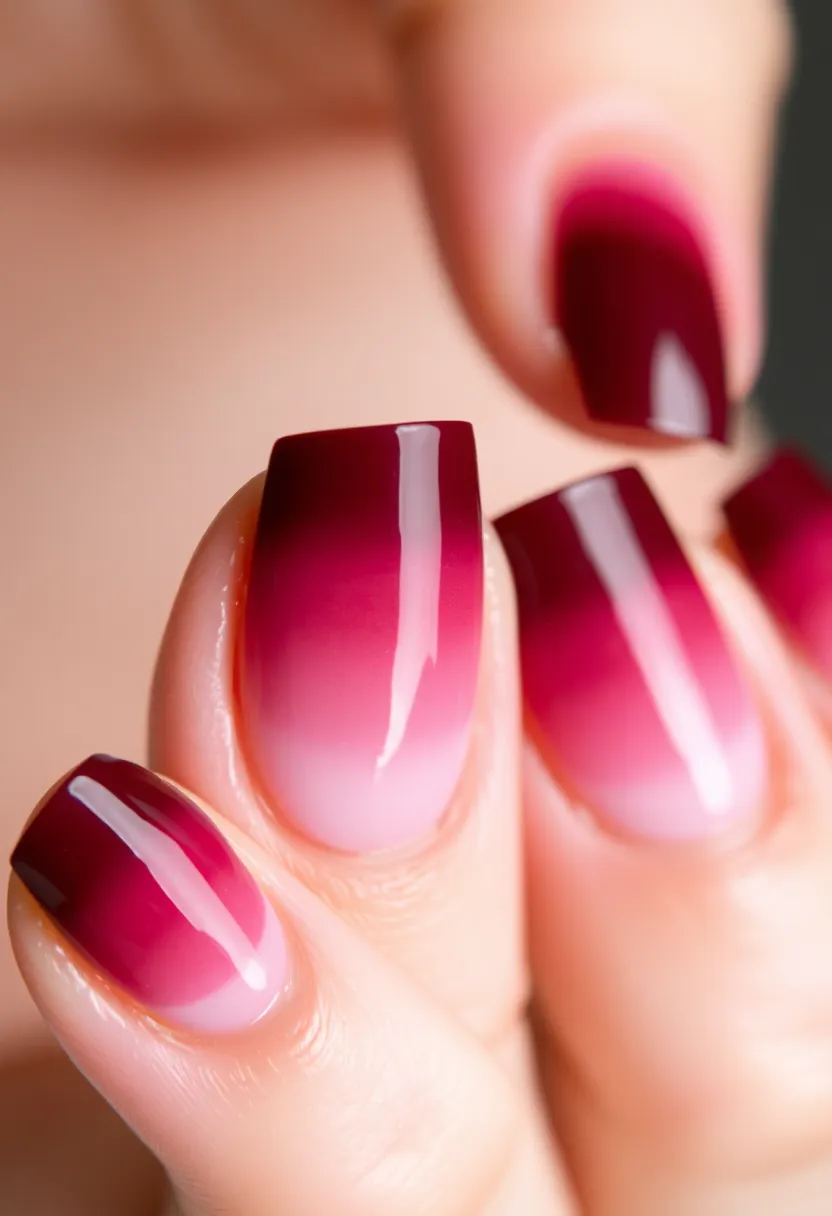
The ombré trend has taken the nail world by storm, blending colors seamlessly for a stunning gradient effect. This look is all about smooth transitions between shades, whether it’s a soft pink fading into a rich burgundy or a bold blue melting into a deep navy.
To achieve professional perfection, start with a base color, then use a makeup sponge to dab on the second color at the tips, blending as you go. Finish with a glossy top coat for that salon-quality shine.
Why it’s a hit: Ombré nails are versatile and can match any outfit or occasion.
Essential tools: Makeup sponge, nail polish in two complementary colors, and a top coat.
Tip: For beginners, stick to similar shades for an easier blend, and don’t be afraid to practice until you get the technique just right.
Elevate your nail game with ombré elegance! Blend colors for a stunning gradient that screams professional perfection—because your nails deserve to shine as bright as your personality.


2. Geometric Glam

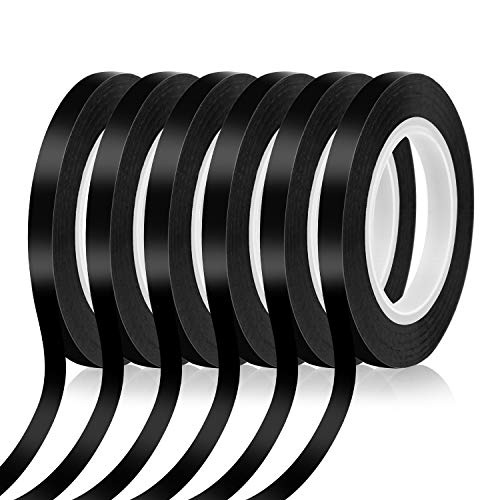
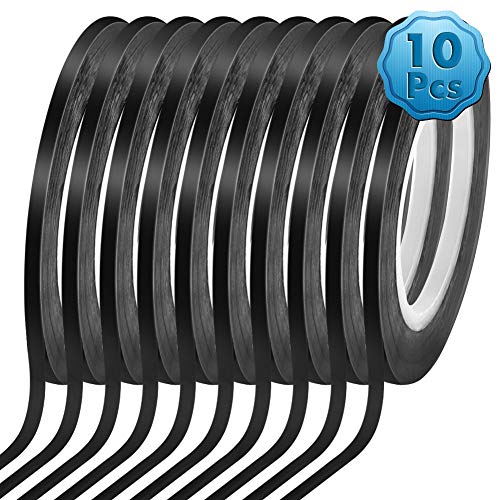
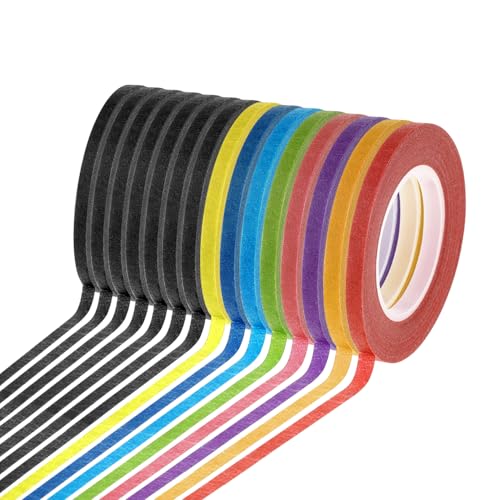
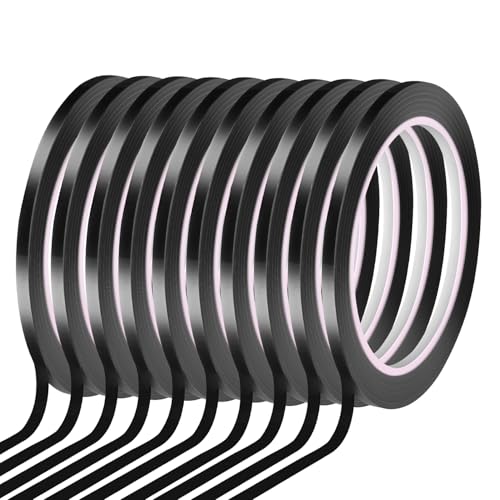
Geometric nail art is not just a trend; it’s a statement. Sharp lines, triangles, and squares can create a modern look that’s chic and eye-catching. Using tape is crucial for achieving those clean lines.
Start with a neutral base, then pick one or two colors for your geometric shapes. Apply tape to create sections on your nails before painting over them with your chosen colors. Once dry, carefully remove the tape for precise edges.
Why it’s a hit: Geometric designs can be customized to fit any personality.
Essential tools: Striping tape, two or three nail polish colors, and a top coat.
Tip: Try using colors from the same palette for a cohesive look, or go bold with contrasting colors for a more dynamic design.


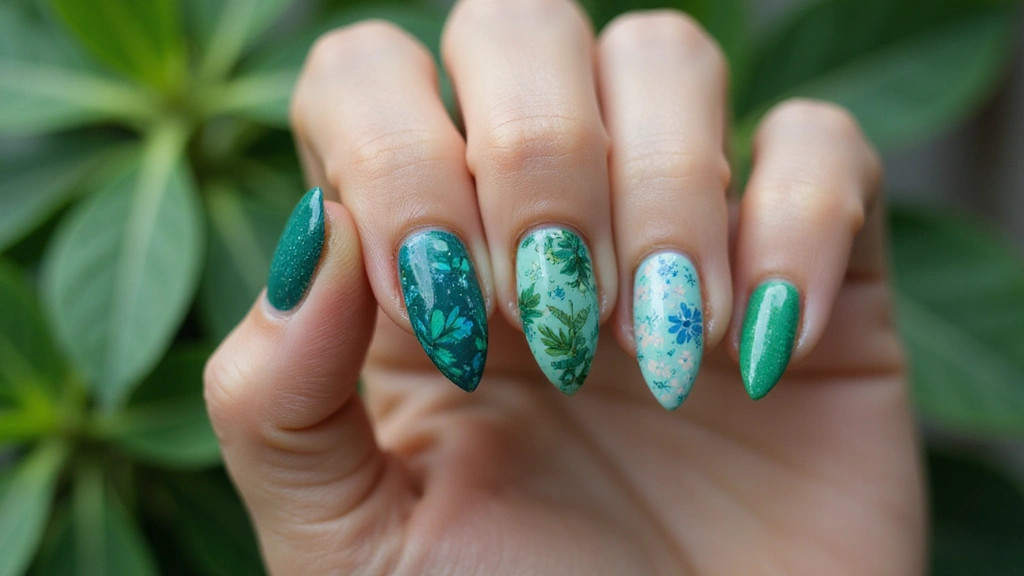
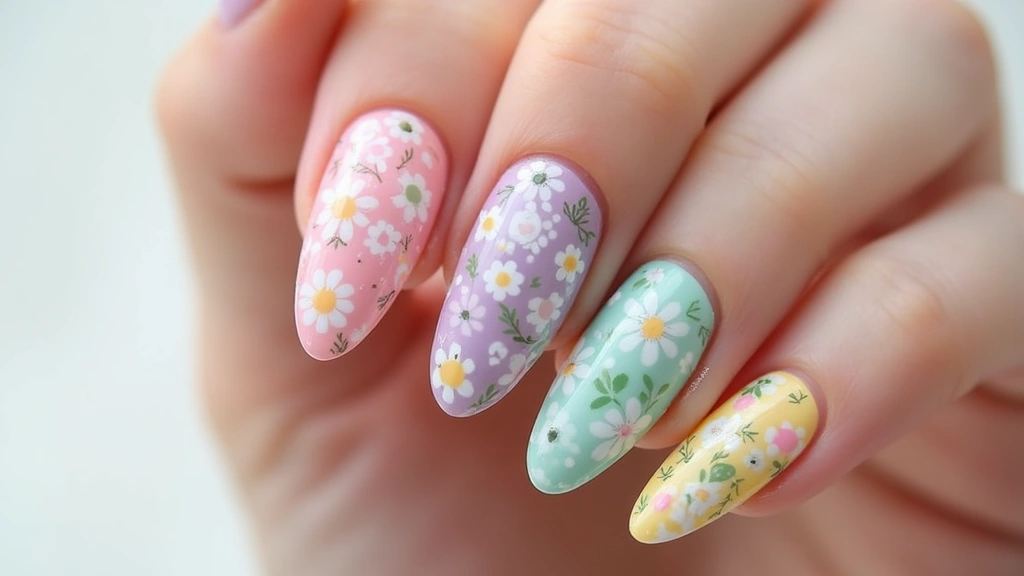
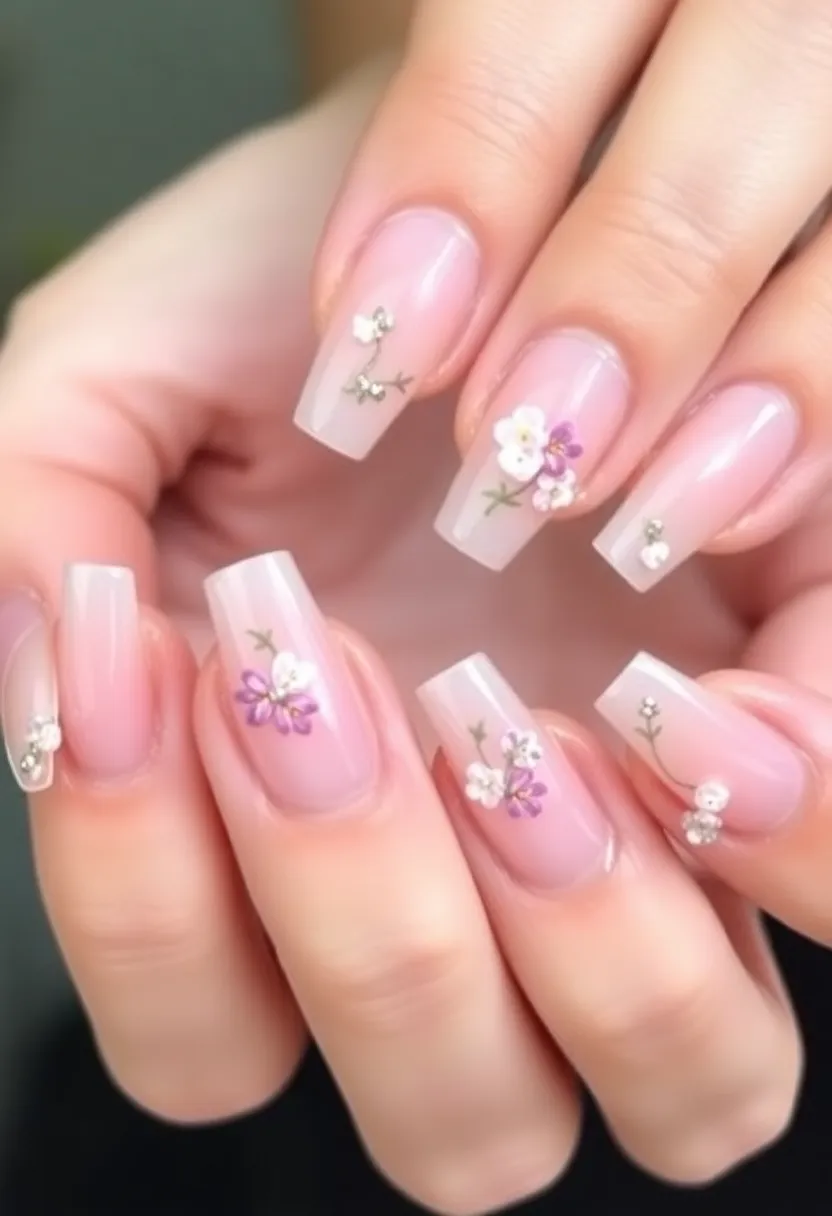
3. Floral Fantasy
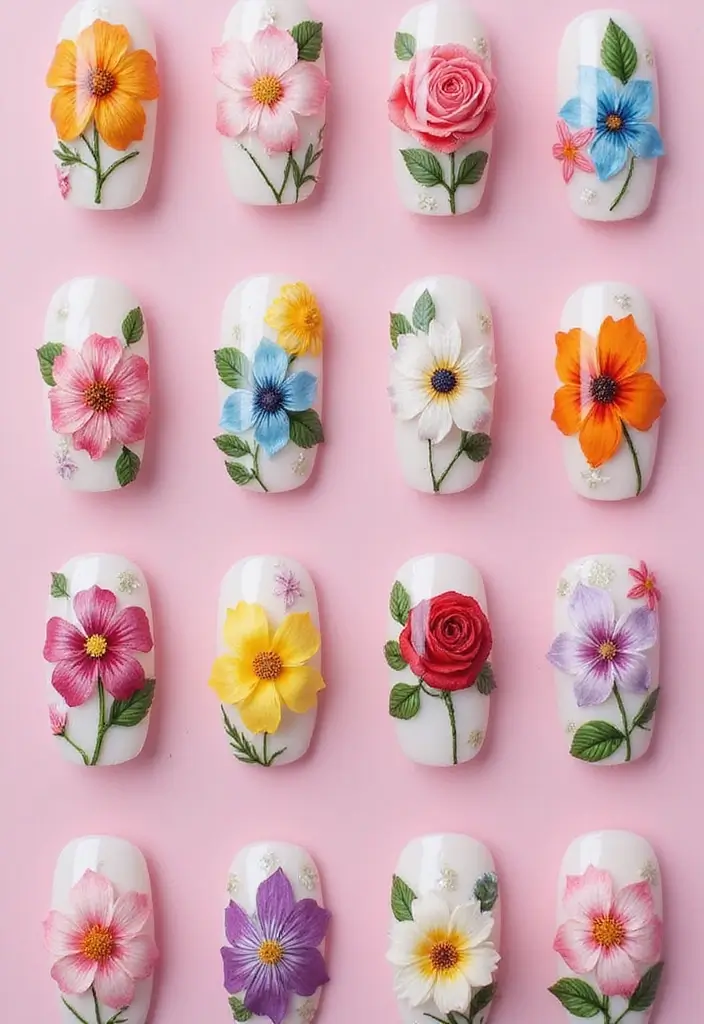
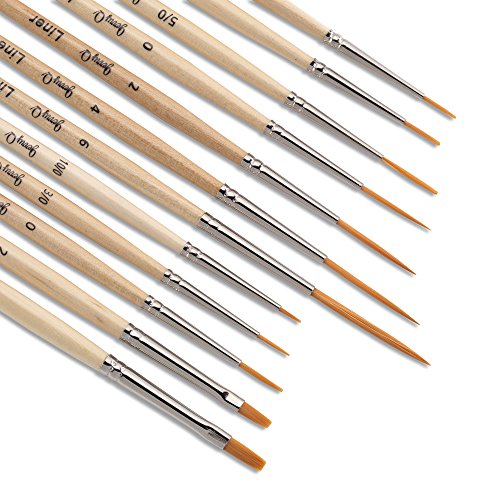
Bring a touch of nature to your nails with beautiful floral designs. From delicate daisies to bold roses, floral nail art adds a feminine and playful vibe to your look.
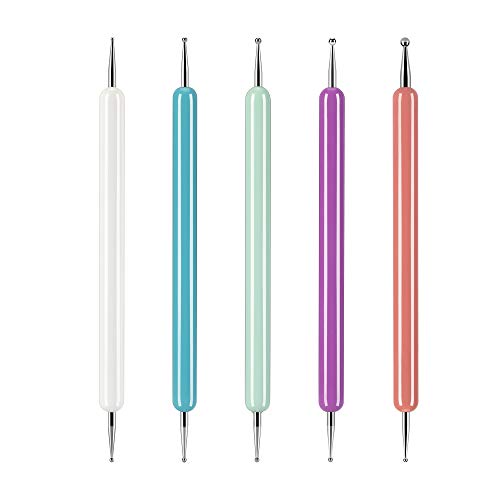
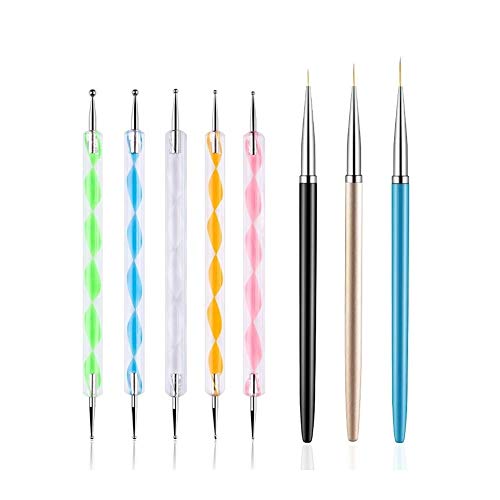
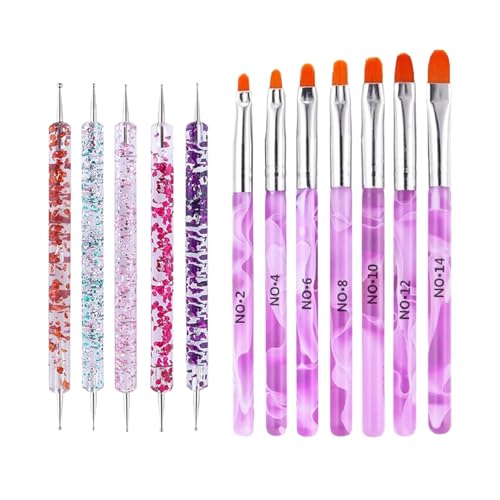
To create floral designs, start with a solid base color. Using a fine brush or dotting tool, add flower shapes and leaves with contrasting colors. Don’t forget to finish with a top coat to seal in your designs.
Why it’s a hit: Floral nails are perfect for spring and summer, adding a cheerful touch to any outfit.
Essential tools: Fine nail art brush, dotting tool, and multiple colors of nail polish.
Tip: Keep the flowers small for a subtle look or go large for a statement piece. Experiment with different flower types and colors to find what you love best.


4. Marble Effect
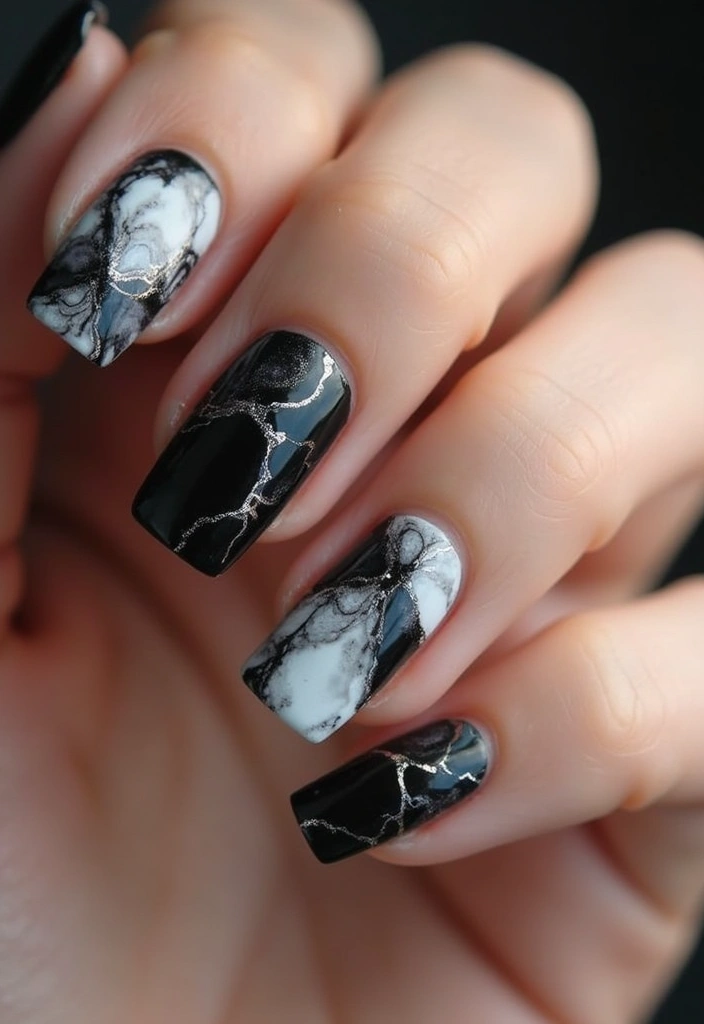
Marble nails mimic the beautiful swirls and patterns found in nature, giving your manicure a luxe feel. The best part? This look can be achieved at home with just a few tools!
Begin with a white base coat, then use a thin brush to create swirling patterns in shades of grey, black, or even metallics. A little water in the mix can help to create softer lines and more fluid designs. Once you’re satisfied with your marble look, a glossy top coat will tie it all together.
Why it’s a hit: Marble nails are elegant and sophisticated, perfect for any occasion.
Essential tools: Thin nail art brush, water for blending, and a top coat.
Tip: Practice on a piece of paper before trying it on your nails to perfect the swirling technique.


5. Metallic Shine
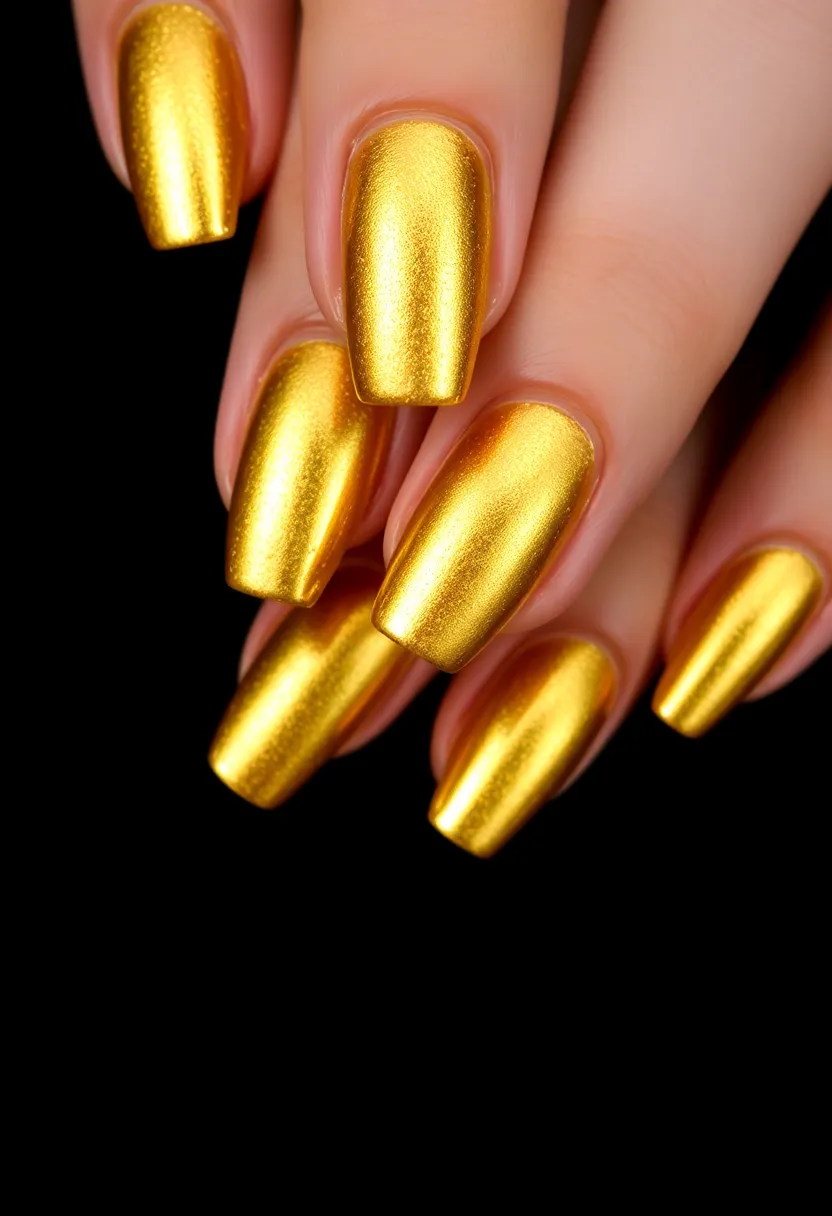
Metallic nails are all the rage, offering a chic and edgy look that stands out. Whether you prefer gold, silver, or a bold metallic hue, this trend is perfect for adding glamour to your manicure.
To get the metallic effect, use a high-quality metallic nail polish or even a chrome powder for an extra shine. Start with a base coat, followed by two layers of the metallic polish, allowing each to dry fully. Seal the look with a glossy top coat to lock in that mirror-like shine.
Why it’s a hit: Metallic nails are perfect for parties or nights out, making your hands the center of attention.
Essential tools: Metallic nail polish or chrome powder, base coat, and top coat.
Tip: Mix metallic shades for a gradient effect or try using matte top coats for a unique finish on metallic colors.


6. Classic French Twist

The classic French manicure never goes out of style, but why not give it a modern twist? Incorporate fun colors into the tips or use different shapes for a fresh take on this timeless look.
Start with a nude or light pink base and choose a vibrant color for the tips—think electric blue or neon green for something bold! Alternatively, experiment with different shapes: try a square or almond shape for the tips instead of the traditional rounded look. Top it off with a glossy finish for that chic appeal.
Why it’s a hit: The French twist is elegant yet playful, suitable for any occasion.
Essential tools: Base coat, chosen tip color, and a glossy top coat.
Tip: For a more intricate look, try adding tiny designs or glitter along the tips.
Elevate your manicure game with a modern French twist! Swap traditional colors for bold hues and experiment with shapes for a chic, fresh look that screams professional perfection.


7. Textured Touch
Texture is a fun way to add dimension to your nails. Whether it’s a matte finish, glitter, or even a sand-like texture, this trend is all about making your nails intriguing.
Begin with a base color, then layer on a textured top coat or sprinkle on some glitter while the polish is still wet. Textured finishes tend to be eye-catching, making your nails a focal point.
Why it’s a hit: Textured nails provide a sensory experience and are perfect for those looking to stand out.
Essential tools: Base coat, textured top coat or glitter, and a top coat.
Tip: Combine different textures on each nail for a mixed-media approach!


8. Jewel-Toned Glam
Jewel tones like emerald, sapphire, and ruby are perfect for creating luxurious-looking nails. These rich colors evoke a sense of royalty and elegance that can elevate any look, making them ideal for special occasions or a touch of everyday luxury.
Apply a base coat, followed by two layers of your chosen jewel-toned polish. For an added touch of glam, consider using a glitter top coat or gold foil accents.
Why it’s a hit: Jewel tones are universally flattering and work well in all seasons.
Essential tools: Base coat, jewel-toned polish, glitter top coat, or gold foil.
Tip: Pair jewel tones with a neutral outfit to let your nails shine bright!


9. Minimalist Chic
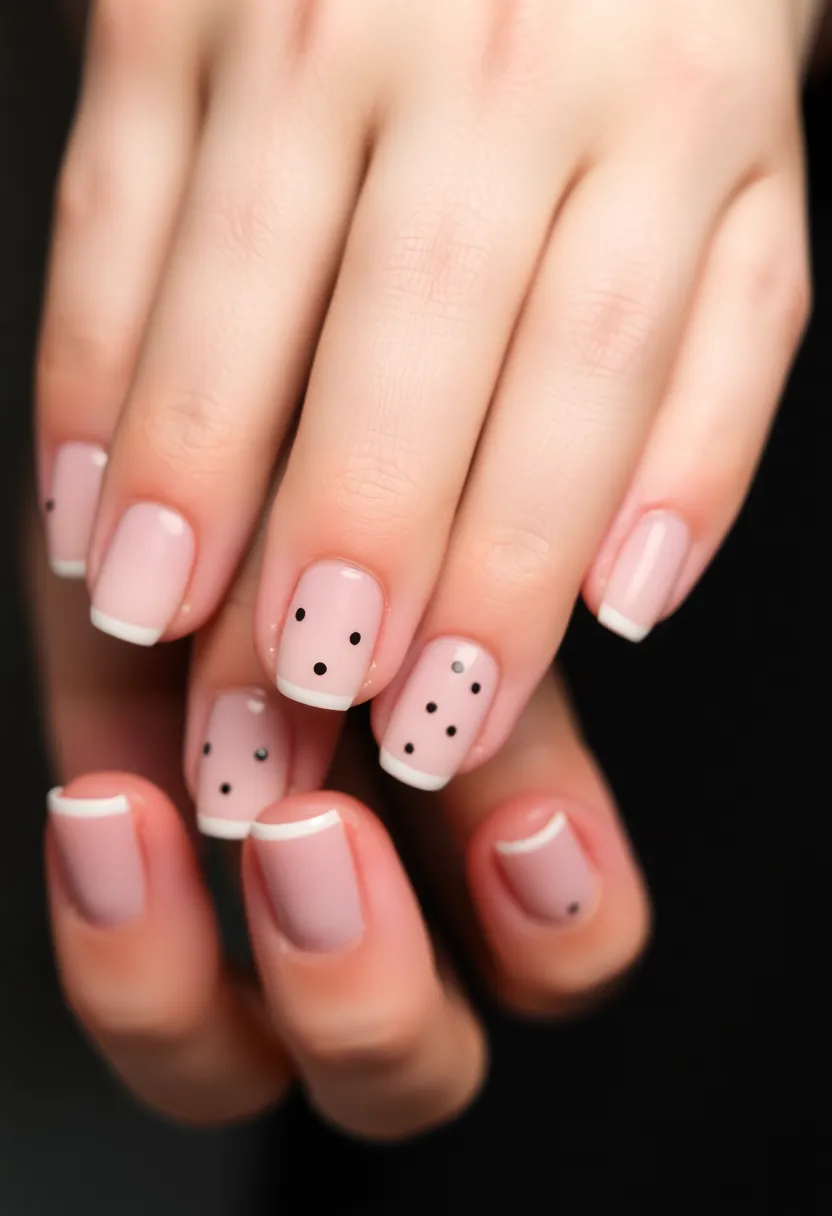
Minimalism has become a staple in the nail art scene, with clean lines and subtle designs taking the spotlight. Think nude bases with delicate dots, stripes, or tiny shapes for a classy yet understated look.
Start with a nude or light shade as your base, then use a fine brush to add minimalist designs. Keep the colors to a minimum, focusing on simplicity to achieve that chic aesthetic.
Why it’s a hit: Minimalist nails are sophisticated and timeless, suitable for both casual and formal settings.
Essential tools: Nude or light nail polish, a fine brush for designs, and a top coat.
Tip: Consider using negative space (leaving parts of the nail bare) to enhance the minimalist vibe further!
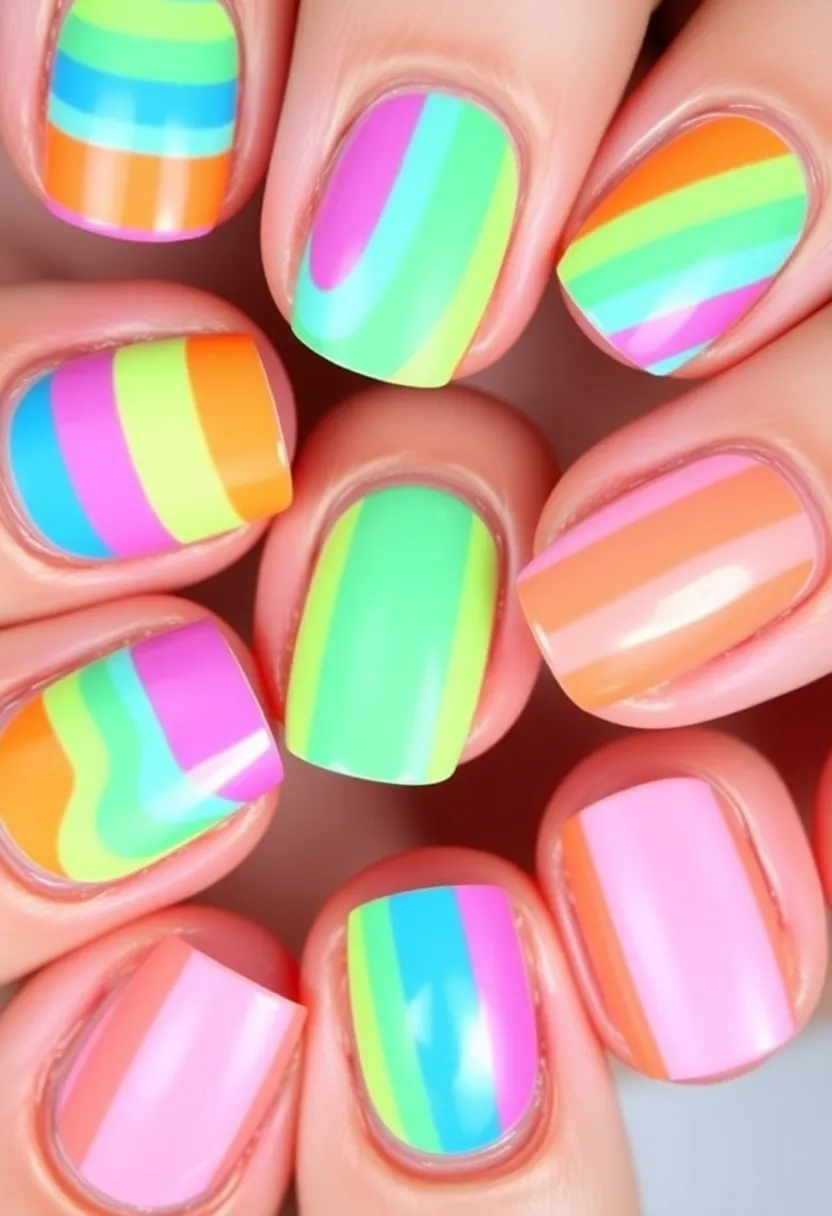
10. Neon Pop

Brighten your day with neon nails that scream fun and excitement! Neon colors are vibrant and perfect for summer, adding a playful twist to any look.
Start with a white base for a bold color payoff, then apply your chosen neon shade. For added flair, consider alternating between different colors on each hand or adding nail art designs like stripes or dots.
Why it’s a hit: Neon nails are fun and eye-catching, perfect for festivals or vacations.
Essential tools: White base coat, neon nail polishes, and a top coat.
Tip: Pair neon nails with a simple outfit to let your nails do the talking!
11. Artistic Abstract

Abstract nail art is where creativity knows no bounds. Swirls, splashes, and random patterns can create unique looks that are one-of-a-kind. This trend allows you to express yourself freely, making nail art like true art.
Start with a base coat, and using different colors, let your creativity flow by applying them randomly. You can use tools like brushes, sponges, or even your fingers to create interesting looks. Seal everything with a top coat for that professional finish.
Why it’s a hit: Abstract designs are unique to each person, making them a perfect conversation starter.
Essential tools: Base coat, multiple nail polish colors, and top coat.
Tip: Try doodling on a piece of paper first to get a feel for the patterns you want to create.


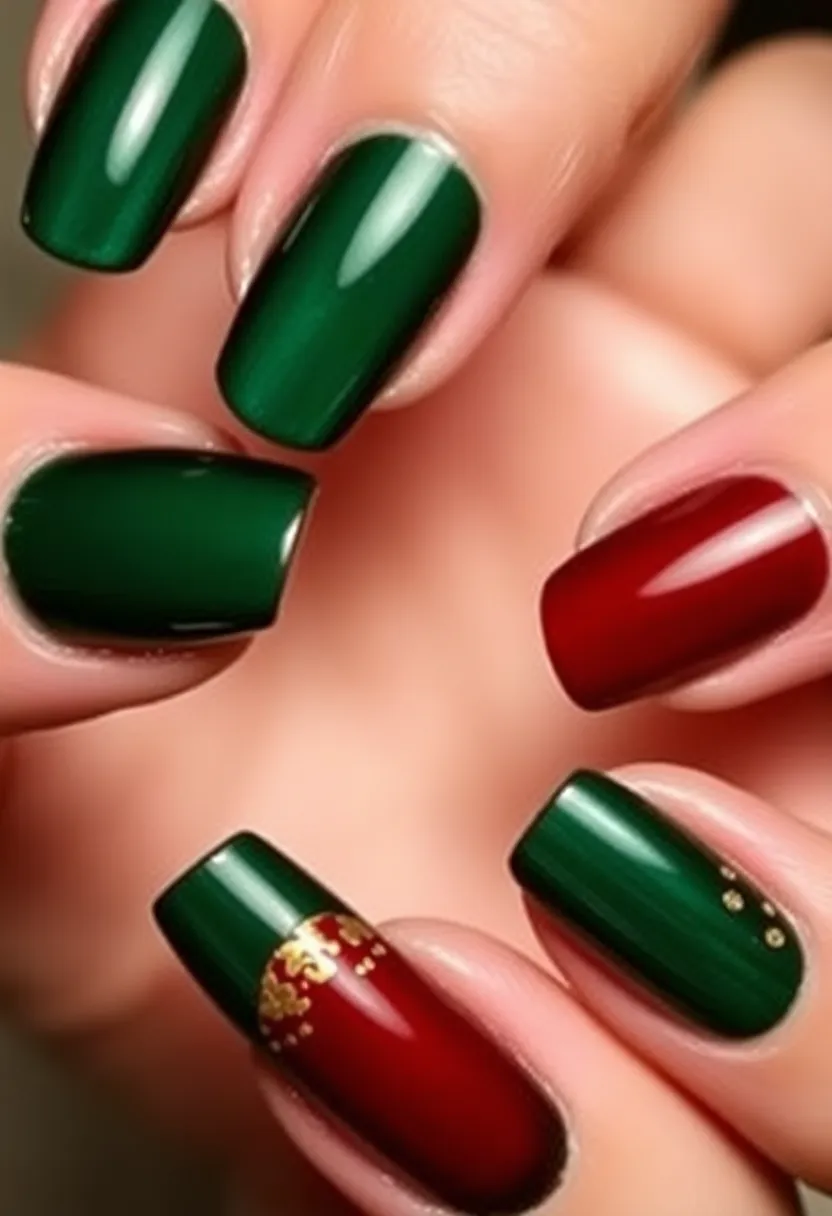
12. Holiday Ready

No nail art collection would be complete without festive designs for the holidays! From Christmas-themed nail art with snowflakes to spooky Halloween nails, seasonal designs are perfect for getting into the spirit of the occasion.
Choose a holiday color palette and get creative with symbols like trees, pumpkins, or hearts. A simple nail art brush and dotting tool can help you create these festive designs easily.
Why it’s a hit: Holiday nails make for an excellent way to show your festive spirit and creativity.
Essential tools: Holiday colors, fine brush, dotting tool, and top coat.
Tip: Look up inspiration for the holiday you are celebrating to get ideas for your designs.


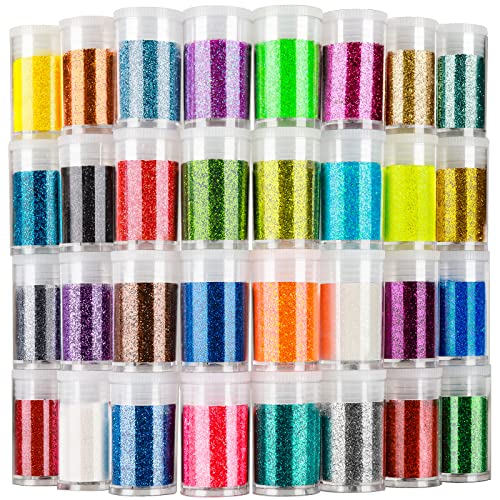
13. Gradient Glitter
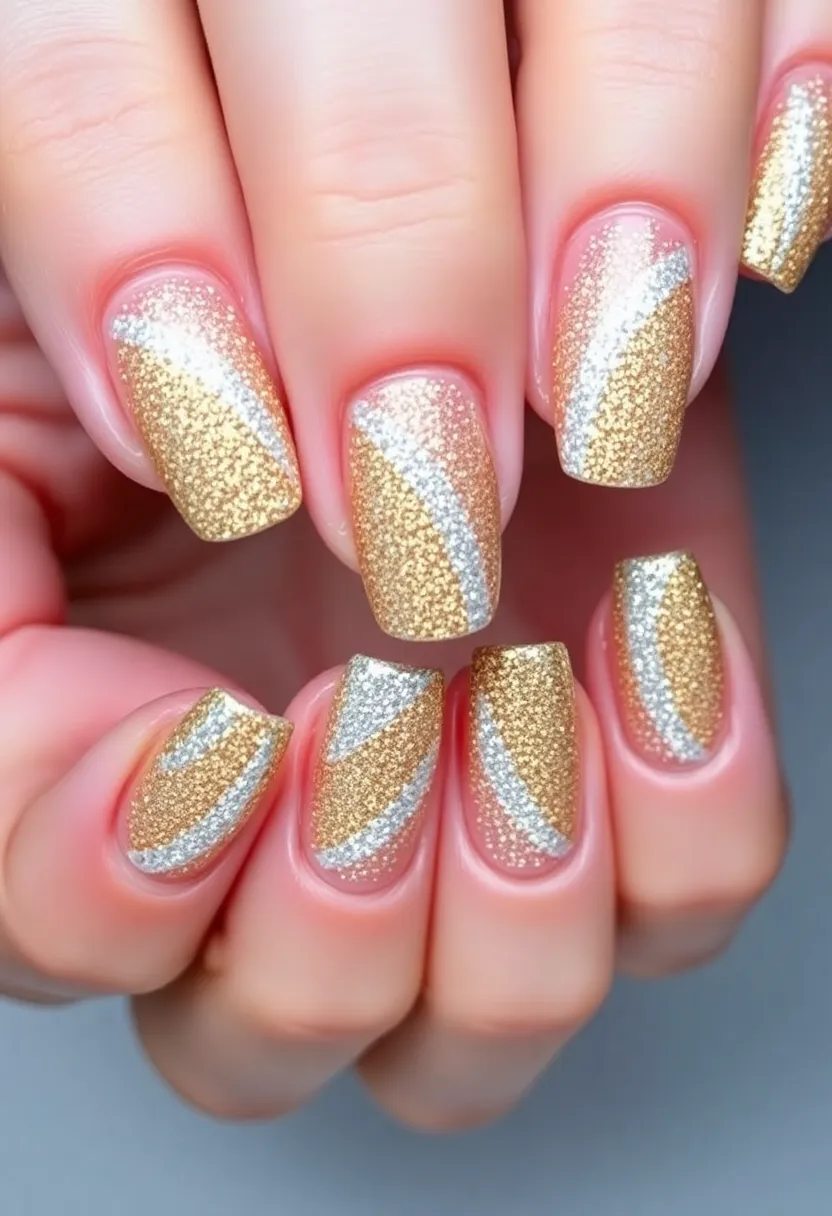
Glitter is a must-have for any nail art lover, and combining it with a gradient effect takes it to the next level! This look blends colors while adding a touch of sparkle that’s perfect for parties or nights out.
Begin with a base coat of your chosen color, then apply glitter polish at the tips and blend it down toward the base for a gradient effect. Be sure to seal everything with a top coat to smooth out any rough edges and give it shine.
Why it’s a hit: Gradient glitter nails are eye-catching and have a fun sparkle that’s perfect for celebrations.
Essential tools: Base coat, glitter polish, and top coat.
Tip: For an ombré-glitter effect, use two or three shades of glitter polish, blending them together for a seamless look.


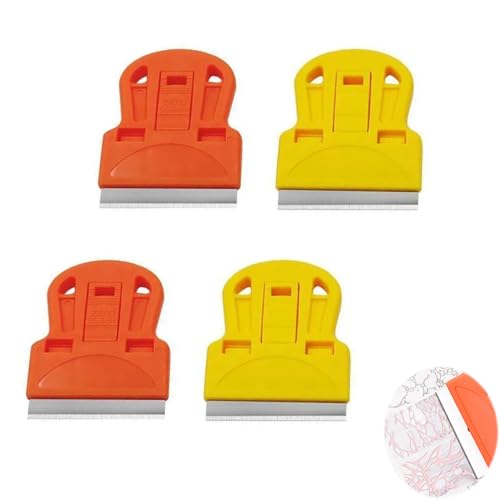
14. Striking Stamping
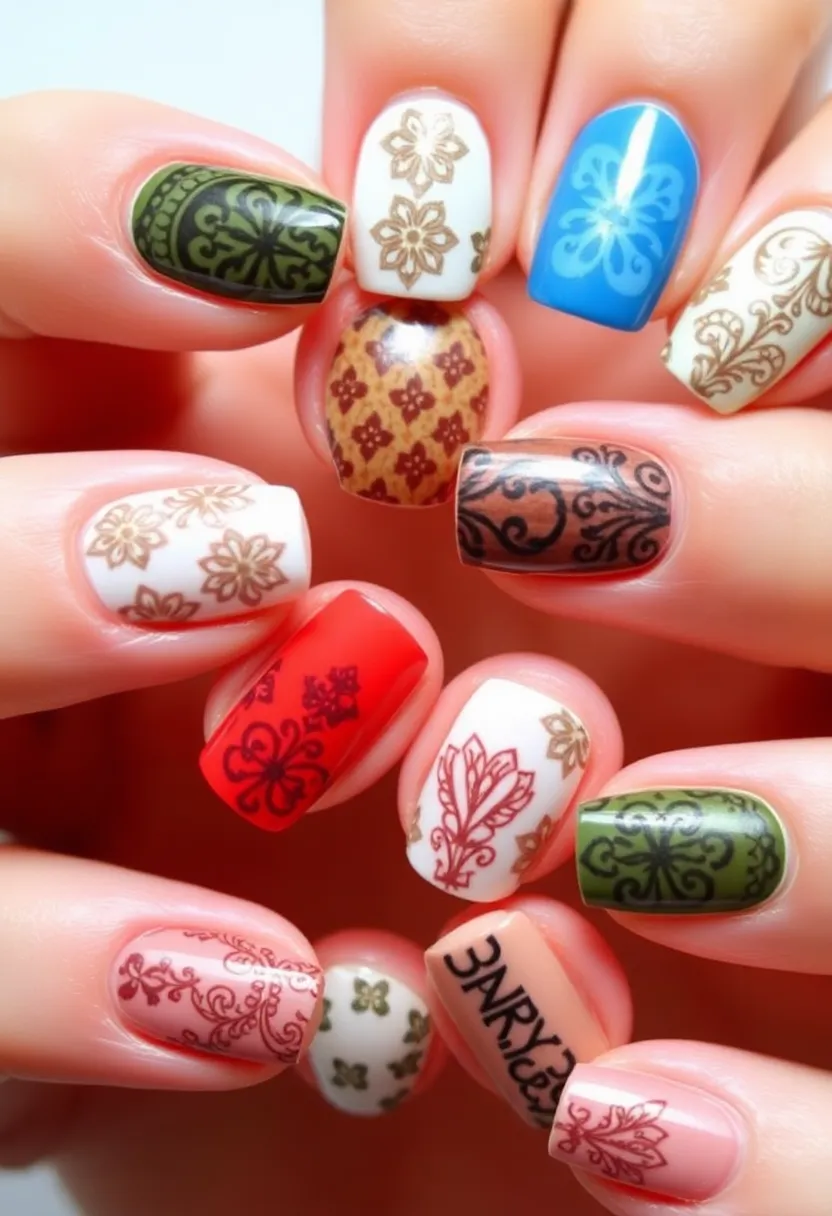
Nail stamping is a great way to create intricate designs without the need for steady hands. With a stamping kit, you can easily transfer beautiful patterns onto your nails for a professional finish.
Start with a base coat and let it dry completely. Then, use a stamping plate with your desired design, apply polish on it, and then use a scraper tool to distribute the polish evenly. Press the stamp onto your nail to transfer the design, then finish with a top coat.
Why it’s a hit: Stamping allows for intricate designs that are hard to replicate by hand.
Essential tools: Stamping kit, base coat, stamping plates, and polish.
Tip: Practice on a piece of paper before moving to your nails to get the feel for the pressure needed.


15. Sheer Delight
For a light and airy manicure, sheer nail polishes provide a delicate and elegant finish. This look is perfect for those who want to keep things simple yet classy.
Choose a sheer polish that complements your natural nails and apply it as a base coat. For an extra touch, you can add a layer of glitter polish on top or a simple floral design to enhance the beauty of this understated look.
Why it’s a hit: Sheer nails are sophisticated and suit any occasion, making them a versatile choice.
Essential tools: Sheer nail polish, optional glitter polish, and a top coat.
Tip: Try layering sheer polishes in different shades to create a unique and personalized look.


16. Color Blocked Fun
Color blocking is all about bold, vibrant sections of color that create a fun and playful look. It’s a great way to mix and match your favorite shades for a visually striking manicure.
To achieve this look, start with a base coat and use tape to block off the areas where you want to apply different colors. Layer them on, waiting for each to dry before removing the tape. Seal with a glossy top coat for that glossy finish.
Why it’s a hit: This design is fun and allows for total creativity in color combinations.
Essential tools: Base coat, multiple nail polish colors, and tape.
Tip: Use contrasting colors for a bolder look or similar shades for a more cohesive feel.


17. Artistic Splatter
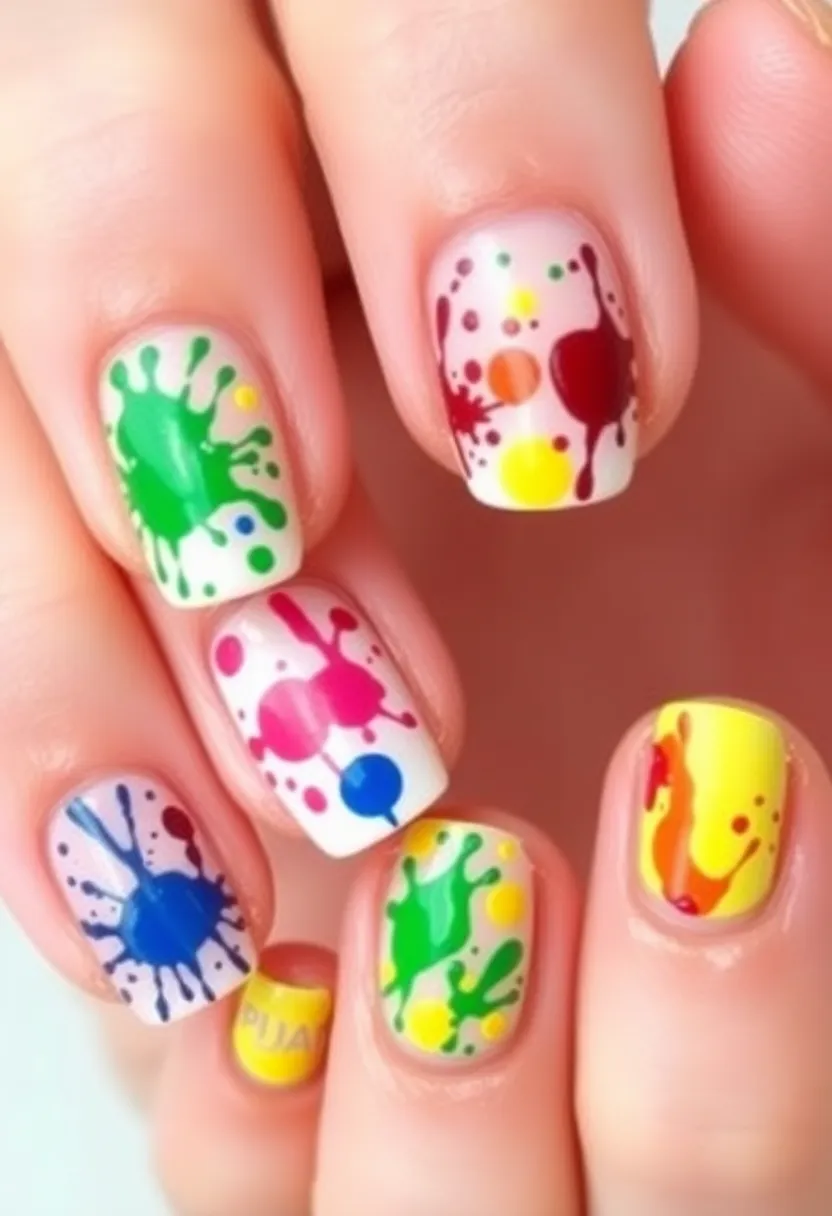
Get playful with artistic splatter nail art that’s messy in the best way possible! This fun technique allows for creativity and can yield unique results on every nail.
Start with a base polish and use a small brush or toothbrush to flick different color polishes onto your nails. This technique can get messy, so be sure to protect your workspace. Finish with a top coat for long-lasting wear.
Why it’s a hit: Splatter nails are energetic and fun, appealing to those who love an artsy vibe.
Essential tools: Base coat, multiple nail polish colors, and a top coat.
Tip: Experiment with different color combinations to find the perfect splatter that matches your style!
18. Sun-Kissed Ombre
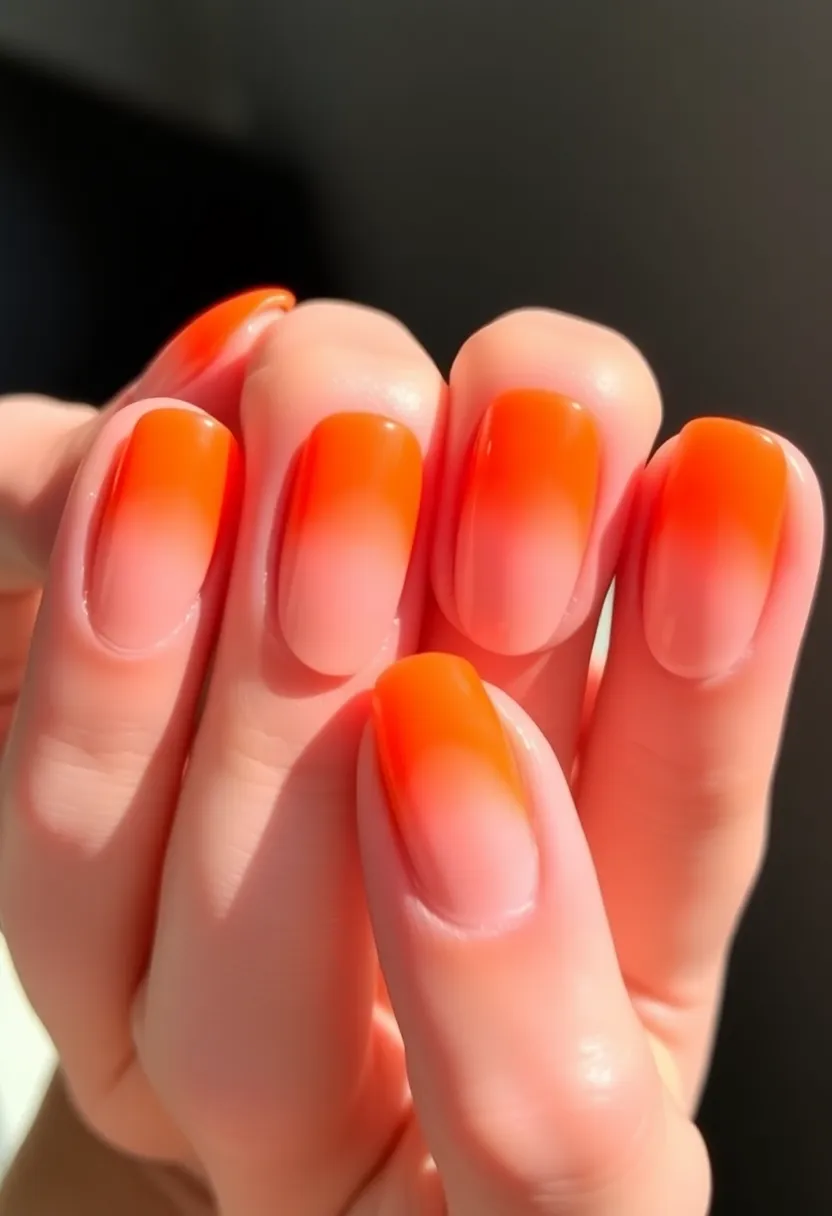
For a warm and sunny vibe, a sun-kissed ombre brings a beautiful glow to your nails. This look transitions from a bright yellow or orange at the tips to a soft nude at the base, resembling a beautiful sunset.
Using a sponge, apply the bright color at the tips and blend it into the nude base for a stunning gradient effect. Seal it all with a glossy top coat for a polished finish.
Why it’s a hit: Sun-kissed ombre nails are fresh and bright, perfect for summer days.
Essential tools: A sponge, yellow or orange polish, nude polish, and a top coat.
Tip: Don’t be afraid to experiment with other sunset colors like pinks or purples!


19. Whimsical Waves
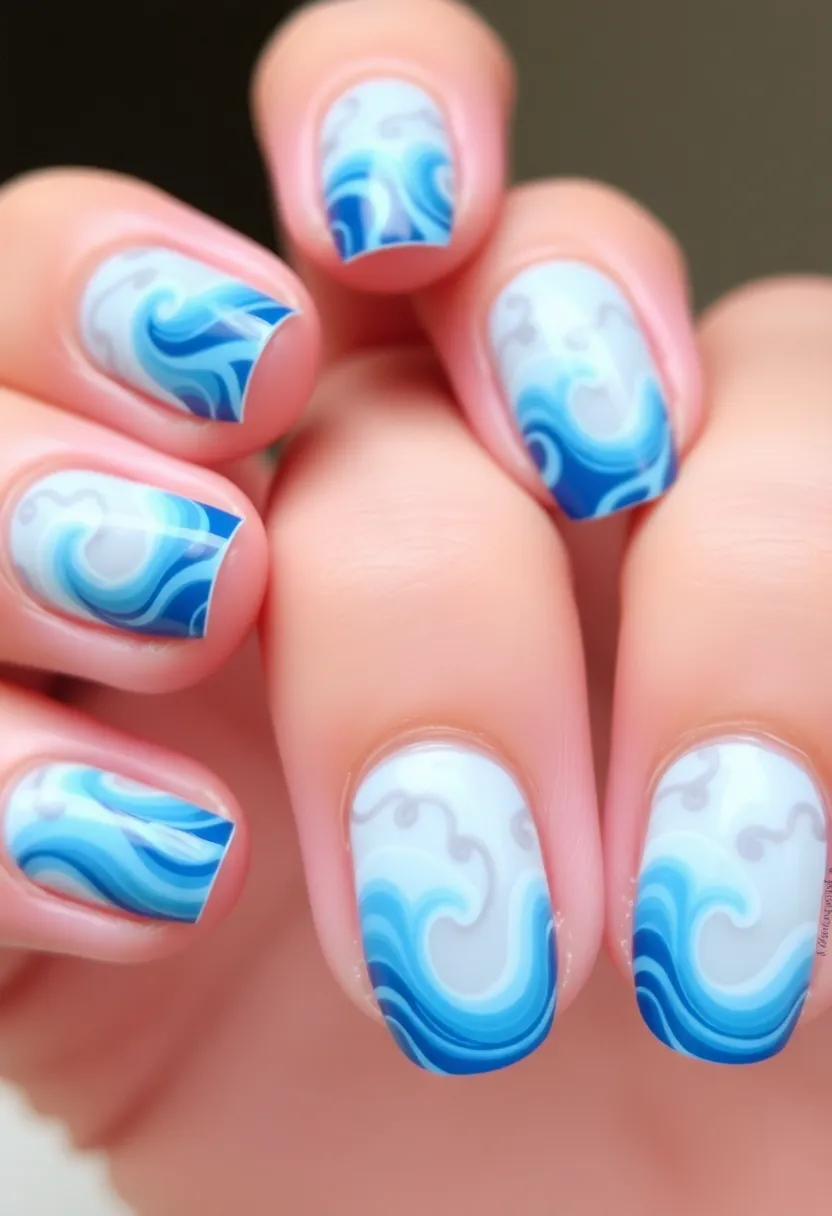
Channel your inner beach babe with whimsical wave nail art! This design brings the ocean to your fingertips with wavy patterns that can be both playful and elegant.
Start with a blue base and use a thin brush to create wave-like patterns in white or light blue. You can even add a touch of glitter for a sparkling ocean effect. Seal it all with a top coat to keep your design fresh.
Why it’s a hit: Wave nails are fun and evoke a sense of calm, perfect for summer outfits or beach days.
Essential tools: Base coat, blue polish, white polish, and a top coat.
Tip: Mix in different shades of blue for depth and variety in your waves!
Dive into creativity with whimsical wave nails! 🌊 A splash of elegance and fun, these designs bring the beach to your fingertips and are perfect for summer vibes. Let your nails channel the calm of the ocean!


20. Galaxy Dreams
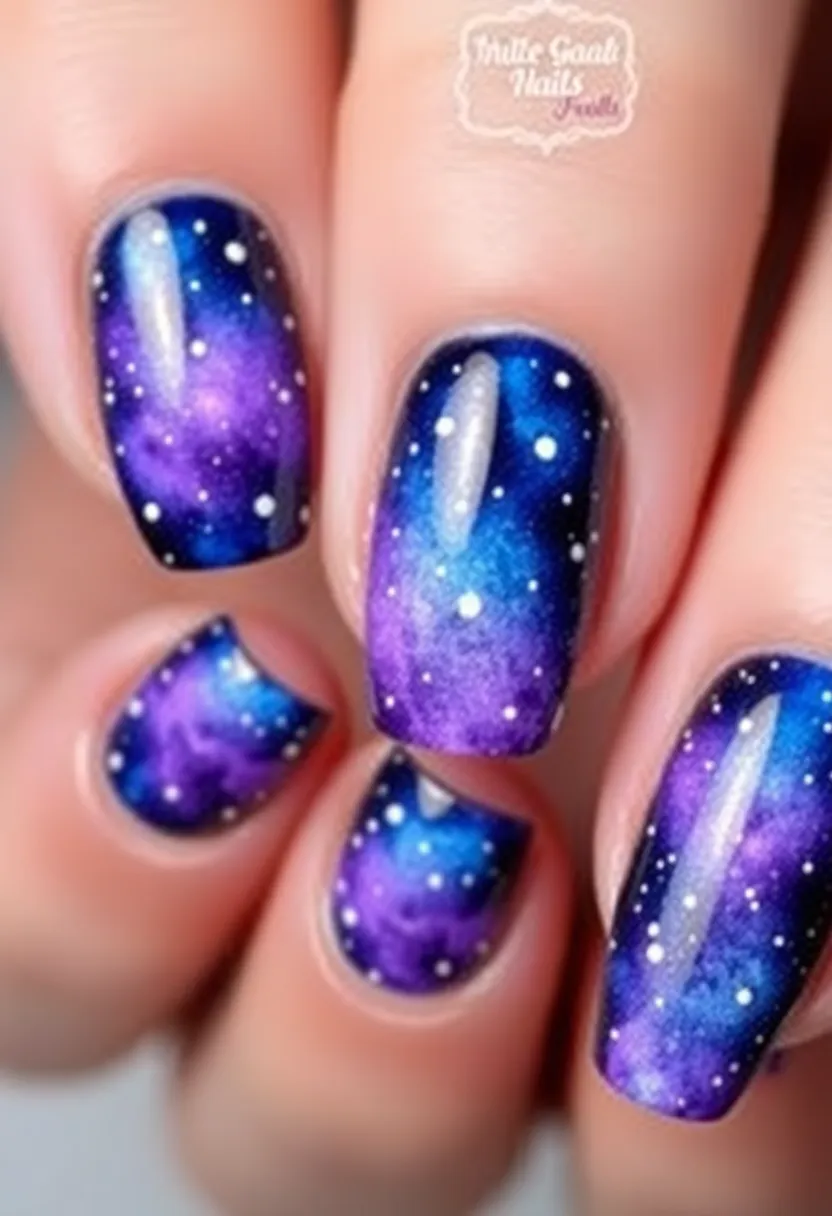
If you’re a fan of the cosmos, galaxy nails will take your manicure to another dimension! This mesmerizing design showcases deep blues, purples, and sparkles that mimic the beauty of outer space.
Start with a dark base color, then use a sponge to dab on various colors like blue and violet for a galaxy effect. Add specks of white for stars and finish with a glossy top coat.
Why it’s a hit: Galaxy nails are unique and truly eye-catching, perfect for those who love all things celestial.
Essential tools: Base coat, dark polish, colorful polishes, white for stars, and top coat.
Tip: Don’t worry about making it perfect; a little bit of randomness adds to the galaxy effect!
Dare to dream in colors of the cosmos! With galaxy nails, your fingertips can shine brighter than the stars, making every manicure a celestial masterpiece. Embrace the magic of the universe in your beauty routine!


21. Sweet Candy Stripes
Candy-striped nails are playful and fun, reminiscent of your favorite treats! This design can be customized with any colors you like, making it a versatile choice for any occasion.
Start with a base coat and use striping tape to create sections. Paint each section with different colors, ensuring to remove the tape carefully once the polish is dry. Finish with a top coat to lock in your sweet design.
Why it’s a hit: Candy stripes are cheerful and bring a sense of nostalgia.
Essential tools: Base coat, striping tape, multiple nail polish colors, and a top coat.
Tip: Use pastel colors for a softer look, or go bold with neon shades for a fun statement!
22. Bling It On

Who doesn’t love a little bling? Incorporating rhinestones, gems, or glitter into your manicure can create a truly luxurious look. This design is perfect for special occasions or when you want to add some sparkle to your life.
Start with a base coat and apply your polish. While the polish is still wet, carefully place your gems or rhinestones where you want them. Seal everything with a generous layer of top coat to keep the bling in place.
Why it’s a hit: Blinged-out nails are incredibly eye-catching and perfect for special events.
Essential tools: Base coat, polish, rhinestones or gems, and top coat.
Tip: Keep the bling to one or two nails for balance, or go all out with a fully embellished look!


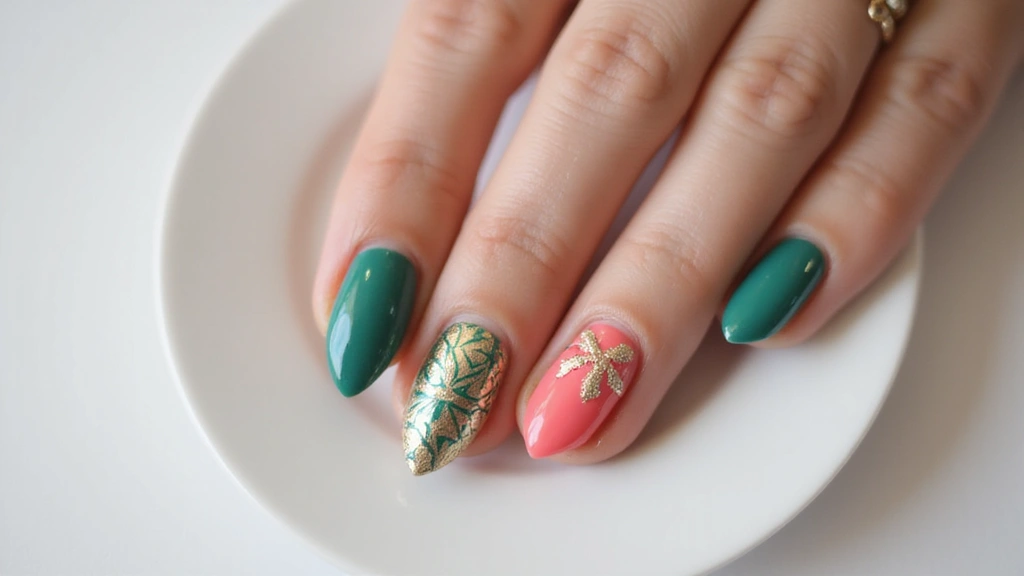
23. Ethereal Foil
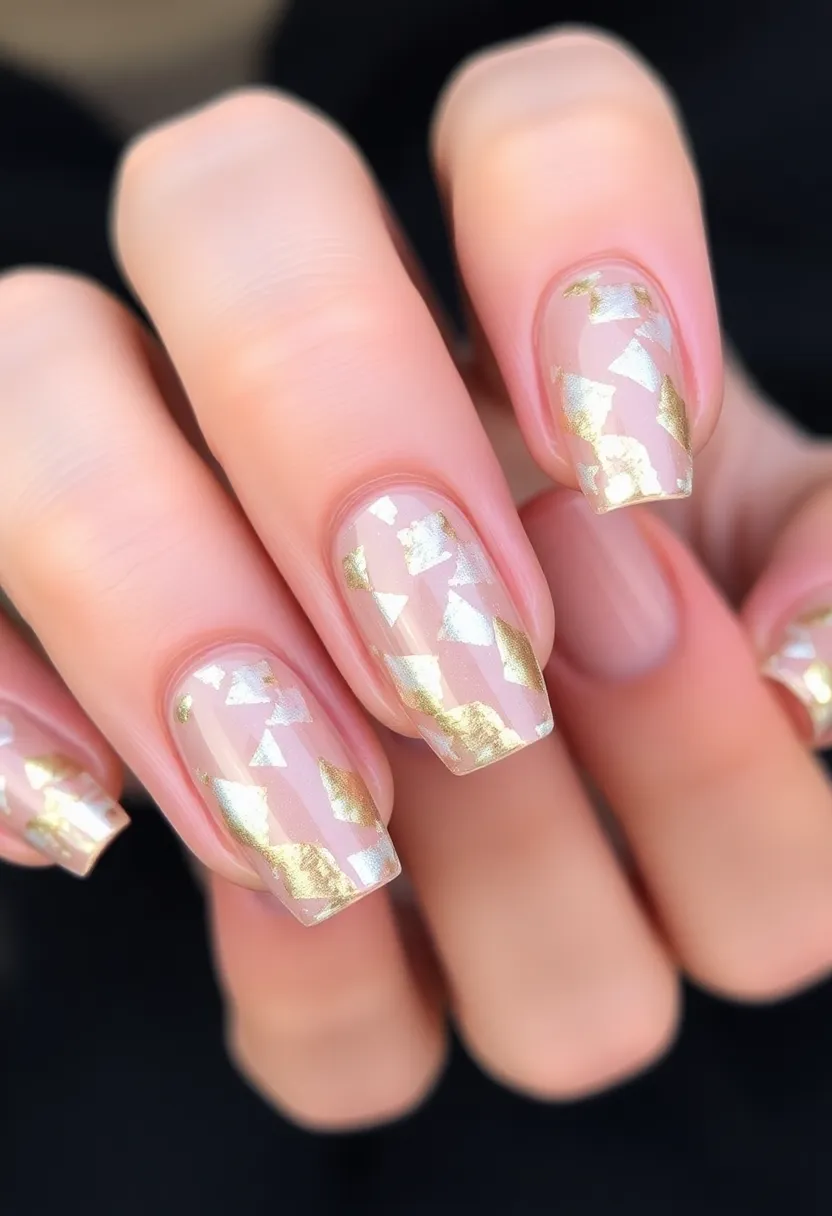
Foil nails provide a unique, ethereal look that’s unlike anything else. The metallic sheen of the foil adds an element of sophistication while being easy to apply.
Start with a base coat and apply a color of your choice. Once it’s dry, use a foil adhesive to apply small pieces of foil to your nails for a chic, textured effect. Finish off with a glossy top coat for added shine.
Why it’s a hit: Foil nails have a unique look that’s perfect for those wanting to stand out with an elegant design.
Essential tools: Base coat, color polish, foil adhesive, and top coat.
Tip: Experiment with different colors and textures of foil for varying effects!


24. Custom Art
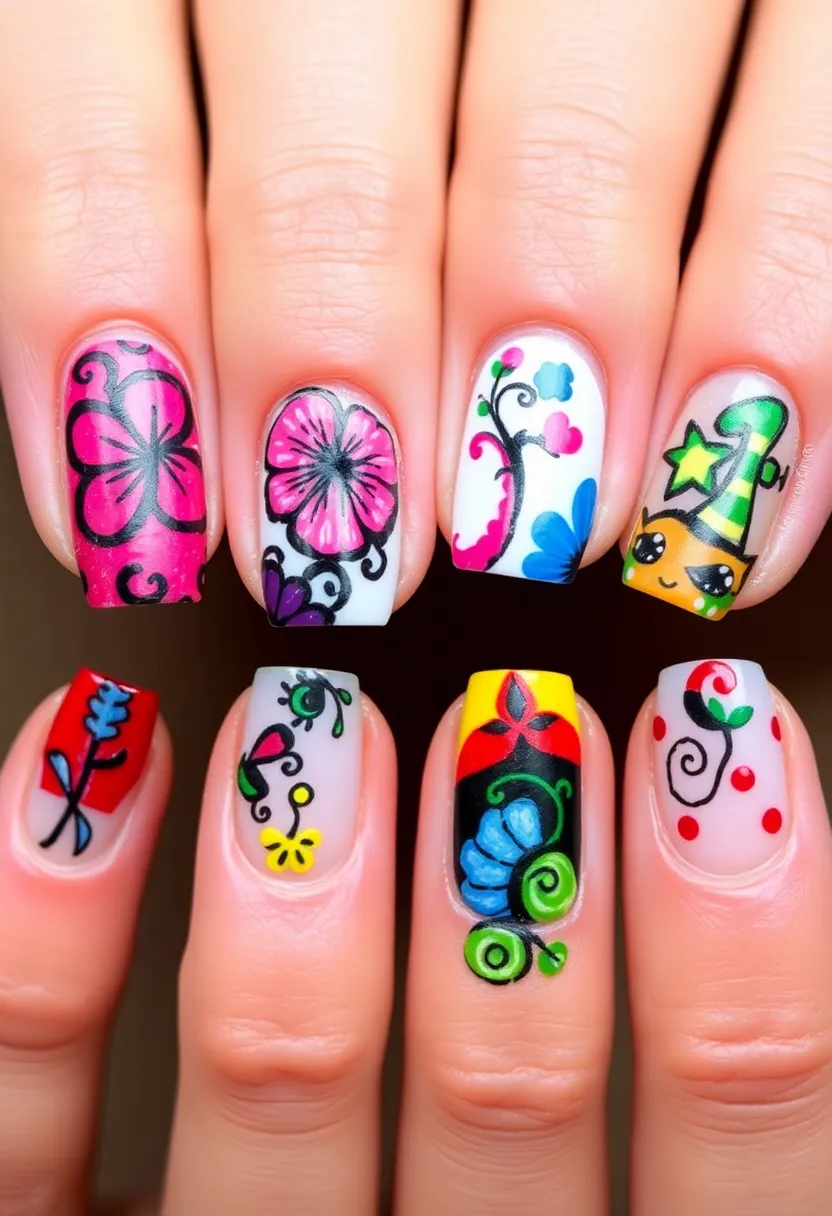
Turn your nails into mini canvases with custom art! This trend allows for total creativity, making each nail a unique work of art.
Start with a base coat and let your creativity shine as you hand-paint designs, whether they’re abstract, portraits, or patterns. Use fine brushes for detail and don’t forget a top coat to protect your artwork.
Why it’s a hit: Custom art nails showcase personal style and creativity, making them completely unique.
Essential tools: Base coat, multiple colors, fine nail art brushes, and a top coat.
Tip: Practice on paper first to get the hang of the designs you want to create.
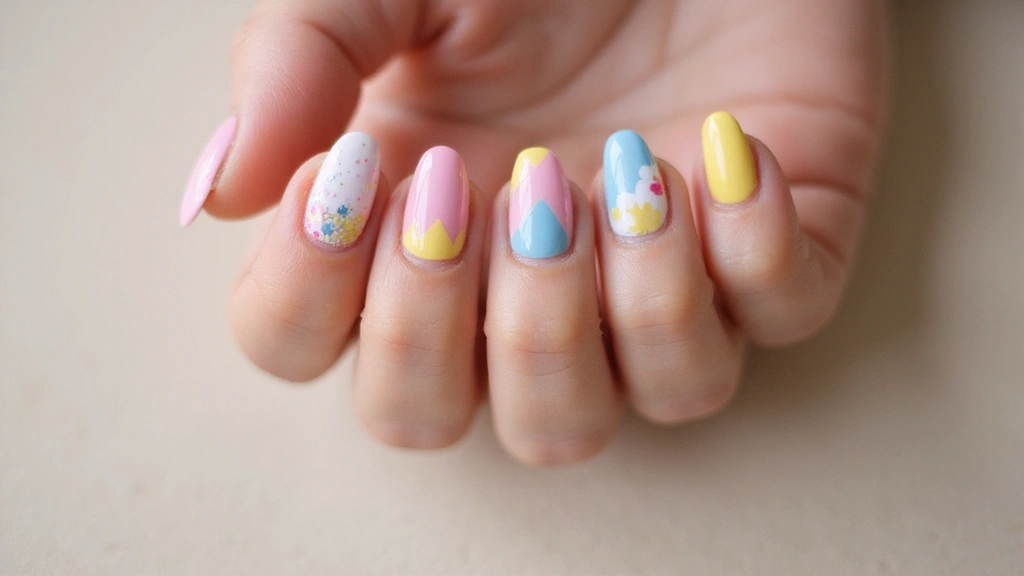
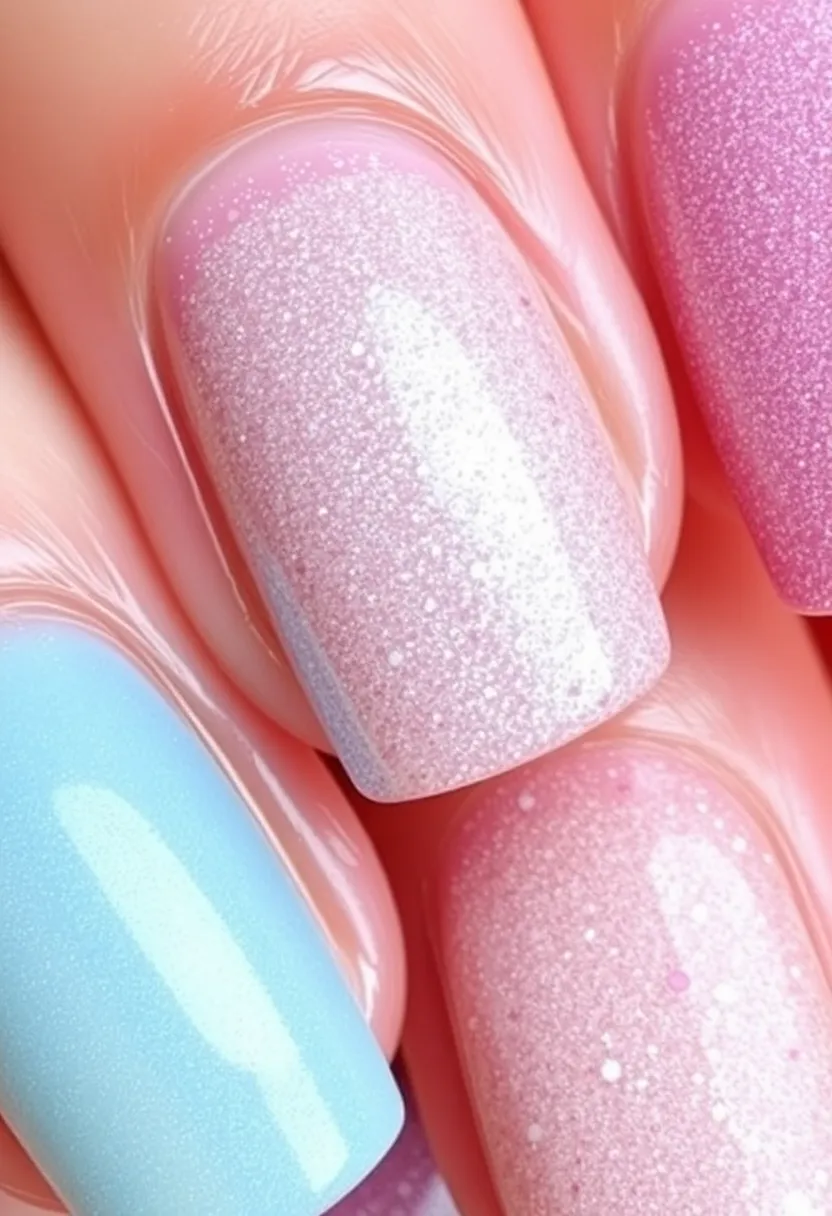
25. Faded Pastel
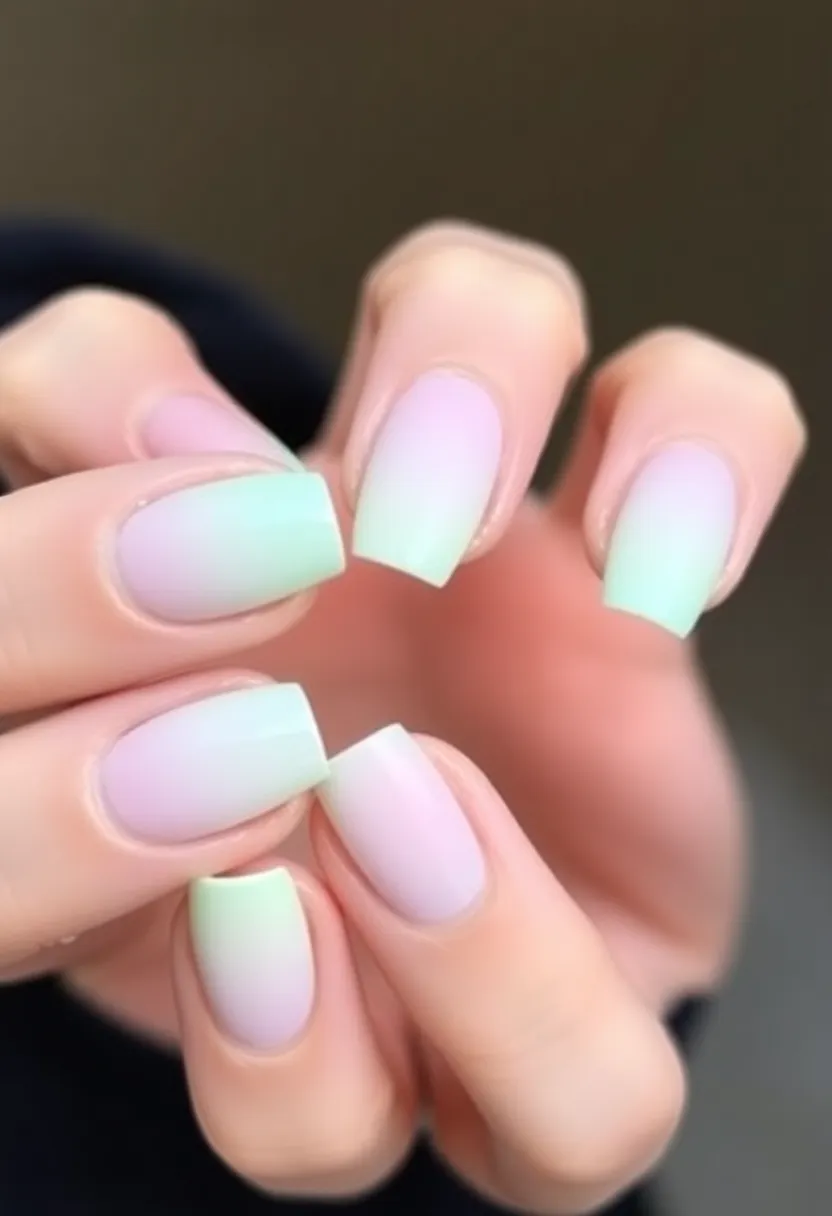
Faded pastel nails are soft, beautiful, and perfect for a more understated look. This design is great for spring and summer, evoking a gentle, sweet vibe.
Start with a white base coat, then apply soft pastel polishes with a sponge to create a faded effect. You can mix multiple pastel shades for a soft gradient look. Seal it with a glossy top coat for that extra shine.
Why it’s a hit: Faded pastels are elegant and suitable for any occasion, making them a versatile option.
Essential tools: Base coat, pastel polishes, and a top coat.
Tip: Experiment with different pastel combinations to find your perfect blend.


26. Radiant Rainbow

Celebrate color with radiant rainbow nails that are sure to bring a smile! This design is cheerful and fun, using vibrant colors to create a joyful look.
After applying a base coat, use a fine brush to paint each nail a different color of the rainbow or create rainbow stripes across the nails. A glossy top coat will give your colorful creation a beautiful shine.
Why it’s a hit: Rainbow nails are playful and spread positivity, making them a perfect choice for any fun event.
Essential tools: Base coat, nail polish in rainbow colors, and a top coat.
Tip: Use a toothpick or fine brush for clean lines while creating stripes or patterns.
27. Artistic Mosaic
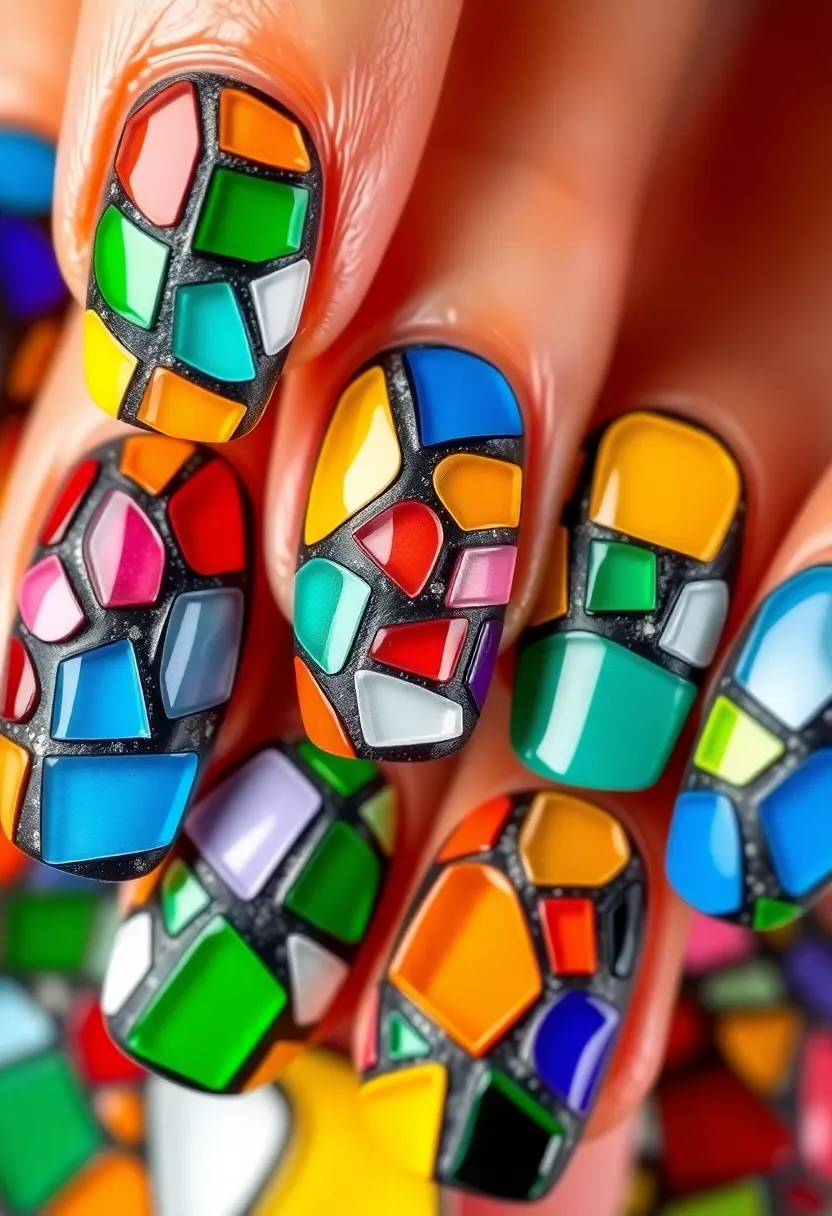
Mosaic nails are an artistic twist on traditional nail art, combining various colors and patterns to create a stained-glass effect. This unique technique is eye-catching and allows for endless creativity.
Begin with a base coat, then use different colors to paint small shapes and patterns on each nail. The beauty of mosaic nails lies in their imperfections, so don’t stress about making each piece perfect. Finish with a top coat for a polished look.
Why it’s a hit: Mosaic nails are playful and showcase intricate designs that catch the eye.
Essential tools: Base coat, multiple colors, and a top coat.
Tip: Experiment with different shapes and sizes to make each nail unique.
28. Dazzling Dots

Polka dots are timeless and can be styled in countless ways! Dazzling dot nails are fun and easy to achieve, making them a great option for nail art beginners.
Start with a base coat and use a dotting tool to apply dots in different sizes and colors on each nail. You can create patterns, gradients, or random designs. Finish with a top coat for a smooth and shiny finish.
Why it’s a hit: Dots are simple yet impactful, easily adding a pop of fun to any manicure.
Essential tools: Base coat, dotting tool, multiple colors, and a top coat.
Tip: Use contrasting colors for a bolder look or stick to a monochromatic palette for something more subtle.


Conclusion
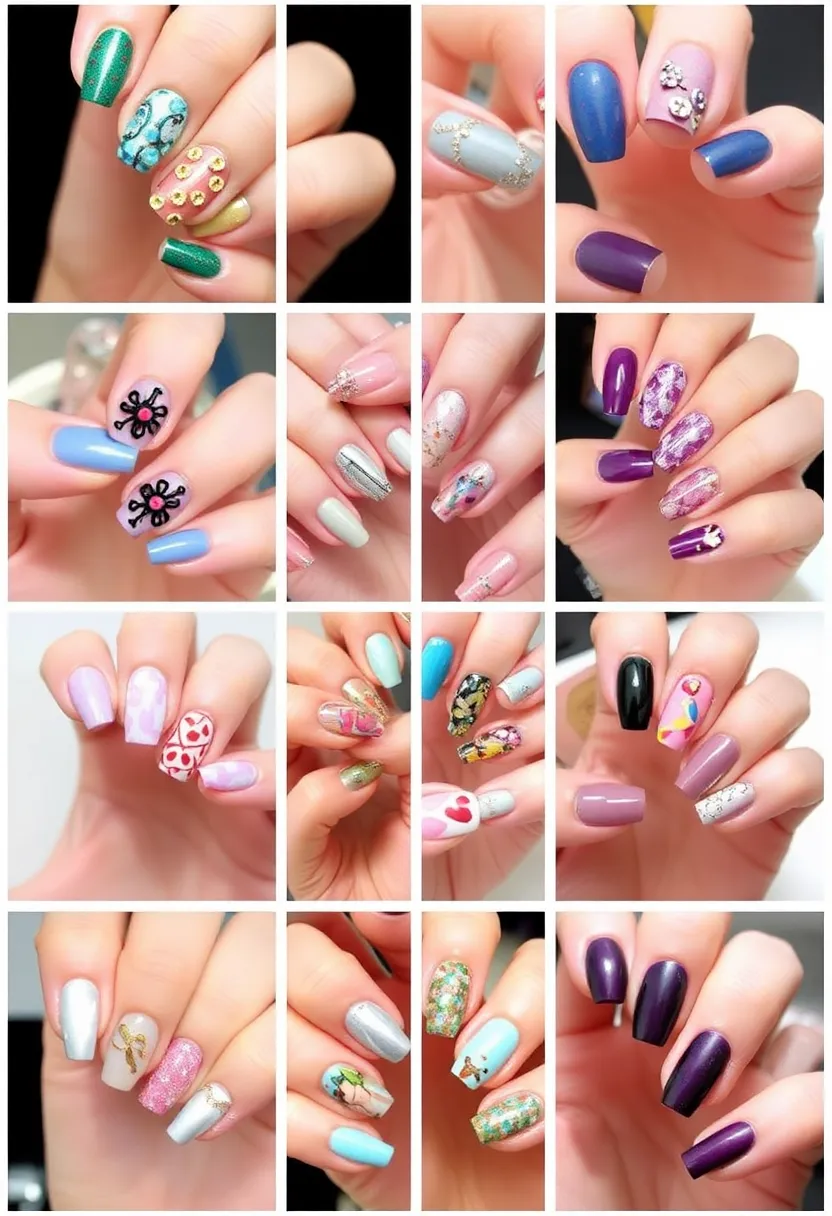
From ombré elegance to dazzling dots, these 28 essential manicure ideas will inspire you to elevate your nail game to new heights. With a blend of creativity and technique, achieving professional perfection at home is entirely possible.
Don’t be afraid to mix and match these ideas to find your unique style. Whether you opt for a bold statement or understated elegance, your nails can be a canvas of personal expression. Get ready to unleash your inner nail artist and enjoy the journey of pampering yourself!
Frequently Asked Questions
What Are Some Trending Nail Art Designs For 2023?
In 2023, some of the hottest nail art designs include ombre elegance, geometric glam, and metallic shine. These designs blend creativity with contemporary trends, making them perfect for anyone looking to elevate their manicure game. Don’t forget to explore floral fantasy and marble effects for a touch of nature and luxury!
How Can I Achieve Salon-Quality Nails at Home?
Achieving salon-quality nails at home is entirely possible with the right techniques! Start with nail care essentials like a good base coat and top coat. Use tools like nail art brushes or stamping kits for intricate designs, and don’t shy away from experimenting with trendy nail colors. Remember to practice patience and allow each layer to dry properly for that professional finish!
What Are Some DIY Manicure Tips for Beginners?
If you’re new to DIY manicures, begin with the basics! Ensure you have a clean workspace and gather your supplies, including nail polish, a base coat, and top coat. Experiment with simple designs like dazzling dots or gradient glitter. Don’t forget to hydrate your cuticles and nourish your nails with nail care essentials for a truly polished look!
What Nail Colors Are In Style This Season?
This season, expect to see a vibrant mix of jewel tones like emerald and sapphire alongside soft pastels and playful neon shades. For a classic touch, you can’t go wrong with the classic French twist. These colors not only reflect current trends but also allow you to express your personality through your manicure!
How Do I Maintain My Nail Art Between Manicures?
To maintain your nail art between manicures, keep your nails hydrated by using cuticle oil and a moisturizing hand cream regularly. Avoid harsh chemicals and wear gloves when doing chores. If you start to see chips, touch them up with a quick coat of the same polish. Just remember, regular care and a little TLC go a long way in keeping those salon-quality nails looking fabulous!