Nail art just got a whole lot easier and more enjoyable!
If you’re a beginner looking to add some flair to your fingertips without the hassle, you’re in the right place. This list is packed with 30 stunning yet simple nail art designs that speak to the minimalist in all of us. Each design can be recreated with everyday items you probably already have at home or with a quick trip to the beauty store. Get ready to fall in love with your nails all over again!
Let’s dive into this delightful world of easy nail tutorials and find your next nail art obsession!
1. Classic French Tips
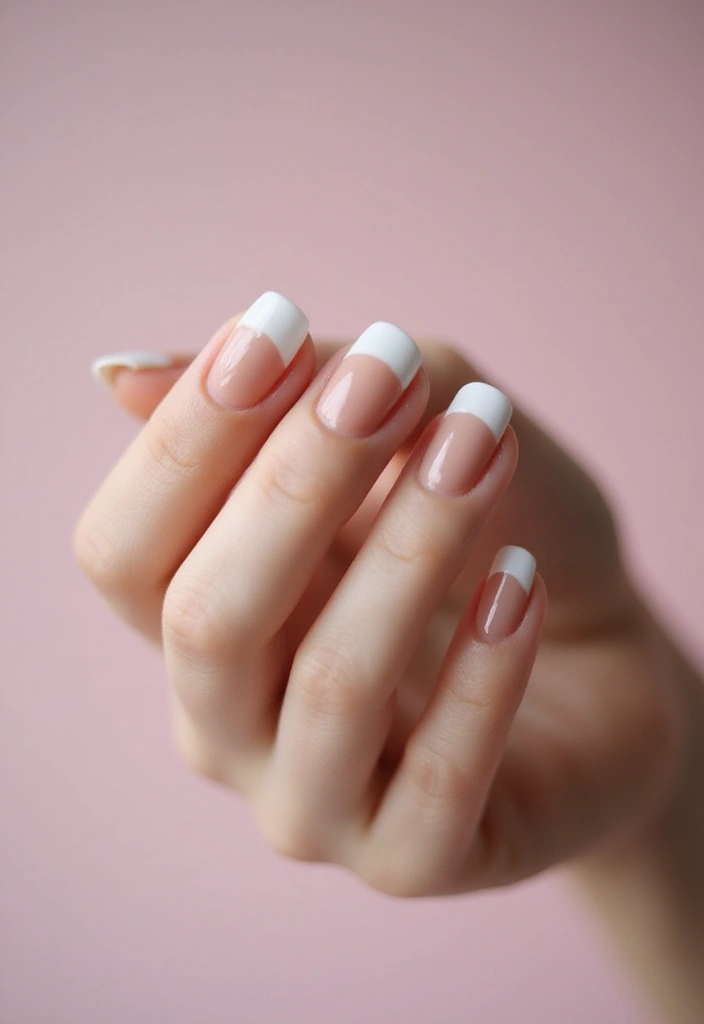
Nothing says elegant like a good French tip!
This timeless style is not only classy but also incredibly easy to do yourself. Start with a neutral base coat, then take a white polish to create that iconic tip. You can tweak it by using colors that fit your mood or season. Try pastel shades for spring or dark hues in winter.
Tips:
– Use painter’s tape to create straight lines.
– Practice on a piece of paper before applying polish on your nails.
– Finish with a top coat for extra shine.
French tips are a go-to for any occasion, making them a must-have in your nail art arsenal!
2. Dotting Delight
Simple dots can make a bold statement!
Using a dotting tool or even a bobby pin, create a fun pattern on your nails. You can opt for a single color for a minimalist look or mix and match for a playful vibe. Dots can be lined up, scattered, or arranged in a flower shape—all it takes is a bit of creativity!
Tips:
– Let each color dry before applying a new one to avoid smudging.
– Use a contrasting background color for maximum impact.
– Try different sizes of dots for added dimension.
This design is not only fun but incredibly forgiving—perfect for beginners!
3. Striped Elegance
Stripes can turn an ordinary nail into a chic masterpiece!
Using striping tape or a thin brush, create lines that can be vertical, horizontal, or even diagonal. Pick colors that complement each other, such as white and gold or navy and pink. Stripes can be thick or thin for a different effect.
Tips:
– Use nail tape for perfect lines and easy removal.
– Mix matte and glossy finishes for a trendy touch.
– Play around with color combinations to find what suits you best.
Stripes are sophisticated yet simple, making them a perfect addition to your collection!
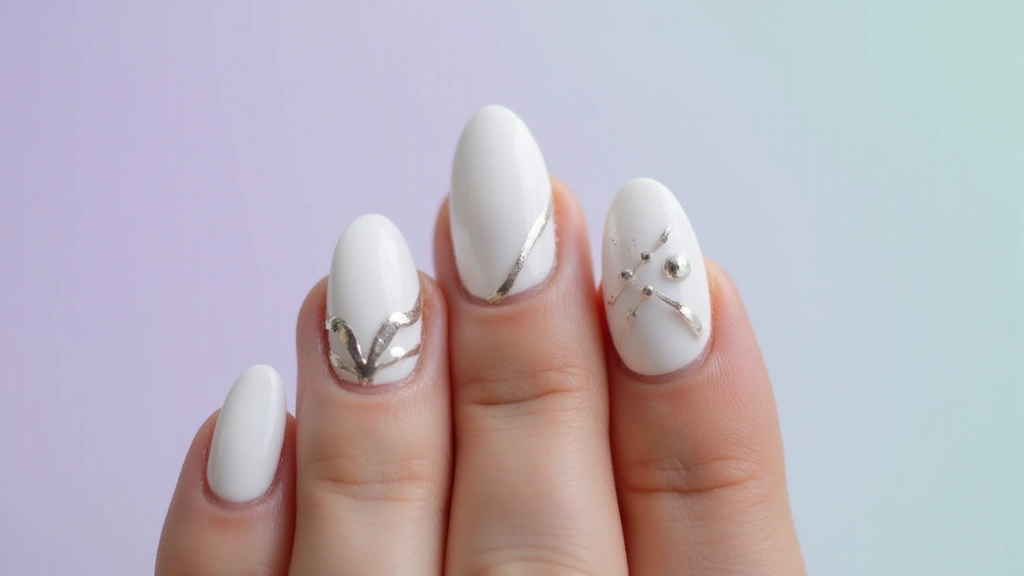
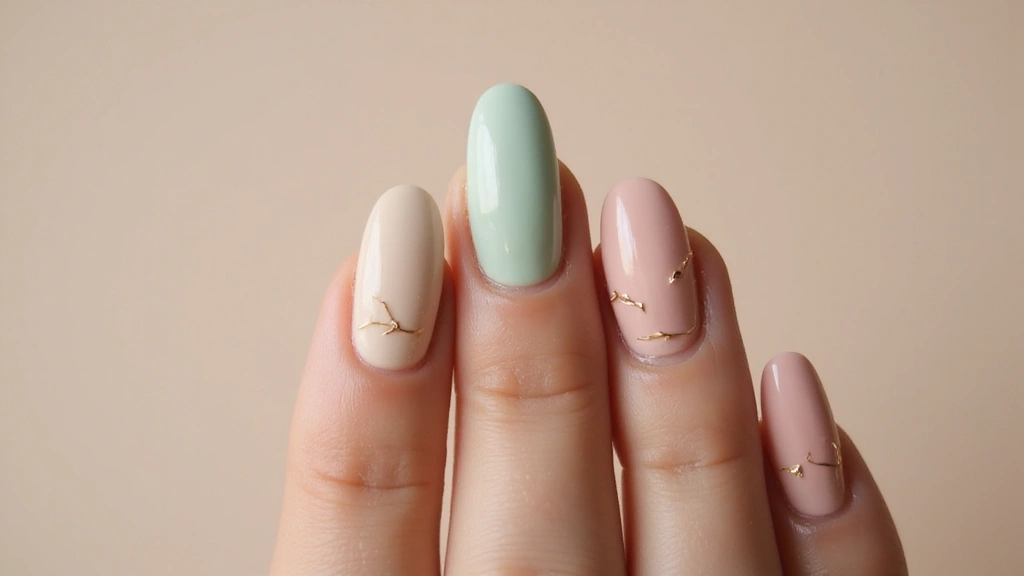
4. Negative Space

Embrace your natural nails with negative space designs!
This trend is all about leaving parts of your nail bare for a minimalist effect. You can create geometric shapes or simply leave one side of the nail unpainted. It’s a bold statement that looks effortlessly chic.
Tips:
– Use a base coat to ensure a smooth finish.
– Consider a nude polish for the painted parts so the natural nail shines through.
– Experiment with different shapes for a unique design.
Negative space designs are incredibly modern and allow your natural nail color to show through, making them perfect for any occasion!
5. Ombre Effect
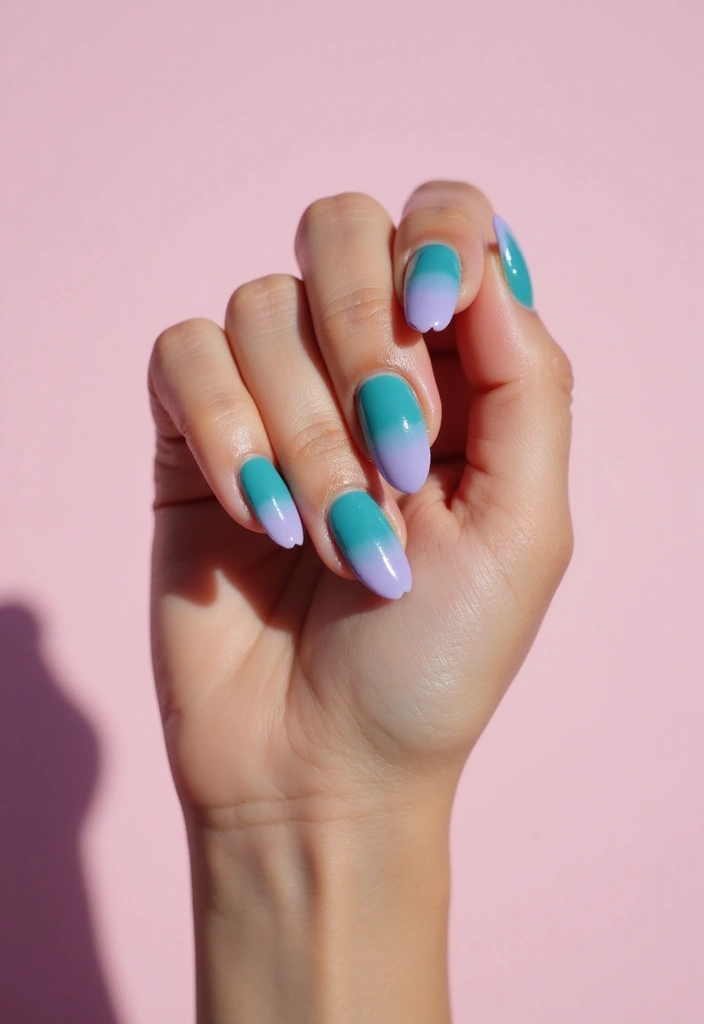
Ombre nails are like a sunset for your fingers!
This gradient effect can be done using two or more colors. Start with a light base and sponge on the darker color to blend. Ombre is versatile; you can pick colors that are close for a subtle look or go for a bold contrast.
Tips:
– A makeup sponge works wonders for blending colors.
– Seal your design with a topcoat to enhance the ombre effect.
– Experiment with different color combinations to find what speaks to you.
Ombre nails are perfect for those who want to make a statement with minimal effort!
6. Glitter Accents

Who doesn’t love a little sparkle?
Add a pinch of glitter to your nails for a touch of glam! Whether you want a full glitter nail or just an accent nail, it’s as easy as applying your favorite glitter polish over your base color. Use a toothpick to apply glitter in specific spots for a more controlled look.
Tips:
– Make sure the base color is completely dry before adding glitter.
– Use a top coat to seal in the glitter and prevent it from chipping.
– Choose glitter that complements your base color for a cohesive look.
Glitter accents are perfect for parties or just when you want to feel fabulous!
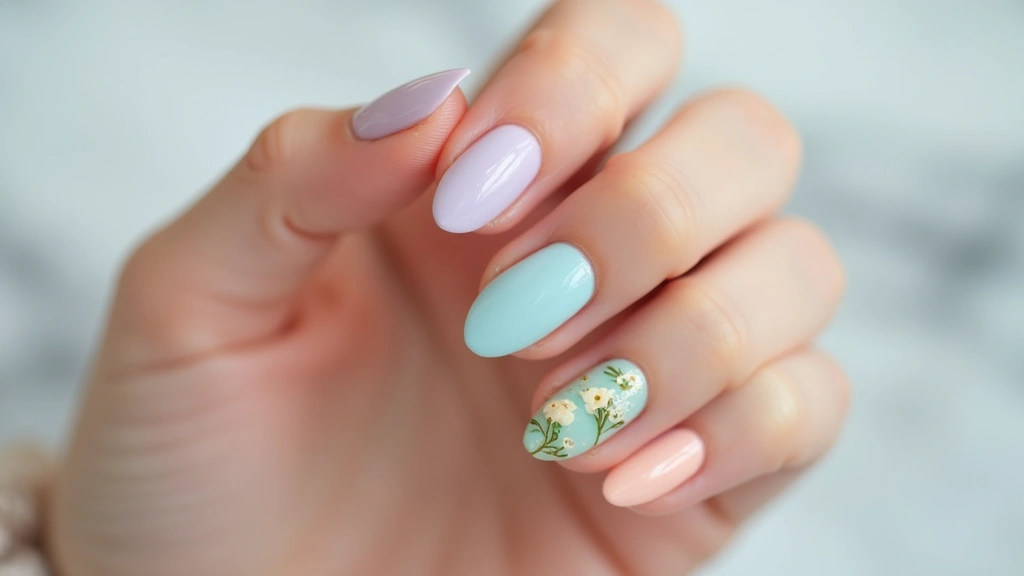
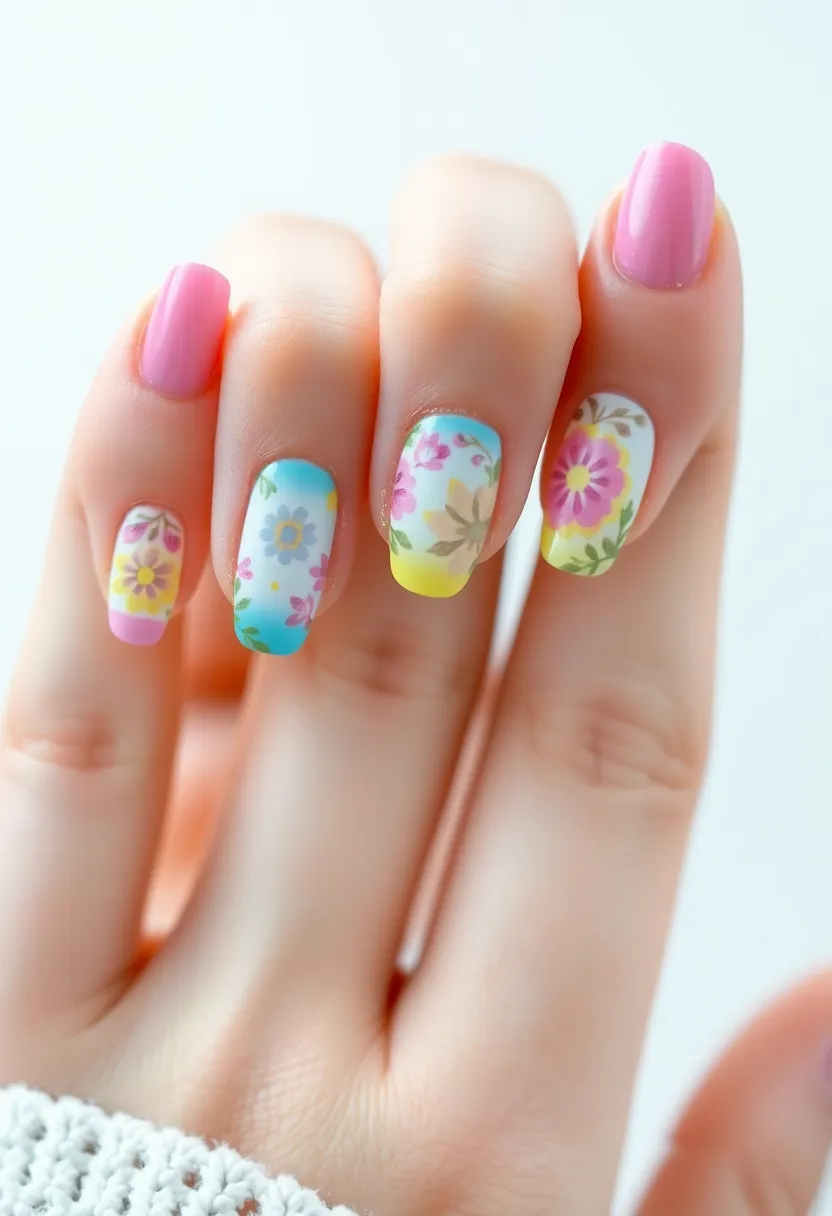
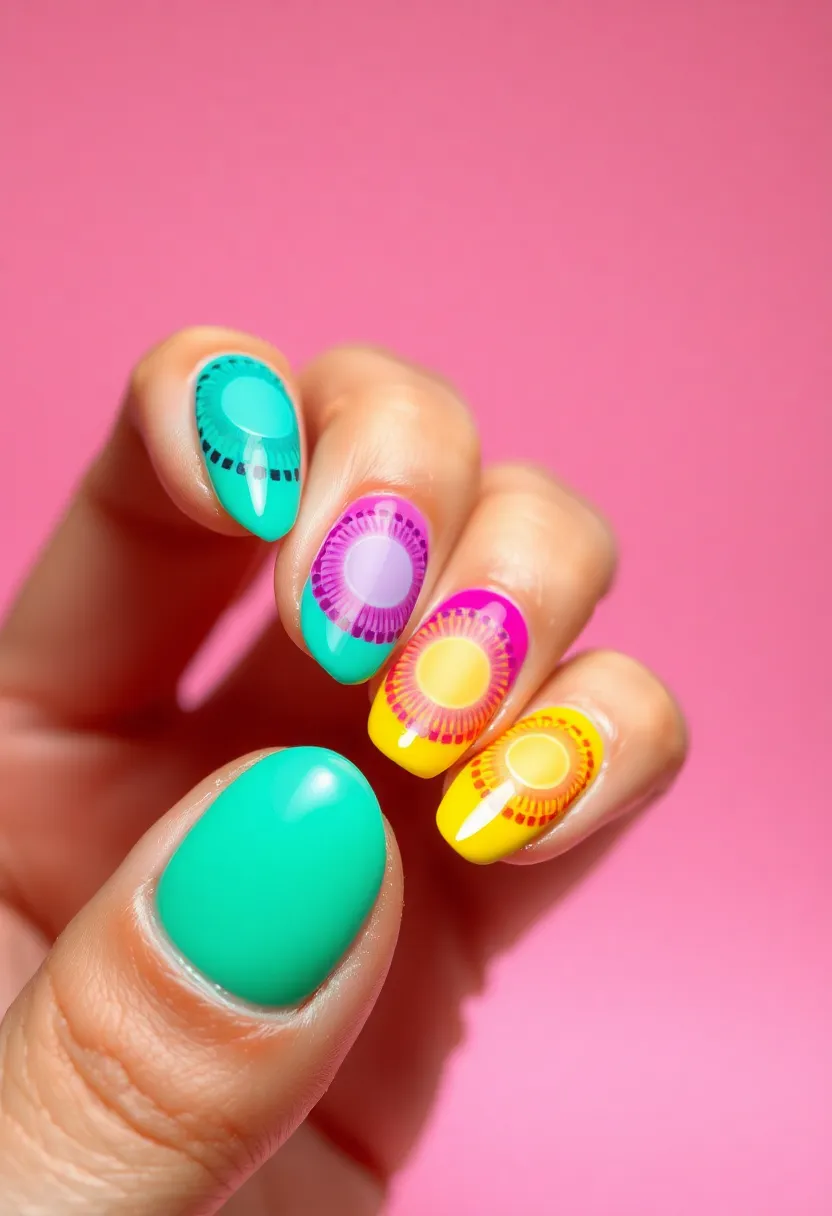
7. Floral Fantasy

Flowers aren’t just for gardens; they belong on your nails too!
Using a fine brush or a dotting tool, create simple flower designs. You can stick to basic shapes, like daisies or tulips, to keep them minimalist. Choose soft pastels for a spring vibe or bold colors for a statement look.
Tips:
– Keep your flowers small and simple for an easier application.
– Test your design on paper first to get a feel for it.
– Use a clear polish to seal your artwork and make it last longer.
Floral designs bring a touch of nature to your fingertips, perfect for any season!
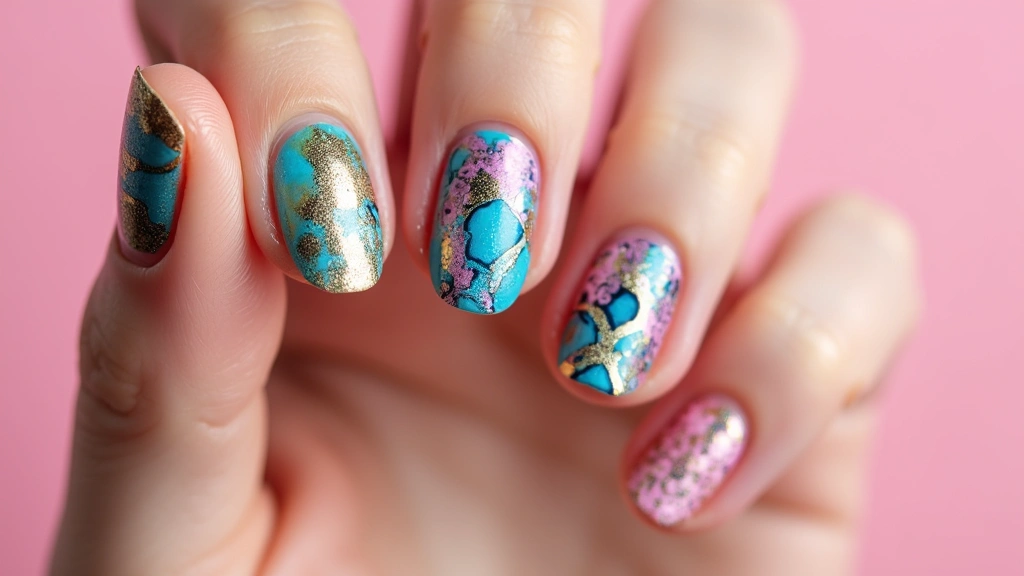
8. Marble Effect
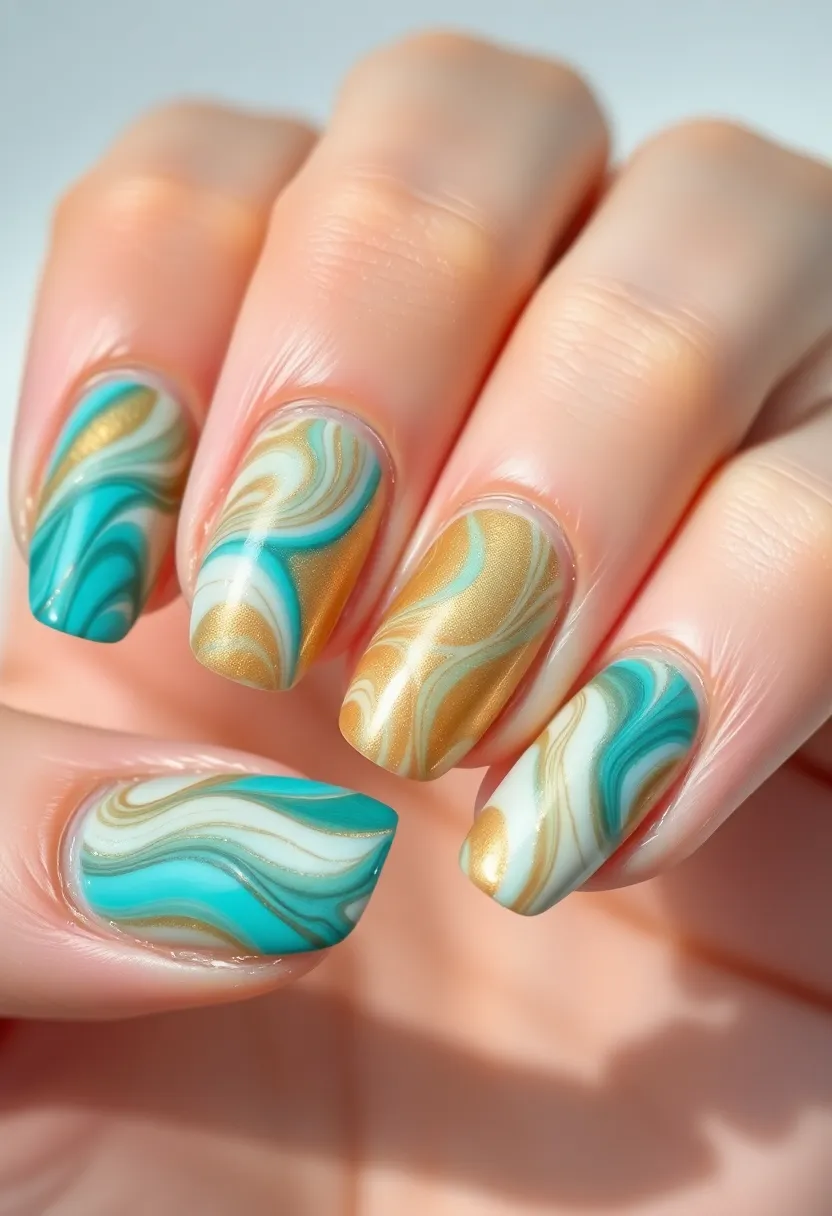
Marble nails can add a sophisticated edge to your look!
To create this stunning effect, apply a base color, then use a small brush to swirl in a contrasting color while the base is still wet. The key is to work quickly before the polish dries.
Tips:
– Use a light hand to create softer lines for a more realistic marble effect.
– Choose colors that mimic real marble, like greys and whites or even colorful marbling.
– Finish with a topcoat to keep your marble looking fresh.
Marble nails provide an elegant yet contemporary look that’s perfect for any event!
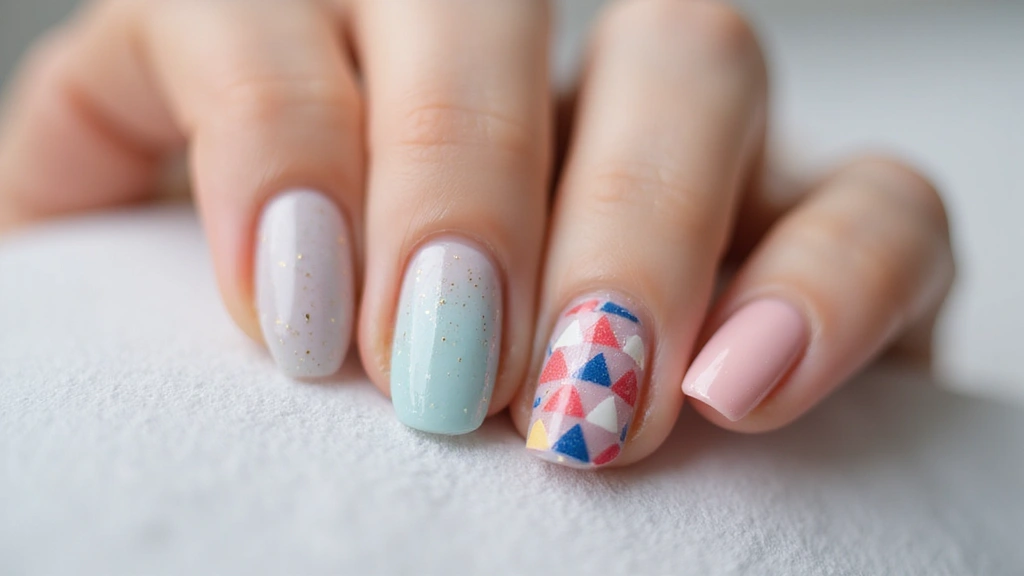
9. Geometric Designs
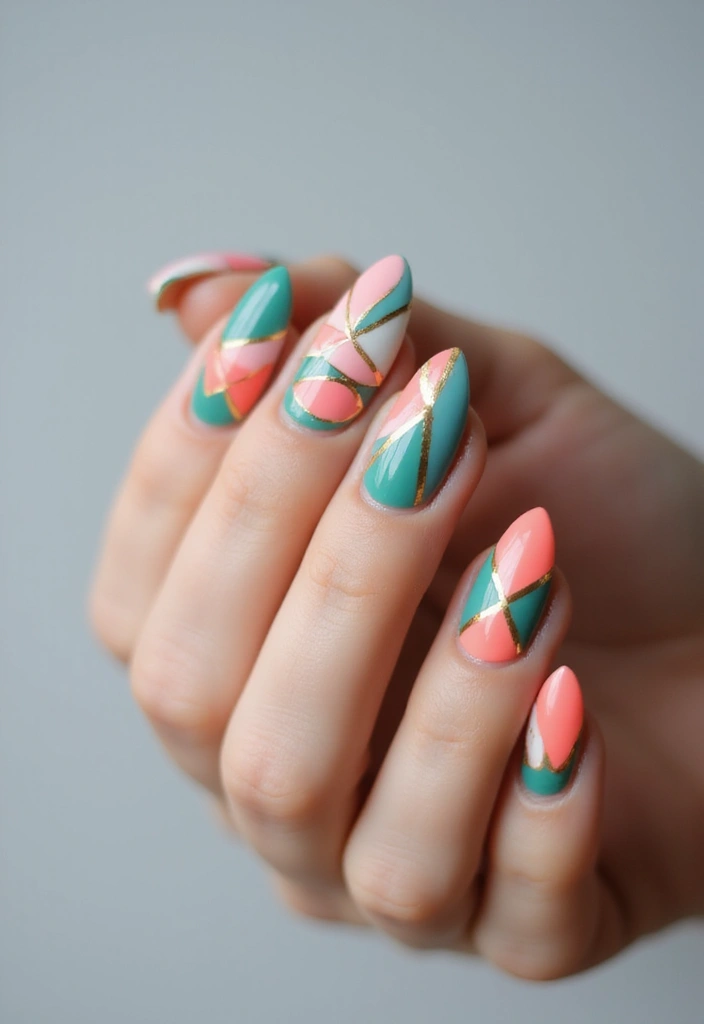
Get your angles right with geometric designs!
This modern style can be as simple as creating triangles or squares on your nails. Use tape to create shapes, then paint in contrasting colors for a bold look. It’s a design that looks intricate but is straightforward to achieve.
Tips:
– Use nail tape for sharp lines and accurate shapes.
– Stick to a color palette that complements each other for a polished finish.
– Experiment with different placements of shapes for unique designs.
Geometric nails are perfect for those who love a modern, artsy vibe!
10. Minimalist Lines
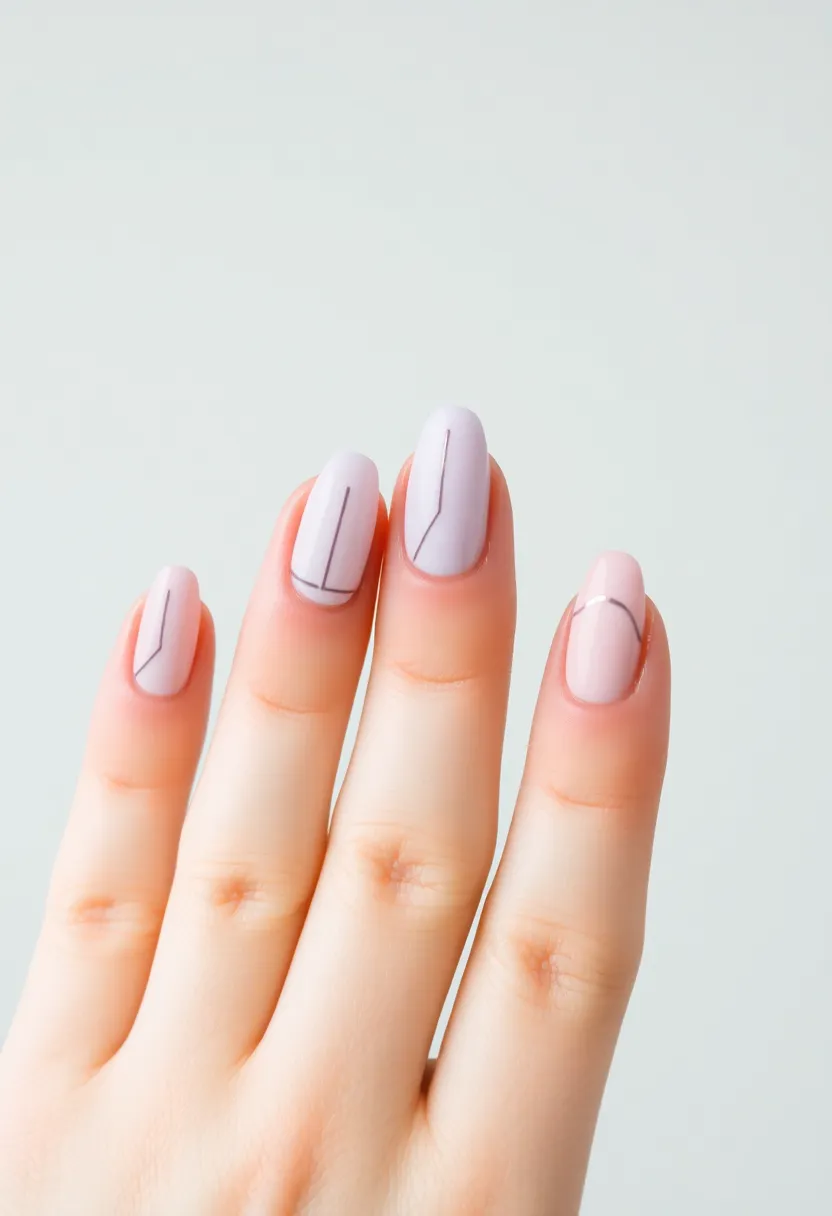
Sometimes less is more!
Minimalist lines can create a chic, understated look. Using a thin brush or nail tape, apply a single line or multiple lines across your nails. This design can be done in black for a classic look or in bright colors for a playful twist.
Tips:
– Keep your base color neutral for a minimalist vibe.
– Experiment with line thickness for different effects.
– Try overlapping lines for added interest.
Minimalist lines are a sophisticated way to show off your nails while keeping things simple!
Minimalist nail art proves that sometimes less is more. A single line can elevate your style and showcase your creativity—so grab that brush and let your nails do the talking!
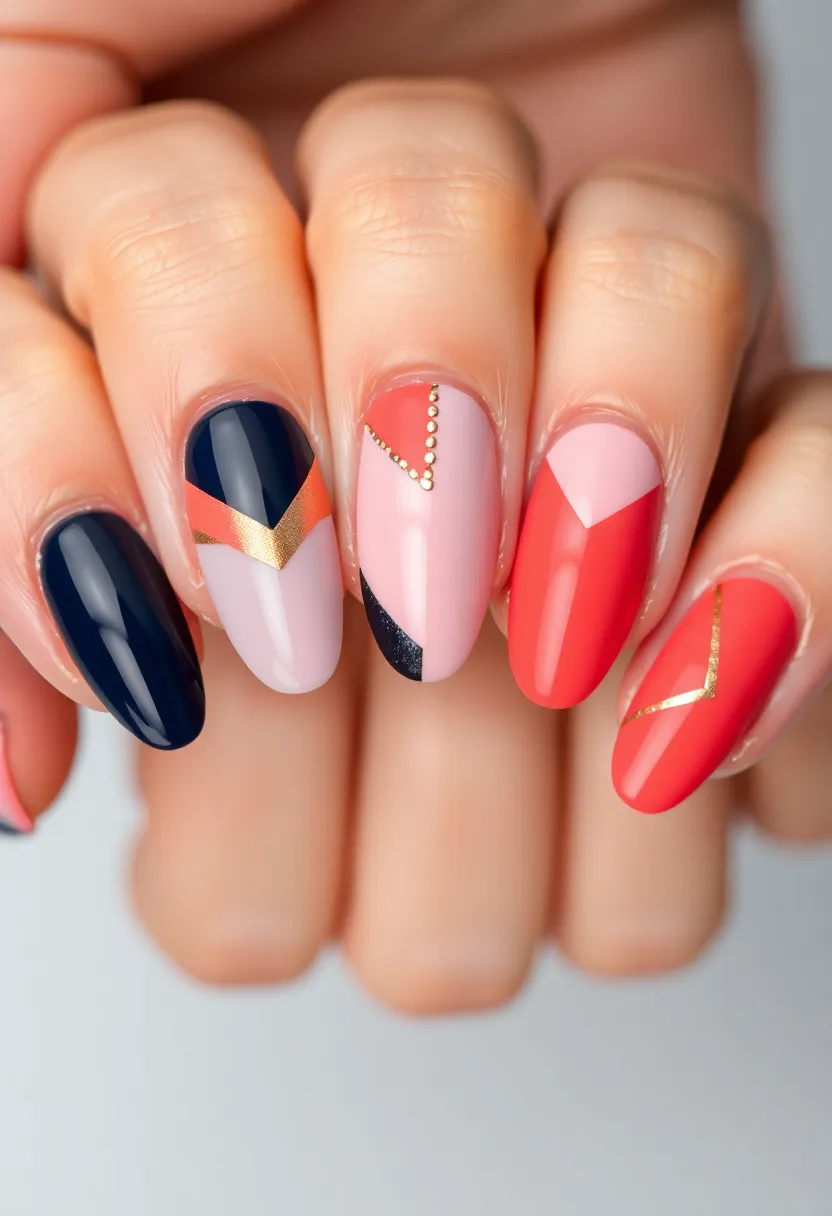
11. Color Blocking
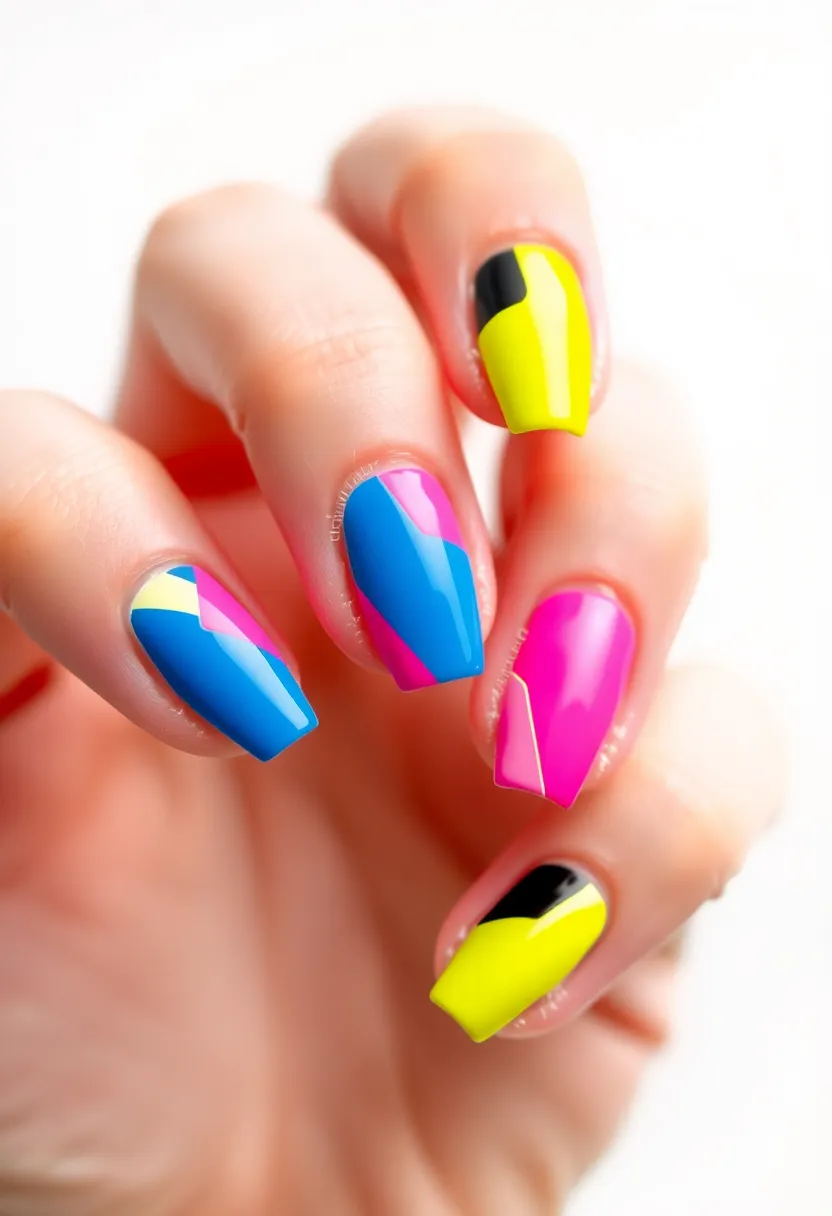
Color blocking is all about bold colors and fun shapes!
Choose two or three colors that complement each other and apply them in blocks on your nails. You can form squares, triangles, or any fun shapes. This design is playful and perfect for making a statement without being overly complicated.
Tips:
– Use tape to create clean edges for your color blocks.
– Keep your base color simple to let the blocks pop.
– Have fun experimenting with color combinations.
Color blocking is a fresh approach to nail art that’s sure to catch attention!
12. Simple Heart Nails
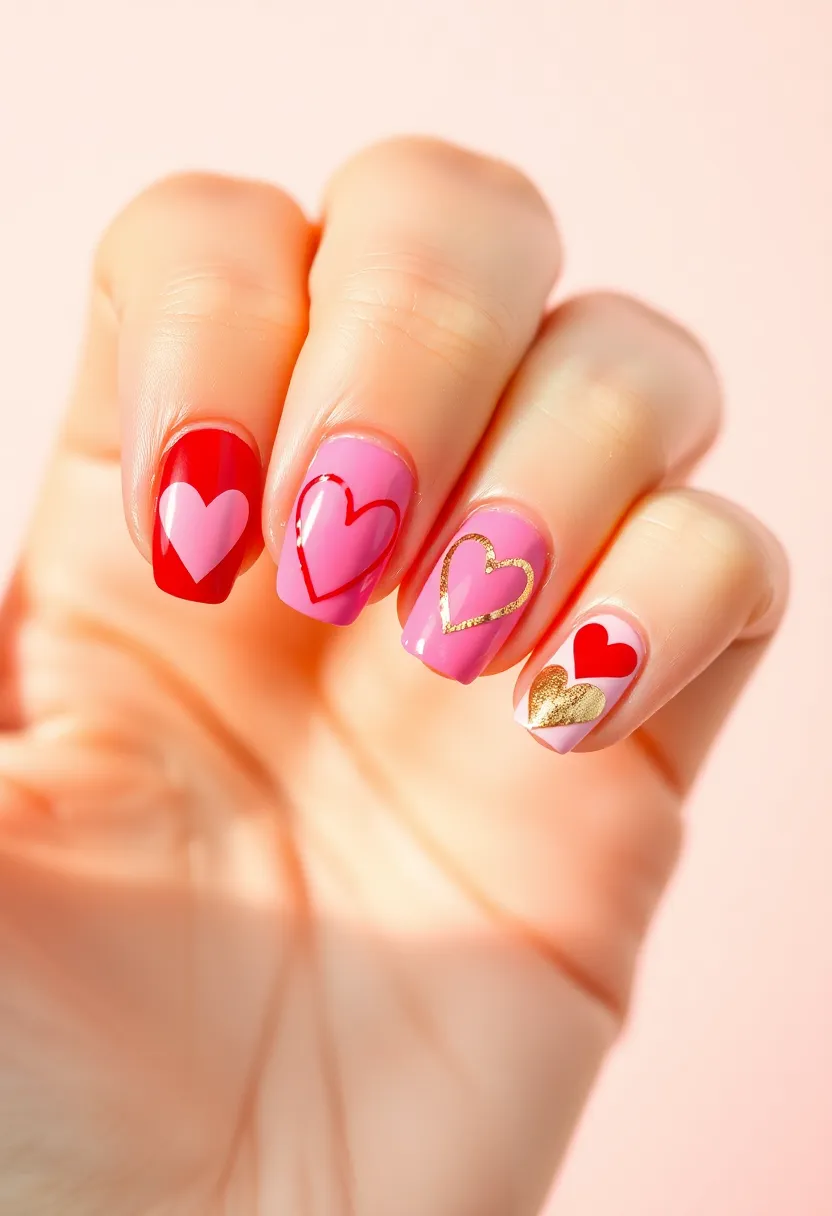
Show some love with cute heart designs!
You don’t need to be a pro to create adorable hearts. Using a dotting tool, you can easily form hearts in any color you like. Consider doing one accent nail with a big heart and others with small ones for a sweet look.
Tips:
– Use a fine brush for more detailed heart designs.
– Try different colors for different moods or seasons.
– Combine hearts with other simple designs like dots or lines for a more intricate look.
Heart nails are charming and perfect for a date night or any occasion where you want to spread a little love!
Nail art designs easy as pie! With a simple dotting tool, you can create cute heart nails that spread love and cheer. Remember, every heart you paint is a little reminder to express yourself!
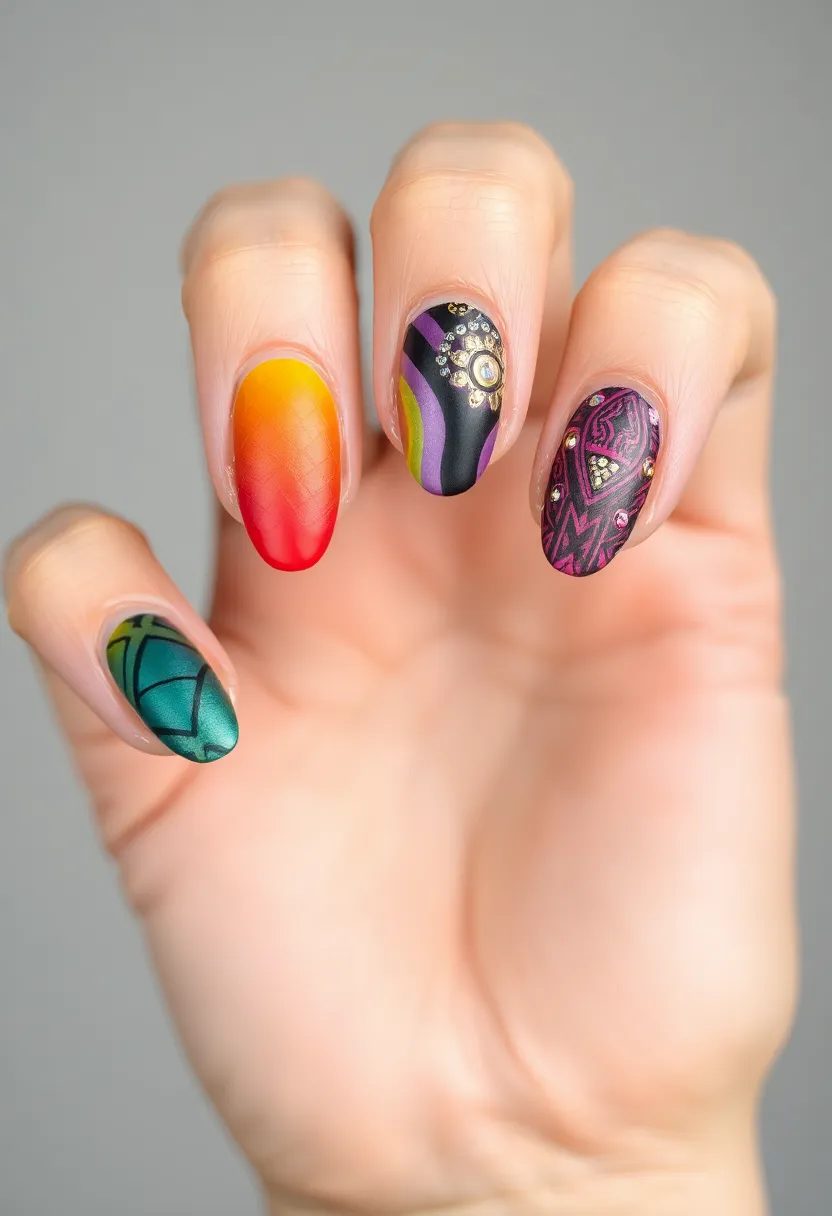
13. Abstract Patterns
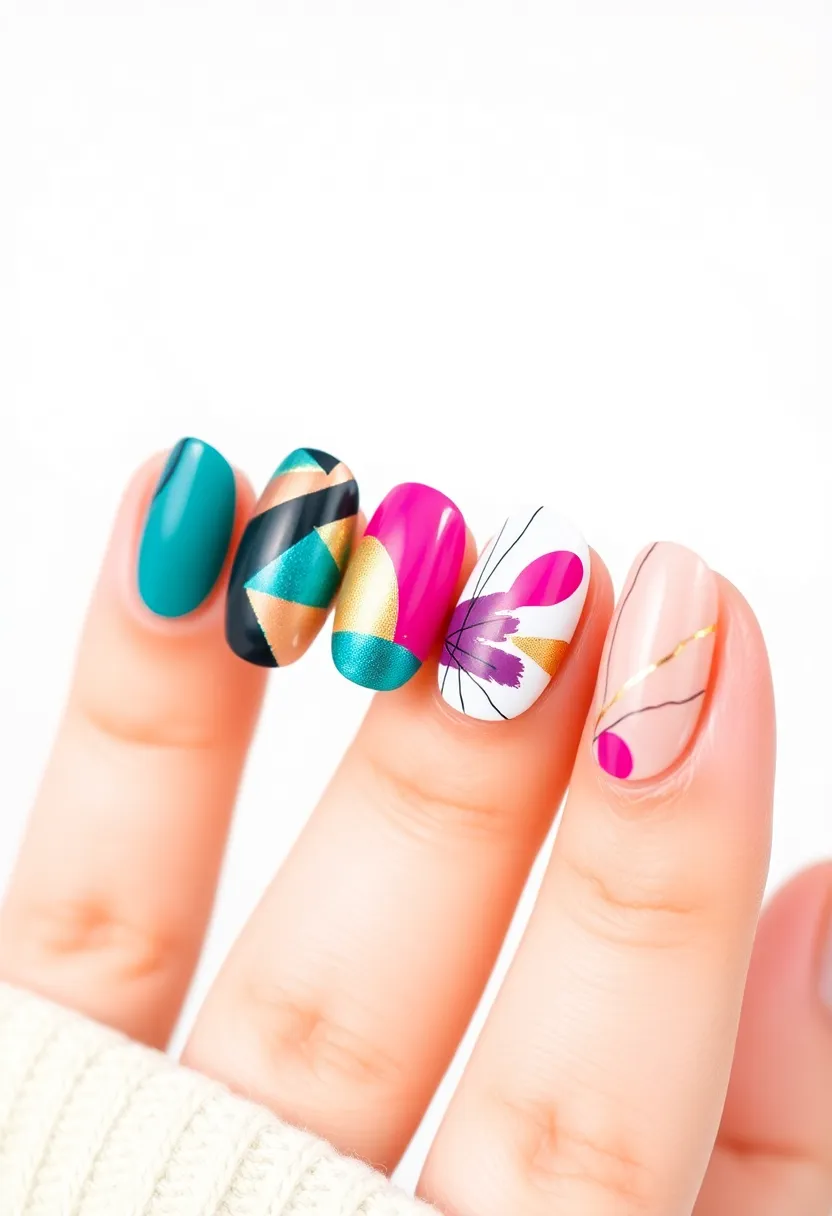
Step outside the lines with abstract designs!
This style lets you unleash your creativity, using random shapes, colors, and patterns. You can mix bold colors with softer ones for contrast or stick to a monochrome palette for a more sophisticated look. Just dab and swirl, and you’ll have a trendy abstract masterpiece!
Tips:
– Don’t overthink it—let the colors flow!
– Use a toothpick to create intricate details.
– Seal with a top coat for a polished finish.
Abstract patterns are perfect for anyone who loves a bit of artistic flair on their nails!
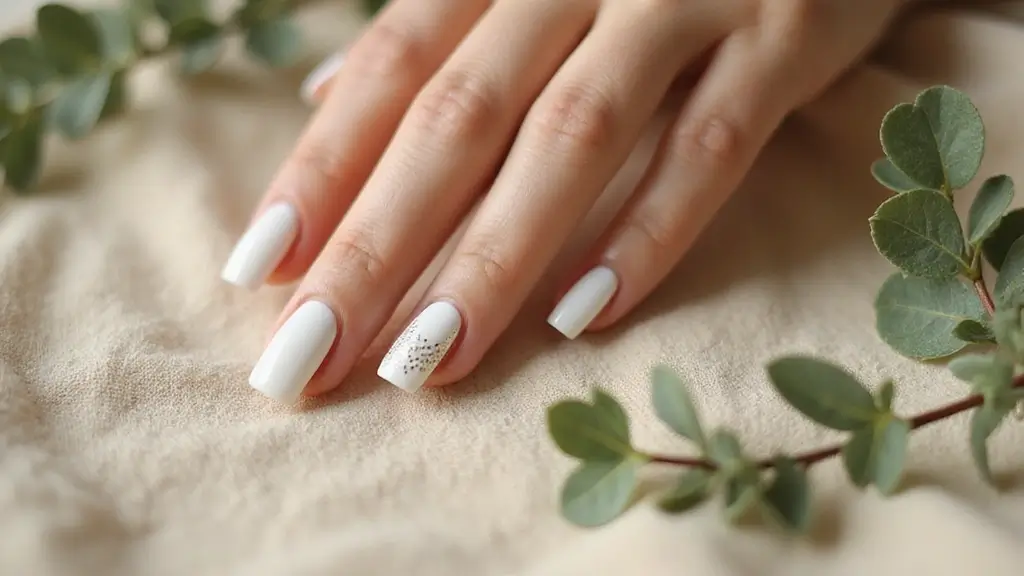
14. Seasonal Themes

Celebrate the seasons with themed nails!
From snowflakes in winter to flowers in spring, seasonal themes can be simple yet stunning. For winter, try white base with silver glitter accents. In fall, use deep oranges and browns with leaf patterns.
Tips:
– Gather inspiration from seasonal colors and symbols.
– Use simple nail stickers for added designs.
– Have fun adapting your designs as the seasons change!
Seasonal nail art keeps things fresh and allows for seasonal expressions of creativity!
15. Colorful Glitter Gradient
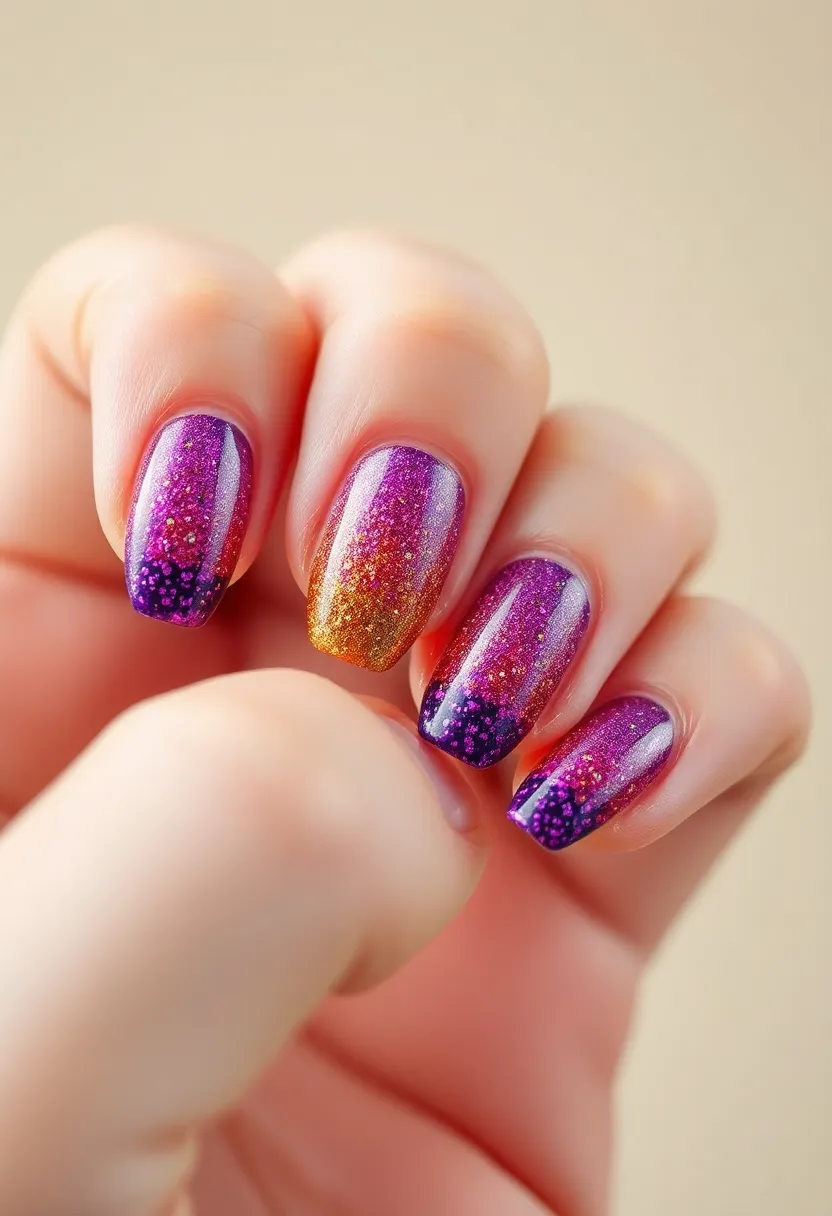
Add some sparkle with a gradient of glitter!
Start with a base color and apply glitter polish from the tip to the cuticle, gradually lessening the amount as you go. It’s a fun twist on a classic ombre that shines! You can use different colored glitters for a playful look.
Tips:
– Apply a base coat for a smooth application.
– Use a dabbing technique to apply glitter.
– Finish with a clear top coat to seal the look.
A colorful glitter gradient is a fabulous way to add some glam to your everyday manicure!
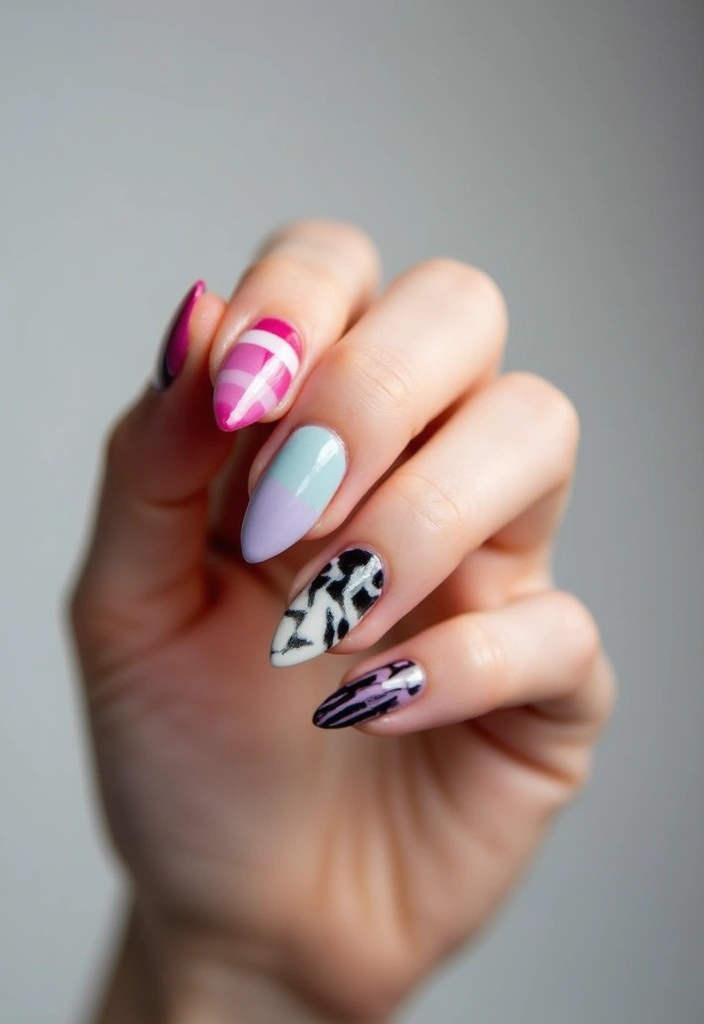
16. Two-tone Designs
Mix and match with two-tone nails!
This design involves painting each nail in two different but complementary colors, creating a fun contrast. Whether you want to divide the nail horizontally, vertically, or diagonally, the possibilities are endless!
Tips:
– Use tape to achieve straight lines.
– Experiment with asymmetrical designs for a modern twist.
– Keep your base color neutral to let the two-tone shine.
Two-tone designs are perfect for those who want to keep things fresh yet simple!
17. Textured Nails
Mix things up with textures!
You can use tools like a sponge or a brush to create textured effects, or apply textured polish that gives a matte or rough finish. This adds depth and interest to your nails.
Tips:
– Experiment with different tools to see what gives you the best texture.
– Try combining textures with smooth finishes for contrast.
– Seal with top coat to ensure longevity.
Textured nails can be a fun way to add a unique touch without being overly complicated!
18. Colorful Tips
Give your French tips a colorful twist!
Instead of the classic white tip, use bright or pastel colors to create a fun vibe. You can keep the base neutral or be adventurous with nail art underneath.
Tips:
– Use tape for clean lines and precise tips.
– Consider a gradient effect for an interesting take.
– Mix and match color tips with different base colors.
Colorful tips are a fun way to show off your personality while keeping it classy!
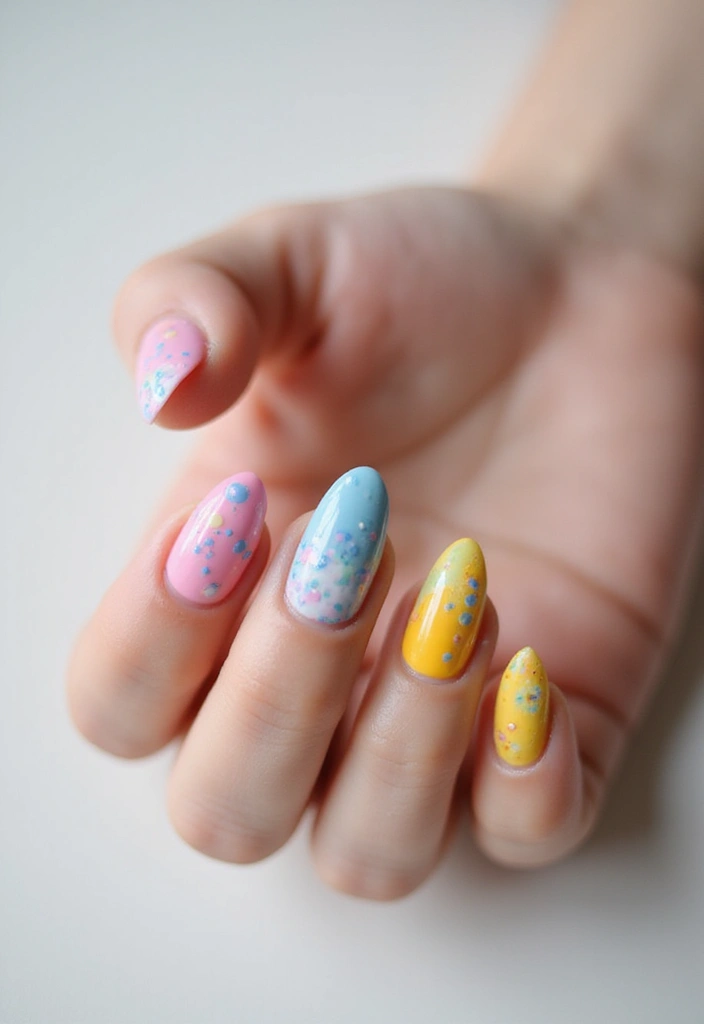
19. Confetti Nails

Who doesn’t love a party?
Confetti nails are vibrant and easy to do! After applying your base coat, simply add colorful dots (or use confetti) as accent pieces. You can cluster them towards one side or spread them across the nail for a fun look.
Tips:
– Use a toothpick for more control when placing confetti.
– Try different shapes and sizes for a whimsical effect.
– Seal with a top coat to keep the confetti in place.
Confetti nails scream fun and are perfect for celebrations or just when you’re in a cheerful mood!
20. Simple Swirls
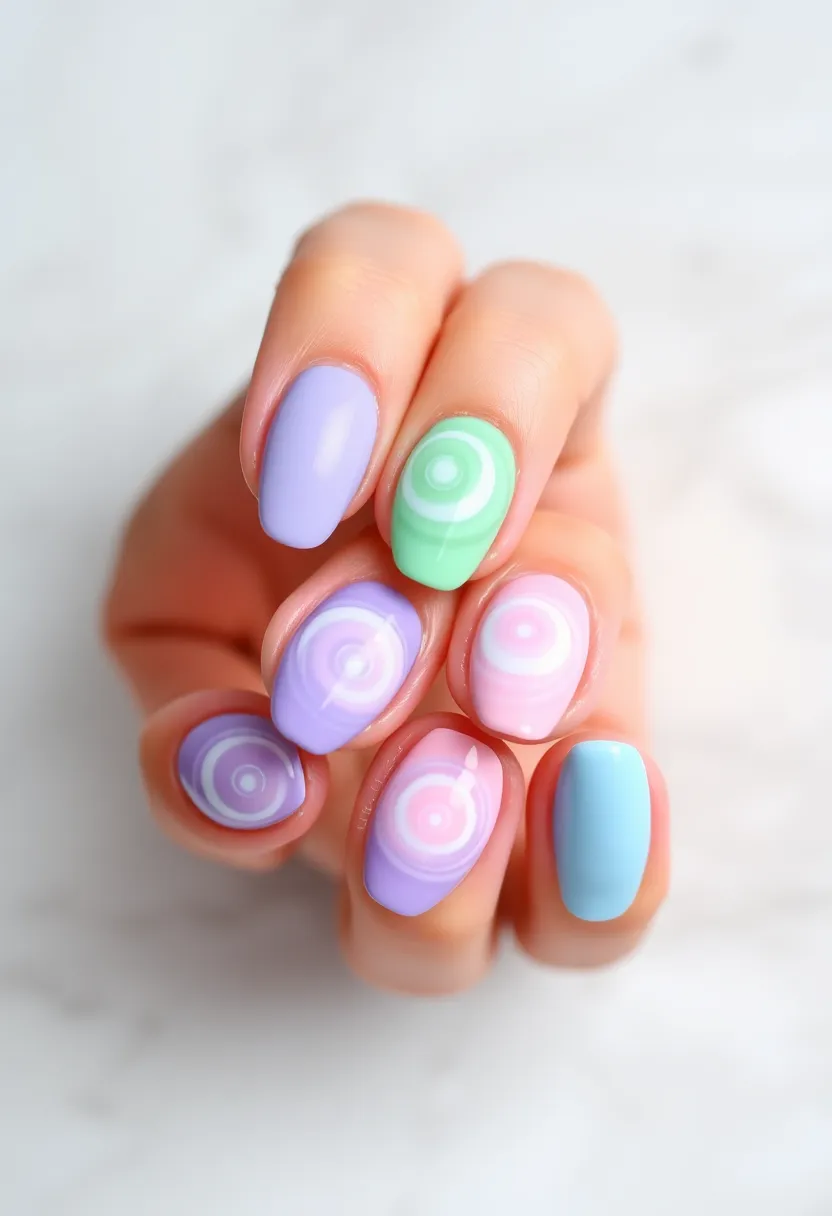
Swirls are a classic nail art design that’s oh-so-easy!
Using a thin brush or a dotting tool, create soft swirls in contrasting colors. You can keep them subtle with pastel shades or bold with vibrant hues. This design is both elegant and playful!
Tips:
– Practice your swirls on paper first to get the hang of it.
– Try varying the thickness of your swirls for a fun effect.
– Keep the background color simple to let the swirls shine.
Swirls add a dynamic touch to your nails without requiring extensive skills!
21. Faux Marble

Love the marble trend? Try faux marble nails!
To achieve this look, apply a base color and then use a thin brush to create line patterns that mimic marble veins. Use contrasting colors for a striking effect.
Tips:
– Keep your lines delicate for a realistic look.
– Try using a white base with grey or black veins for a classic marble effect.
– Finish with a top coat for a smooth, glossy finish.
Faux marble nails combine elegance with creativity, making them a timeless choice!
22. Rainbow Dots
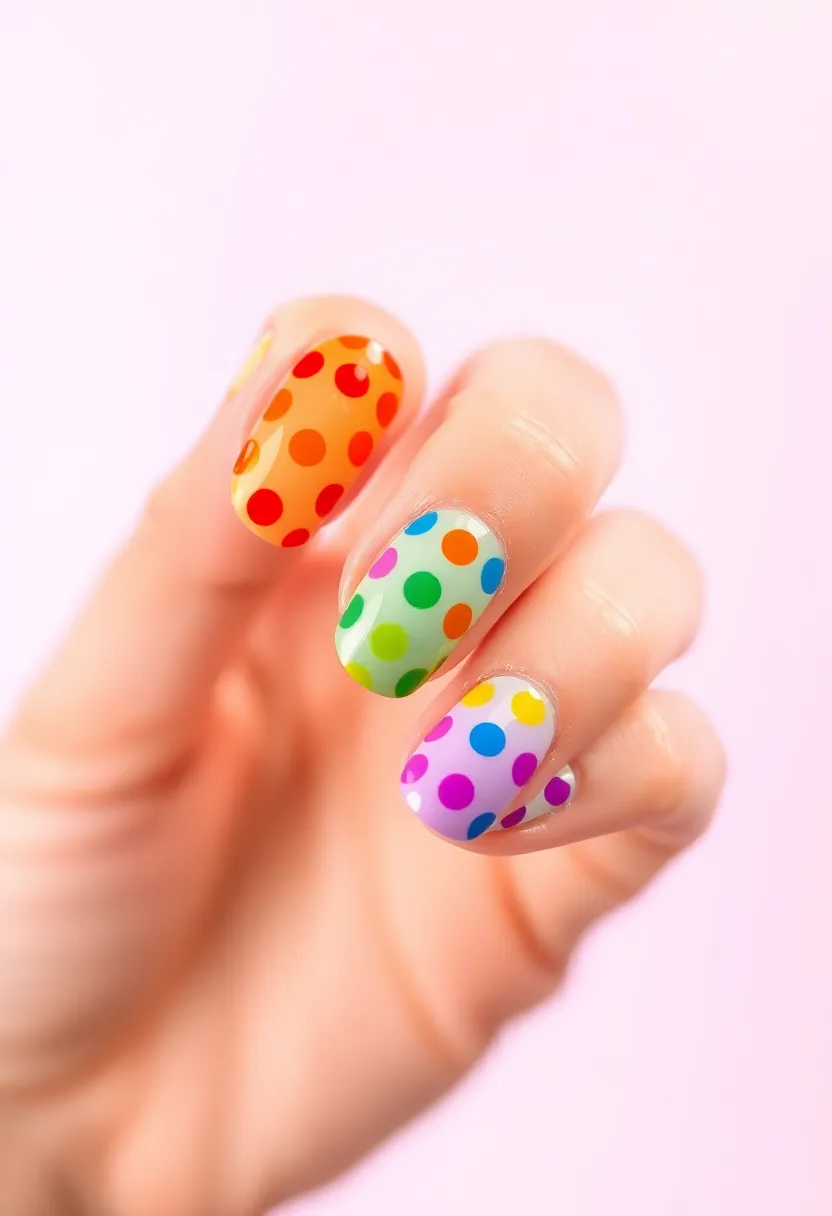
Bring a splash of color to your nails with rainbow dots!
Using a dotting tool, create small dots of different colors across your nails. You can stick to the rainbow order or mix it up for a playful approach. This design is joyful and perfect for everyday wear.
Tips:
– Keep dots small for a dainty look.
– Use a clear base coat for a polished finish.
– Practice your color placement on paper before diving in.
Rainbow dots are easy to create and perfect for any nail art lover!
23. Moonscape

Let your nails shine with a moonscape design!
Using a soft brush, create crescent shapes on your nails with a contrasting color. You can also opt for stars or other celestial elements around the moon. This design is whimsical and can be adjusted for a minimalist vibe.
Tips:
– Stick to dark backgrounds for a cosmic feel.
– Use a matte finish to enhance the celestial effect.
– Experiment with different moon shapes.
Moonscape nails are perfect for those who love to look towards the stars!
Embrace the cosmos on your fingertips! With just a soft brush and a touch of creativity, your nails can shine like the night sky. Remember, every crescent moon tells a story – let your nail art designs easy inspire your next adventure!
24. Paint Splatter

Get artsy with paint splatter nails!
Using a small brush or even a straw, create a splatter effect by flicking polish onto your nails. This design allows for freedom and creativity with color choices.
Tips:
– Use an old toothbrush for an easy splatter effect.
– Protect your skin with tape or a peel-off base coat.
– Experiment with different colors to create unique variations.
Paint splatter nails are a fun way to get creative and express your artistic side!
Unleash your creativity with paint splatter nails! 🎨 Just a flick of polish can turn your fingertips into a canvas. Embrace the mess and let your nail art designs easy tell your unique story!
25. Simple Checkerboard
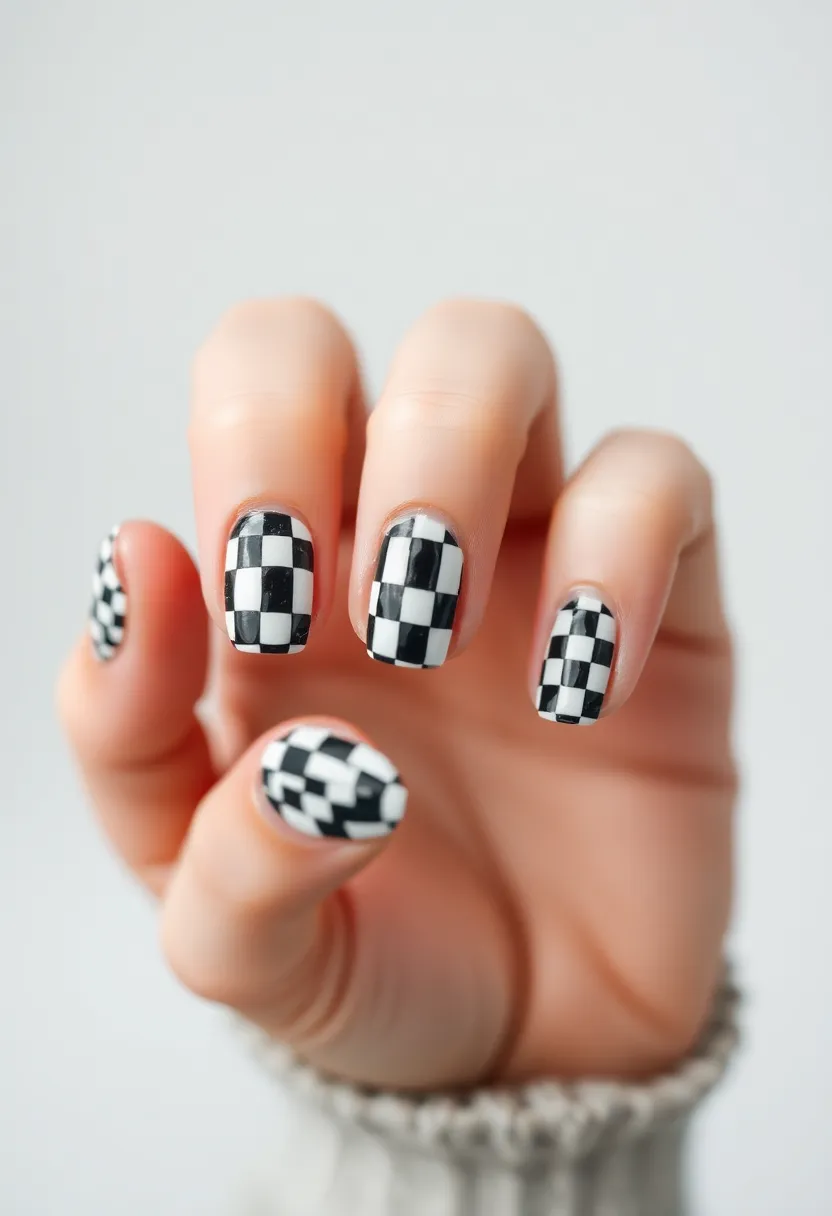
Channel your inner artist with checkerboard nails!
Using tape or a thin brush, create a checkerboard pattern with two contrasting colors. This design is playful yet stylish, perfect for adding a bit of edge to your look.
Tips:
– Use a base coat to create a smooth backdrop.
– Make sure each square is even for a polished look.
– Experiment with different colors for dynamic designs.
Checkerboard nails are eye-catching and fun, a great choice for those who love to stand out!
26. Simple Spiral
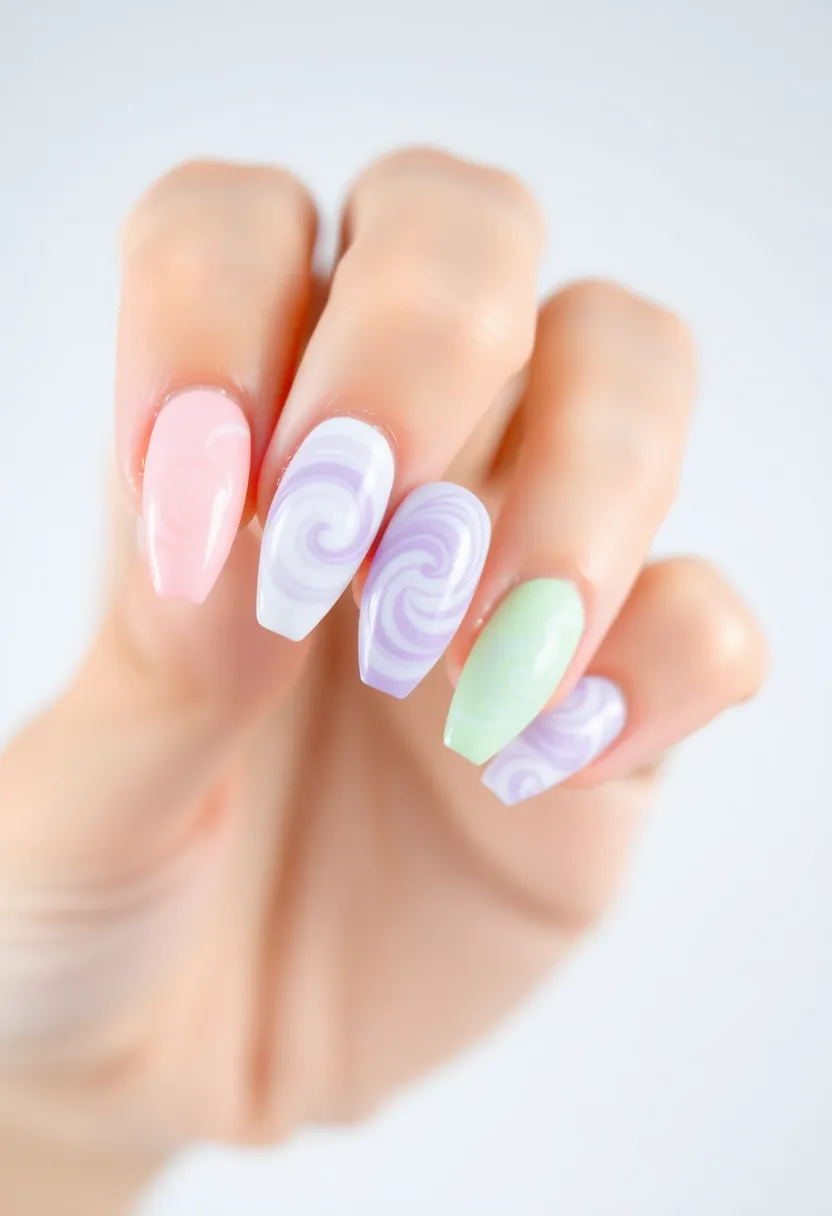
Spiral designs are an easy and fun way to add some flair!
Using a thin brush, start from the center of your nail and swirl outward in a spiral motion. You can use two colors for a lovely contrast or stick to one for a minimalist vibe.
Tips:
– Keep your brush steady for cleaner lines.
– Start with a dot in the center to guide your spiral.
– Seal with a top coat for durability.
Spiral designs are playful and add movement to your nails without being complicated!
27. Circle Patterns
Circles can create a modern and clean look!
Using a dotting tool or the end of a bobby pin, create small circles on your nails. You can fill them with color or leave them bare for a minimalist design. Arrange them in a pattern or scatter them for fun!
Tips:
– Keep your circles consistent in size for a polished look.
– Experiment with different color combinations for contrast.
– Use a top coat to protect your design.
Circle patterns are stylish and versatile, perfect for any occasion!
28. Simple Feather Design
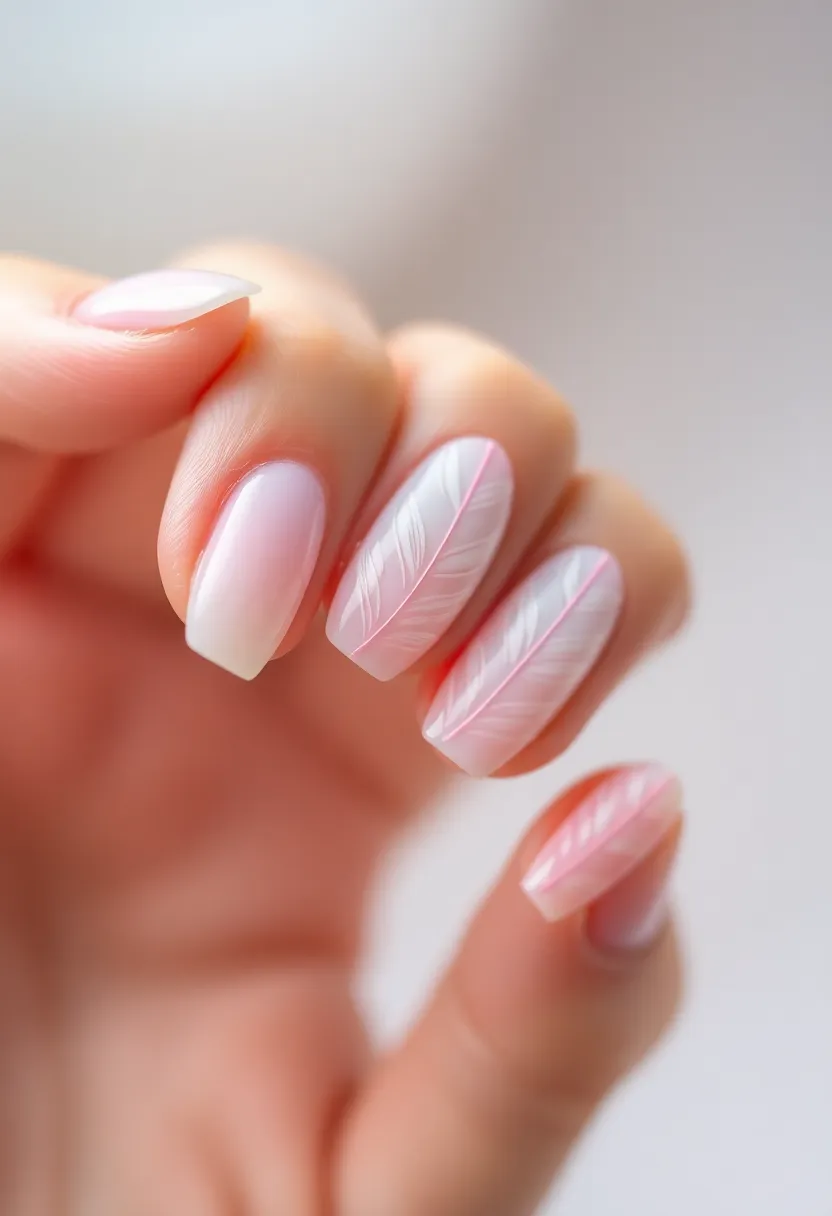
Feather nails can bring a unique flair to your look!
Using a thin brush, create simple feather shapes on your nails. You can stick to one color or mix several shades for a colorful effect. This design is delicate yet eye-catching.
Tips:
– Start with a neutral base for the feathers to pop.
– Use a light touch for more intricate feather details.
– Seal with a top coat for a lasting finish.
Feather designs are perfect for those who enjoy a whimsical touch to their nail art!
29. Candy Stripes

Sweeten up your nails with candy stripes!
Using tape, create fun stripe patterns that resemble candy wrappers. Choose bright, fun colors to play into the candy theme! This design is perfect for anyone looking to add a whimsical touch to their nails.
Tips:
– Mix matte and glossy finishes for a candy-like effect.
– Keep your stripes even for a cohesive look.
– Experiment with color combinations for extra fun.
Candy stripe nails are playful and vibrant, ideal for a cheerful look!
30. Simple Sunburst
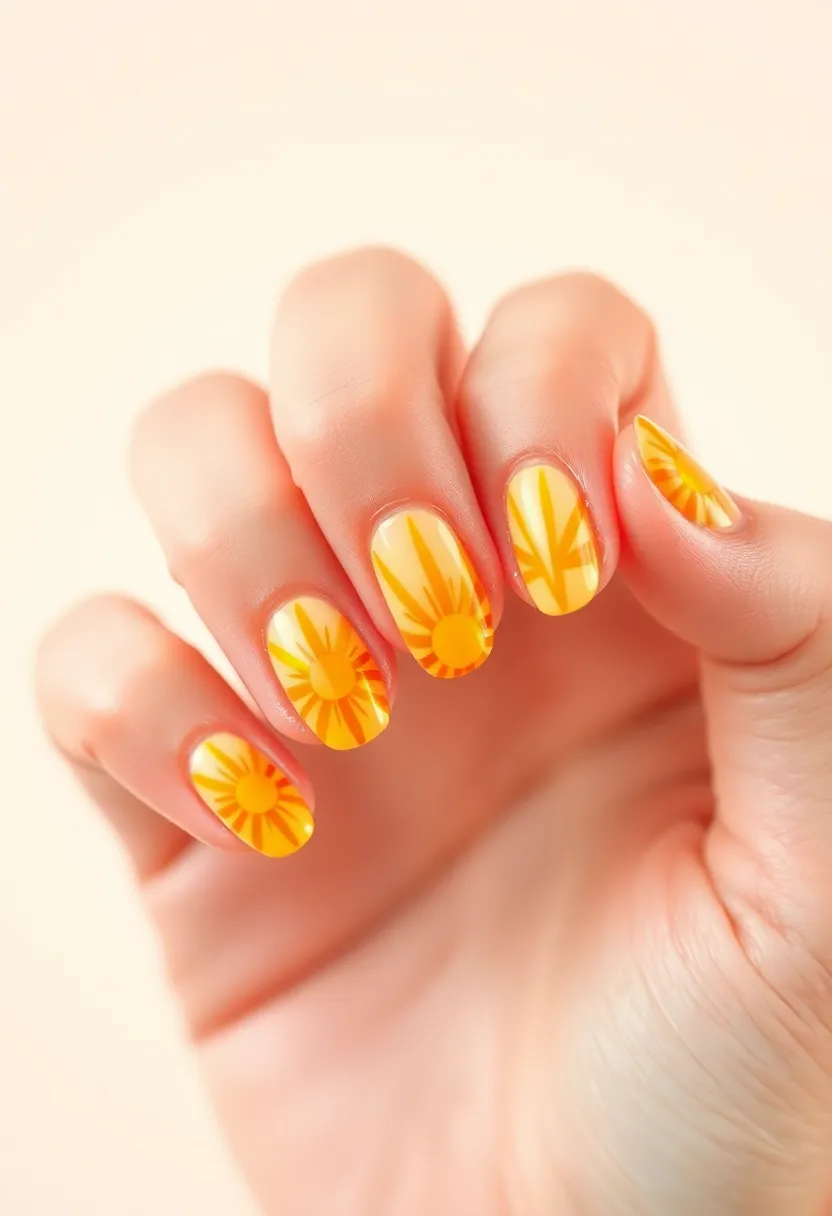
Finish strong with a sunburst design!
Using a thin brush, start from the center of your nail and create lines radiating outward like rays of sunshine. You can use bright colors for a cheerful look or stick to pastels for a soft vibe.
Tips:
– Vary the length and thickness of the rays for a dynamic effect.
– Use a contrasting base color for your rays to stand out.
– Seal with a top coat for a glossy finish.
Sunburst designs are fun, free, and perfect for anyone wanting to bring a little sunshine into their nail art!
Conclusion

Nail art is an exciting way to express your creativity without the need for complex skills!
With these 30 easy nail art designs, you’re well-equipped to start your journey into nail artistry. Whether you prefer minimalist looks or vibrant patterns, there’s something here for everyone. Grab your favorite polishes, gather your tools, and let your creativity shine! Happy painting!
Frequently Asked Questions
What are some of the easiest nail art designs for beginners?
If you’re just starting out, you might want to try designs like the Classic French Tips or Simple Dots. Both of these styles are straightforward and require minimal tools. The French tips offer an elegant look, while dots can be playful and fun. With these designs, you’ll gain confidence in your nail art skills in no time!
Do I need special tools for these easy nail art designs?
Not at all! Many of the easy nail tutorials in our article can be accomplished with common household items. For instance, you can use a bobby pin for dotting or tape for creating stripes and geometric designs. Investing in a few basic tools like a thin brush or dotting tool can help, but they’re not mandatory to get started!
How can I achieve the ombre effect on my nails?
Creating an ombre effect is easier than you think! Start with a light base color and sponge on a darker color while the base is still wet to blend. You can also practice using two or more shades for a stunning gradient. Just remember to be patient and have fun with it—practice makes perfect!
What are some quick nail art ideas for busy individuals?
For those on a tight schedule, simple nail art designs like Color Blocking or Simple Heart Nails can be done in minutes. These designs don’t require intricate techniques or a lot of time, making them perfect for quick, stylish results. Grab your favorite polishes and get creative whenever you have a moment!
Can I mix and match different nail art designs?
Absolutely! Mixing and matching beginner nail designs can create unique looks that express your personality. You can combine styles like Striped Elegance with Glitter Accents or even add some Negative Space to a floral design. The possibilities are endless, so let your creativity shine!