Nail art is an art form that deserves a spotlight, especially for beginners looking to spice up their manicure game.
With endless possibilities, creating stunning nail designs can be both fun and fulfilling. These 30 step-by-step tutorials will guide you through beginner-friendly nail art techniques that will transform your nails into tiny canvases.
Grab your nail polishes, tools, and a little bit of creativity as we dive into the world of easy and exciting nail art! Get ready to impress yourself and others with your newfound skills.
1. Classic French Tip
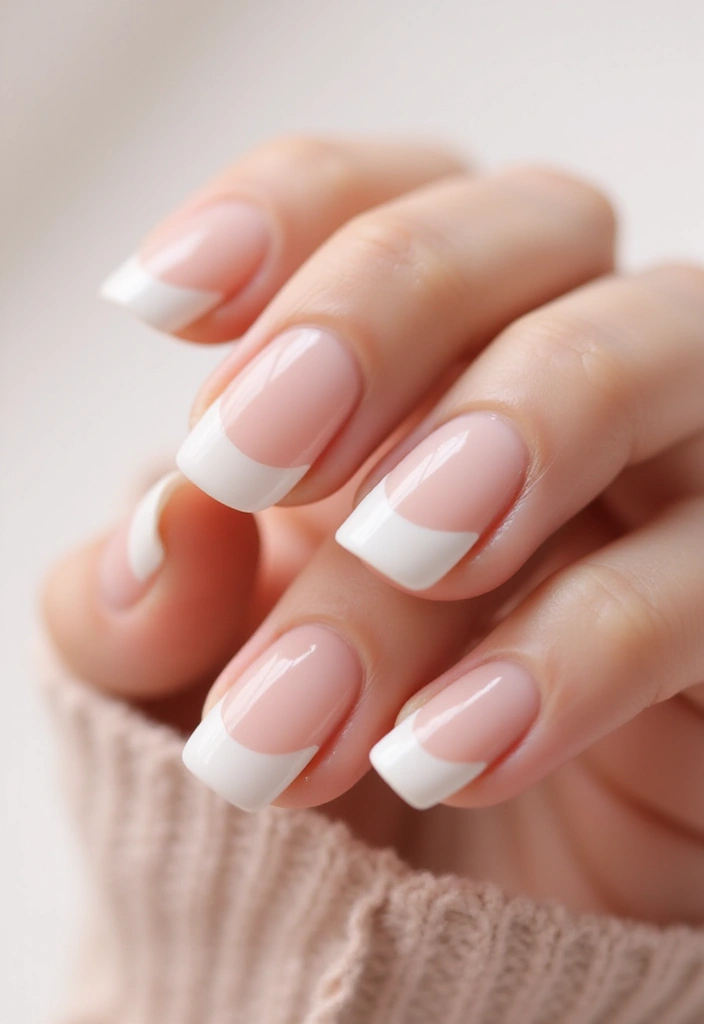
The classic French tip is timeless and always in style. This simple design features a nude base with white tips that elongate your fingers beautifully.
To achieve this look, start with a clean nail. Apply a base coat followed by two coats of nude polish. Once dry, use nail tape or a thin brush to create the white tip. Finish with a top coat to seal your masterpiece.
Tips:
– Choose a nude shade that complements your skin tone.
– If you make mistakes, don’t fret! A little nail polish remover on a small brush can fix any errors.
– Experiment with colored tips for a modern twist!
A classic French tip is more than just a style; it’s a confidence boost for your nails! With a little practice, you’ll master this timeless look and elevate your nail game effortlessly.
2. Ombre Effect
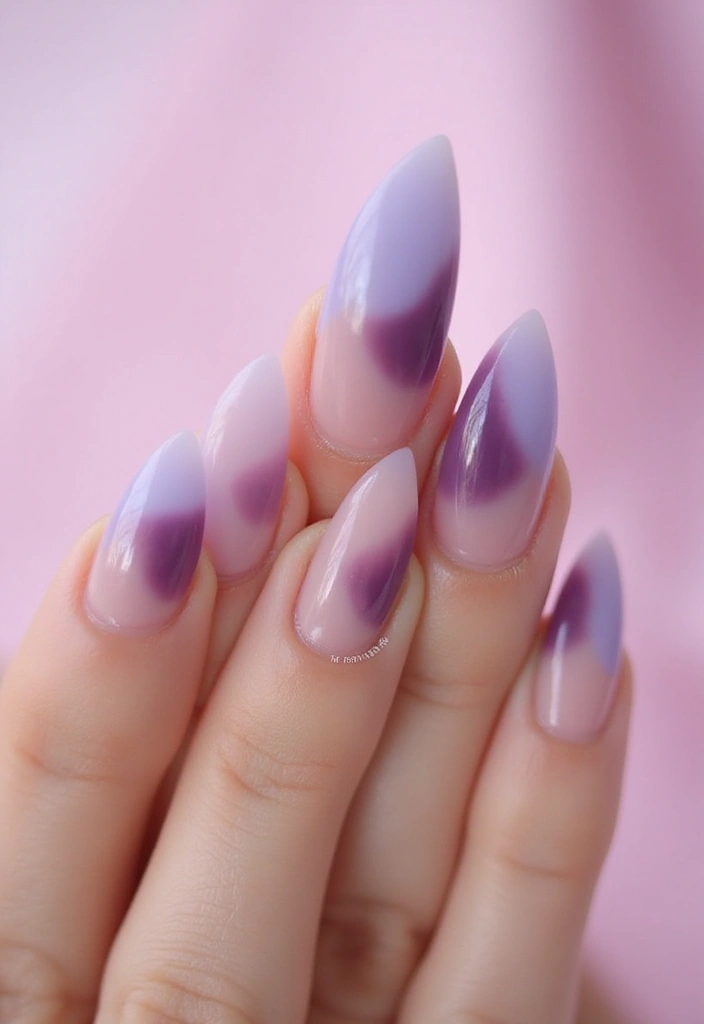
The ombre effect adds a dreamy touch to your nails, blending two or more colors seamlessly. Start with a light base coat and select two colors that transition well together.
Using a makeup sponge, apply the lighter color at the cuticle and the darker color at the tip. Press the sponge onto your nail until you achieve the desired gradient effect. Seal it all with a glossy top coat.
D DIY Tips:
– Experiment with different color combinations to find your favorite ombre look.
– Use a small brush to clean up the edges for a polished finish.
– This technique works well for both long and short nails!
3. Polka Dot Fun
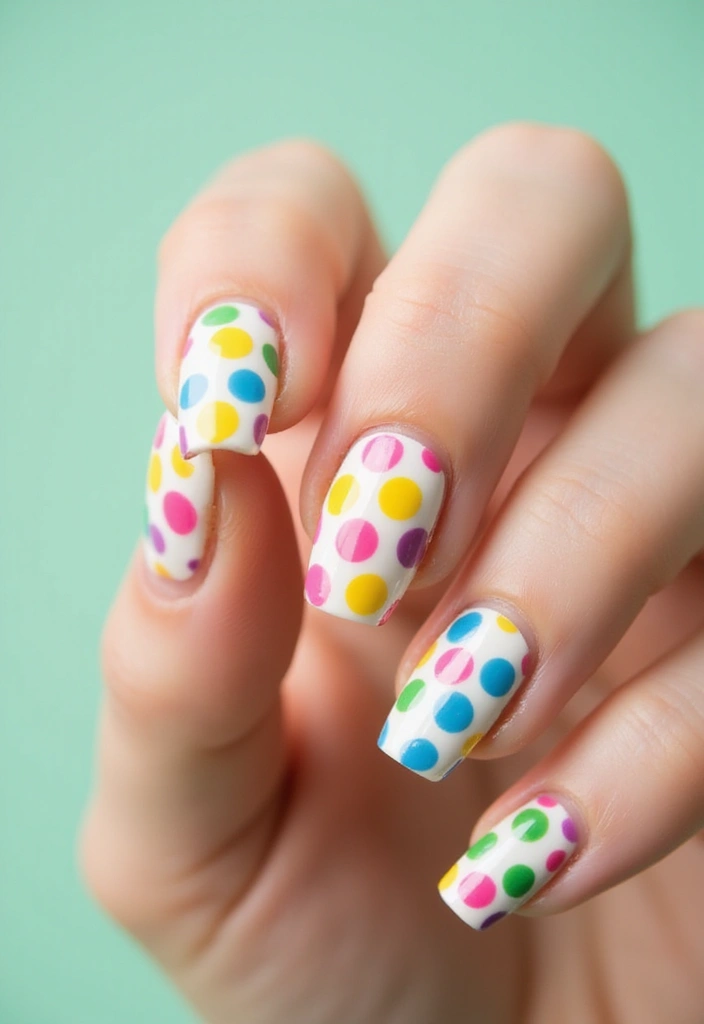
Polka dots are playful and super easy to master, making them perfect for beginners. You’ll need a dotting tool or a toothpick to create various dot sizes.
Begin by painting your nails in a solid color as a base. Once dry, use the dotting tool to add dots in a contrasting color. Let your creativity flow by varying the size and arrangement of the dots!
Suggestions:
– Use a solid color for the base and a vibrant color for the dots for a pop effect.
– Try mixing dots with stripes for a fun twist.
– Don’t worry about making them perfect; the charm of polka dots lies in their imperfect nature.
4. Nail Art with Stripes
Stripes can add a chic and modern touch to your nails. This design is versatile and can be achieved using striping tape or a small brush.
Start by painting a base color and allowing it to dry completely. Once dry, apply striping tape in desired patterns or use a brush to create stripes directly on your nails. Choose contrasting colors for an eye-catching design!
Pro Tips:
– Use thin strips for delicate lines and wider strips for bold designs.
– Try diagonal stripes for an adventurous look.
– Seal with a top coat to keep your stripes crisp and clean.
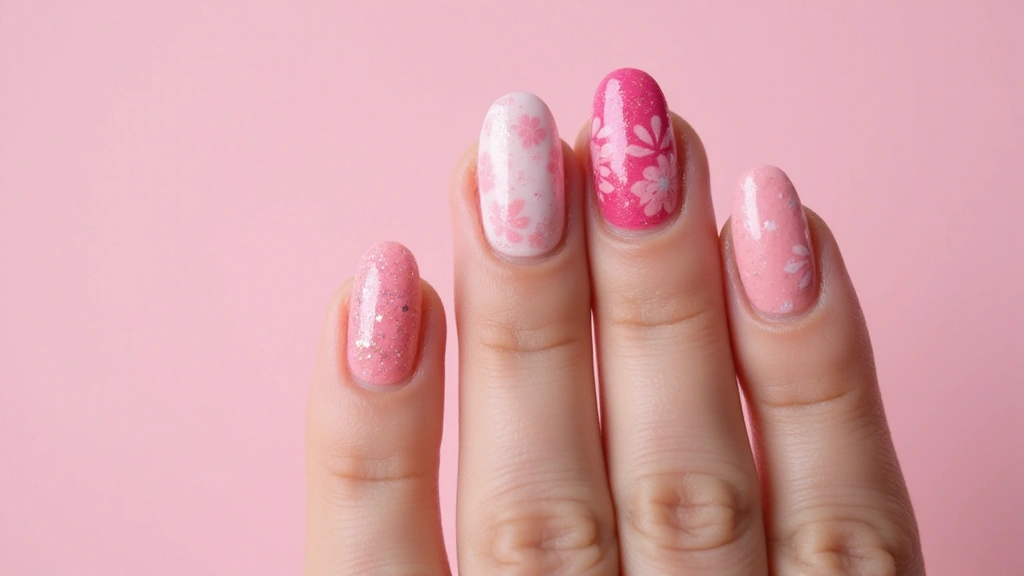
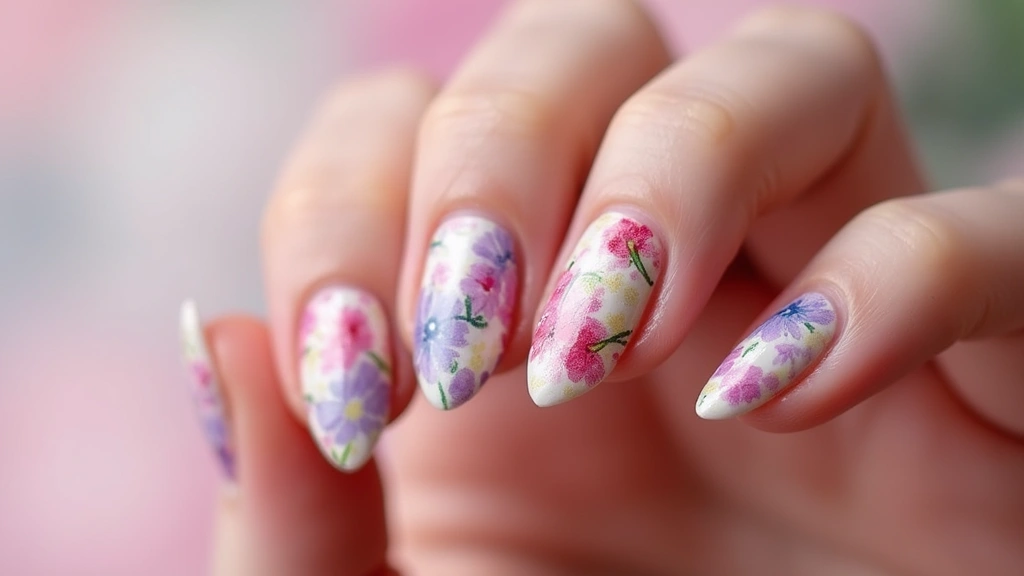
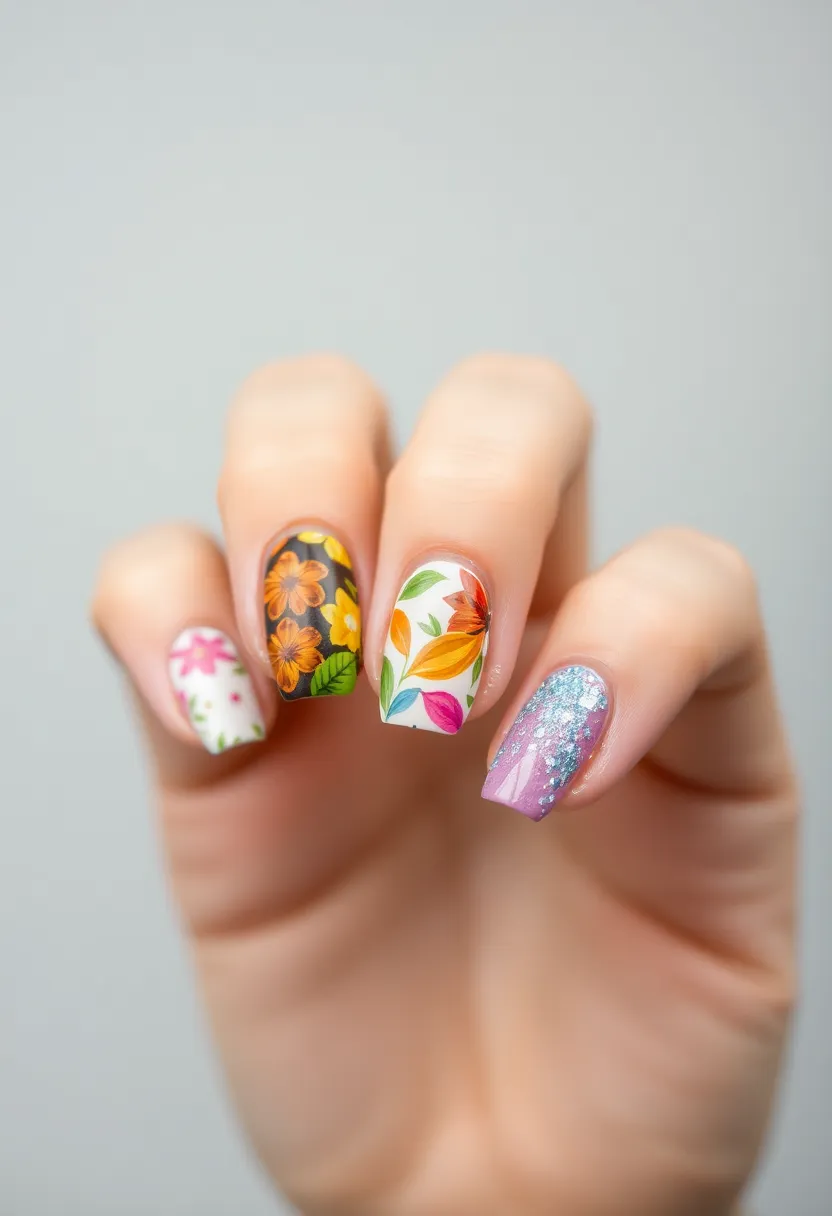
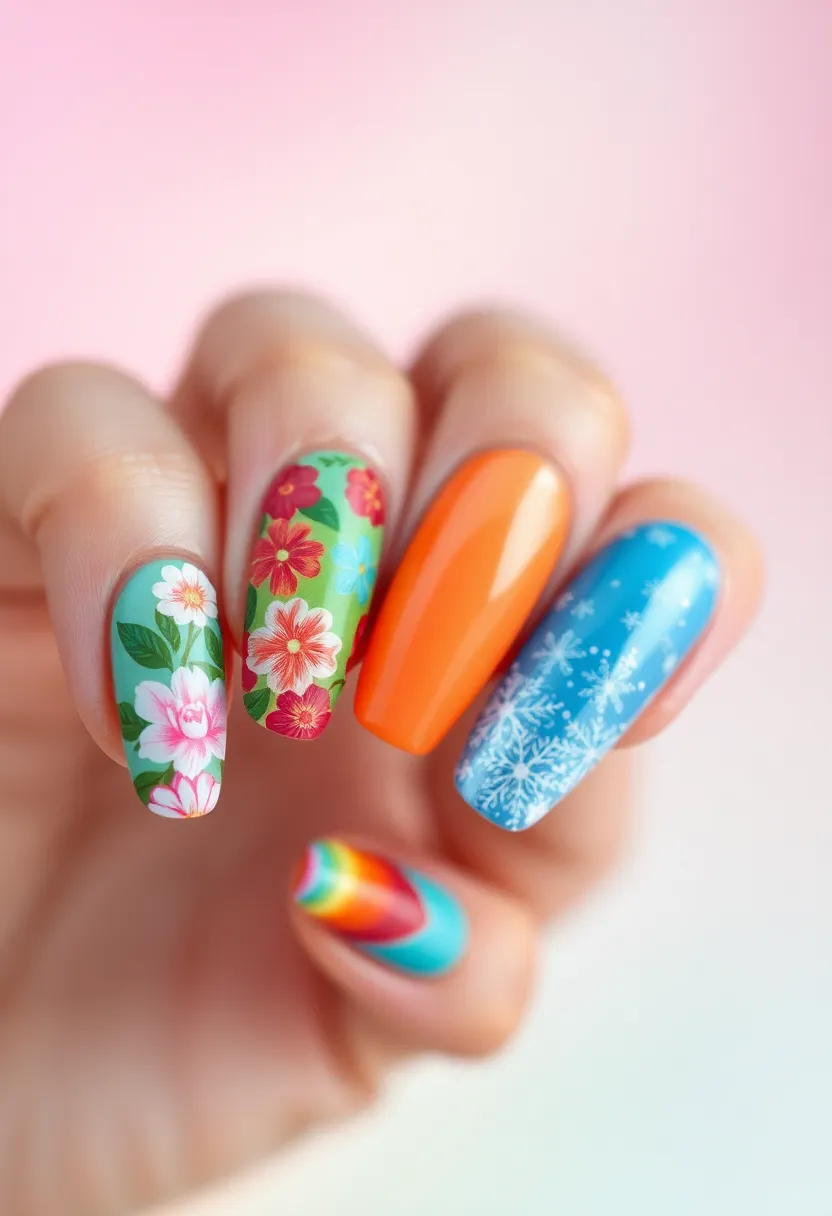
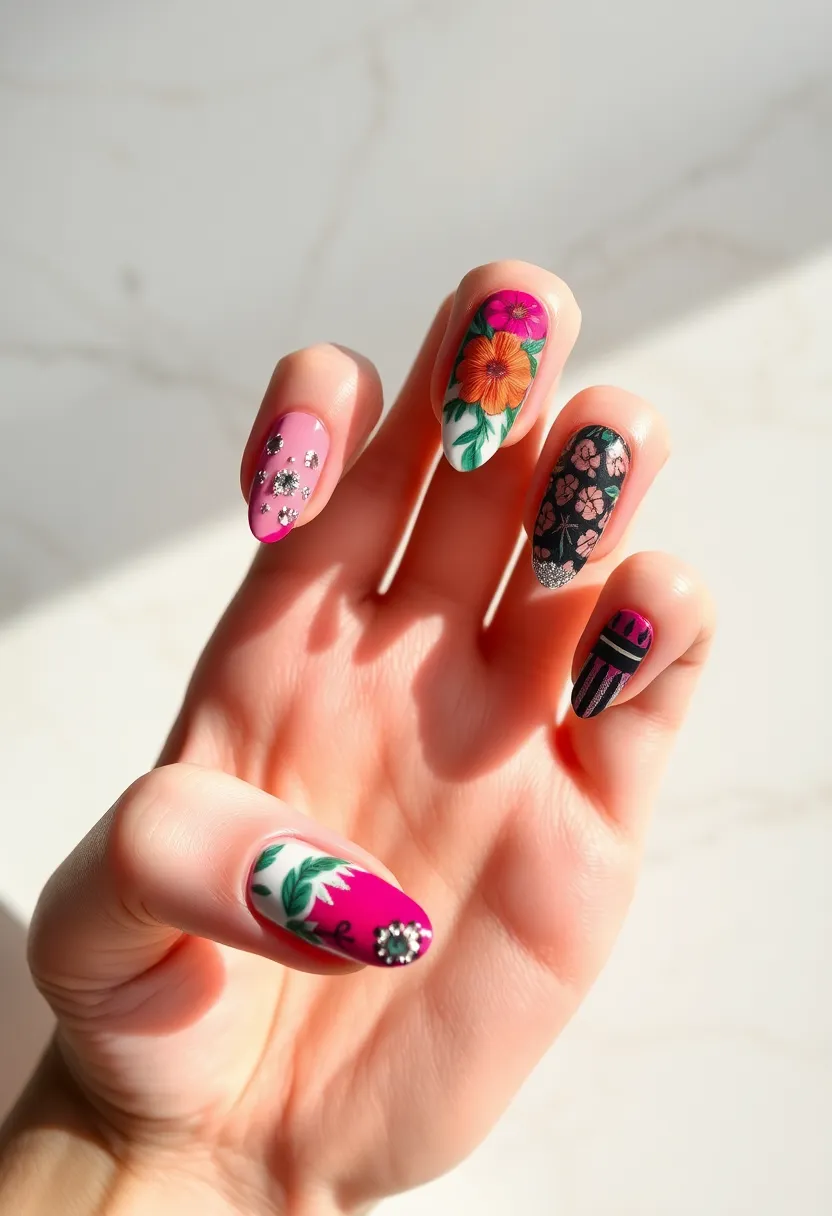
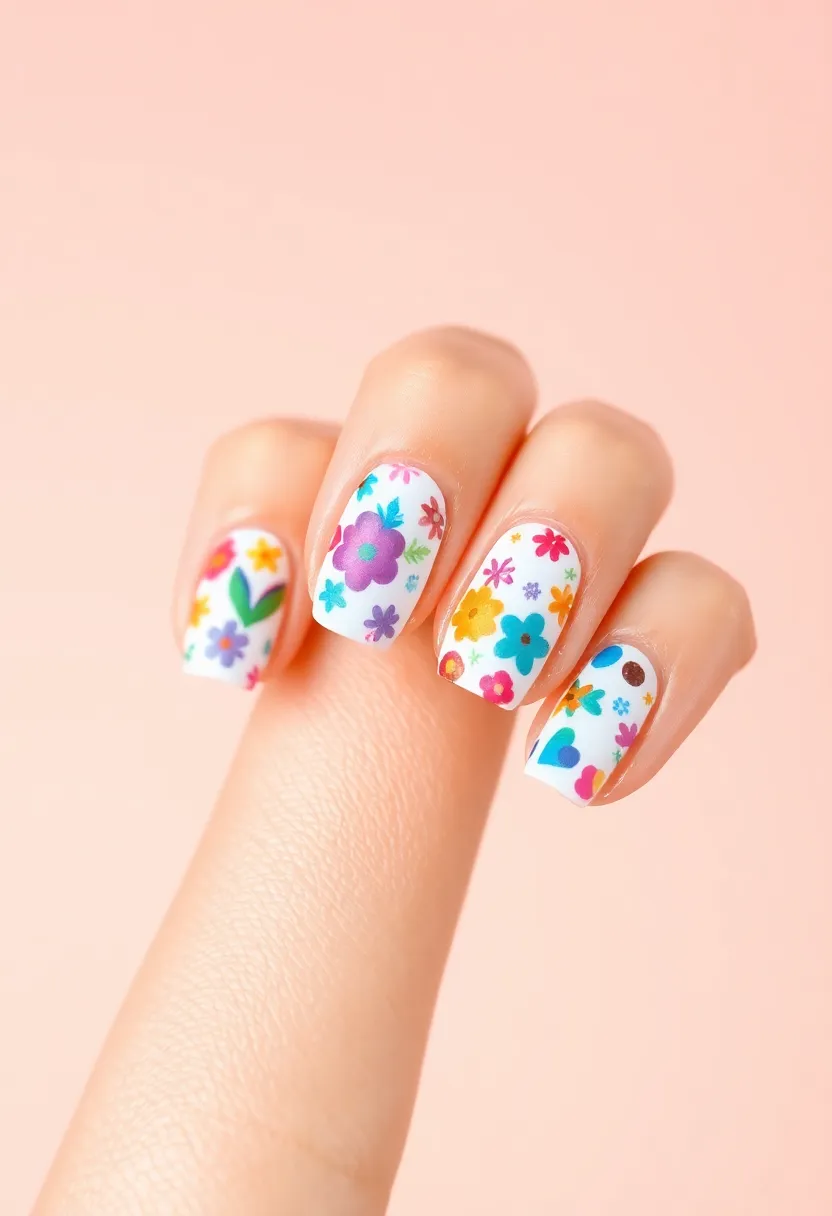
5. Floral Designs
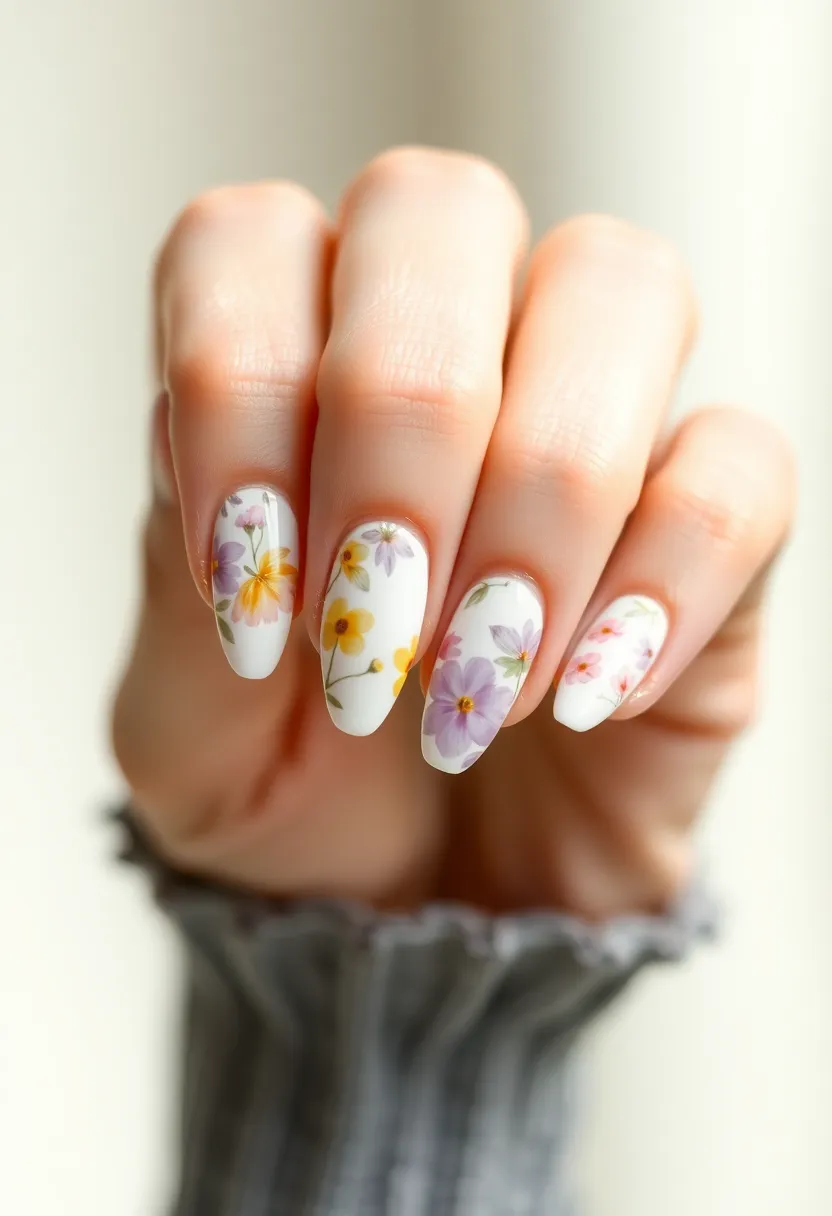
Floral nail art brings an element of nature to your fingertips. Start with a pastel or nude base, then create flowers using a dotting tool or a small brush.
Begin with a dot for the flower center and add petals around it, using small strokes. You can mix different colors for variety! Top it off with a clear polish to make your blooms shine.
Beginner Tips:
– Start small; a single flower on each nail can be stunning!
– Use a toothpick for detailed work, like leaves.
– Experiment with different flower types for added charm.
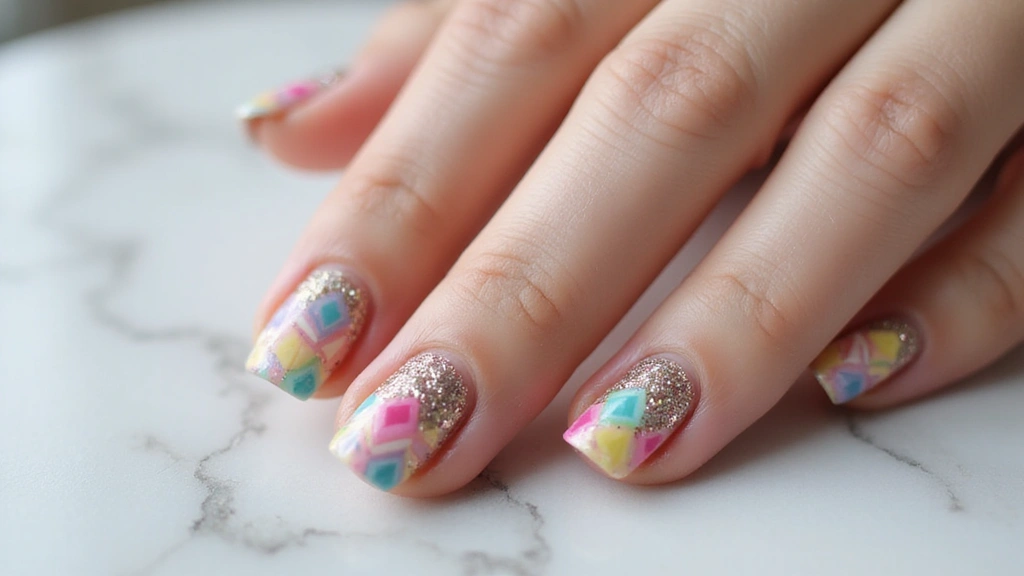
6. Geometric Patterns

Geometric designs can look sophisticated yet be simple to create. Start by painting your nail a solid color. Once dry, use nail tape to create different shapes and angles, painting each section a different color.
The key is to let each color dry before removing the tape to avoid smudging. This technique creates a polished and modern look on your nails!
Creative Insights:
– Pair bold colors for a statement design.
– Consider mixing matte and glossy finishes for added texture.
– Add tiny dots or lines to fill in gaps for extra detail.
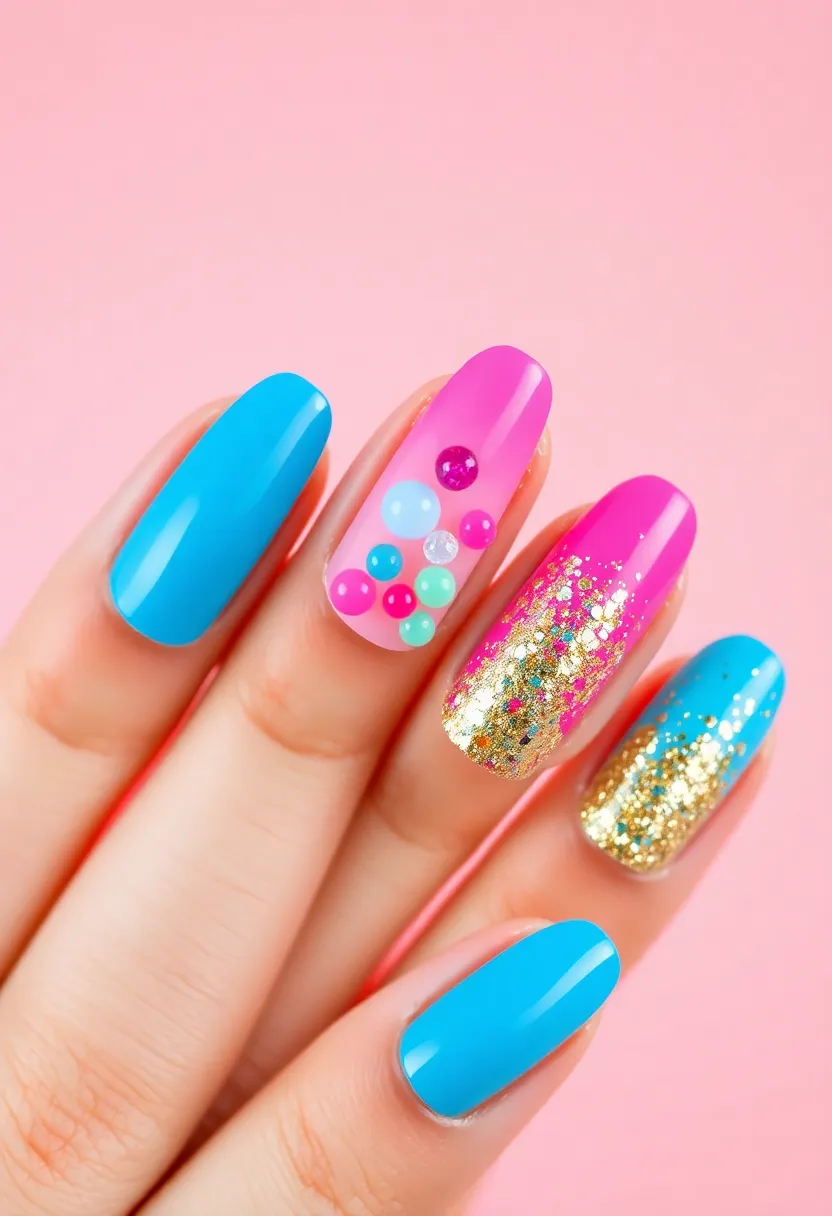
7. Glitter Gradient
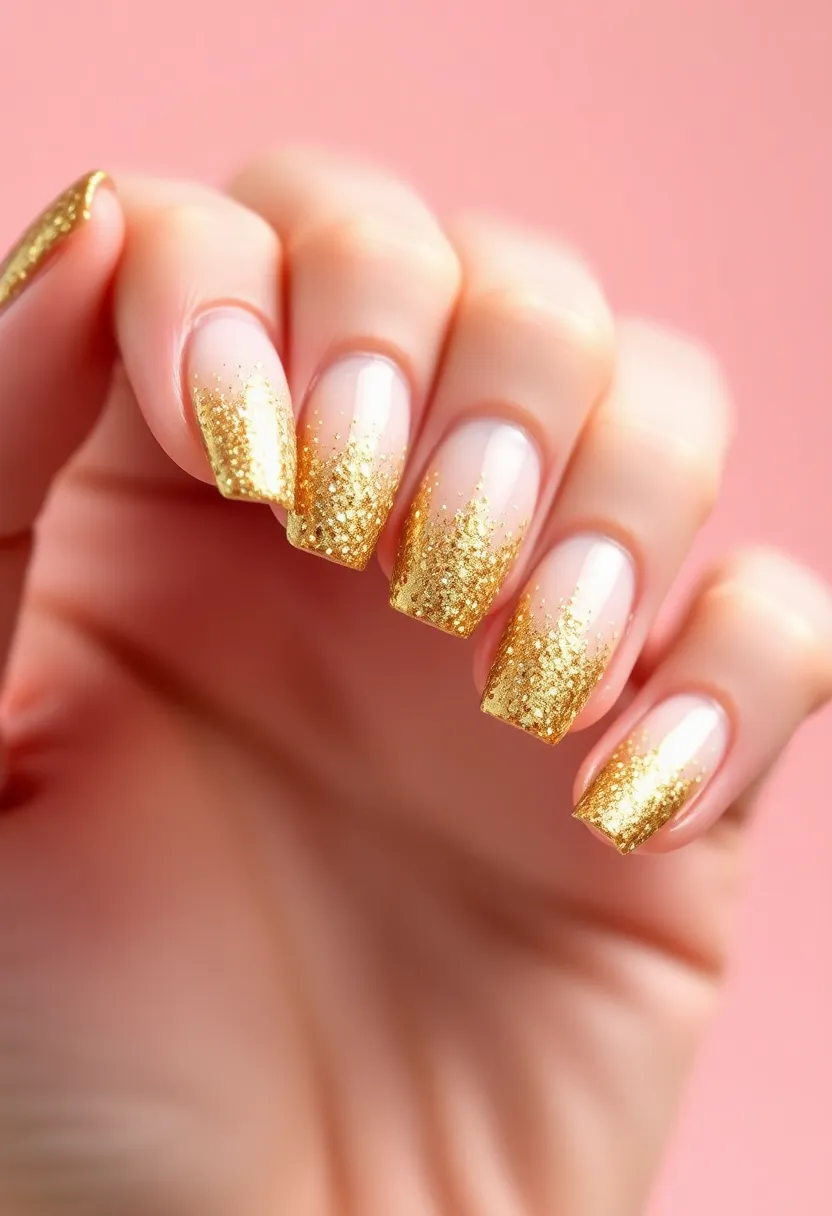
Who doesn’t love a little sparkle? The glitter gradient is a fun way to glam up your nails while keeping it simple. Start with a base color, apply glitter polish at the tips, and blend it downward using a makeup sponge for a gradient effect.
This design is particularly great for special occasions or just to add a bit of flair to your everyday look. Finish with a top coat to ensure a smooth finish.
Fun Tips:
– Mix different sizes of glitter for a multi-dimensional effect.
– Use a transparent base to keep it soft and delicate.
– Experiment with colored glitters for personalized sparkle.
8. Animal Prints
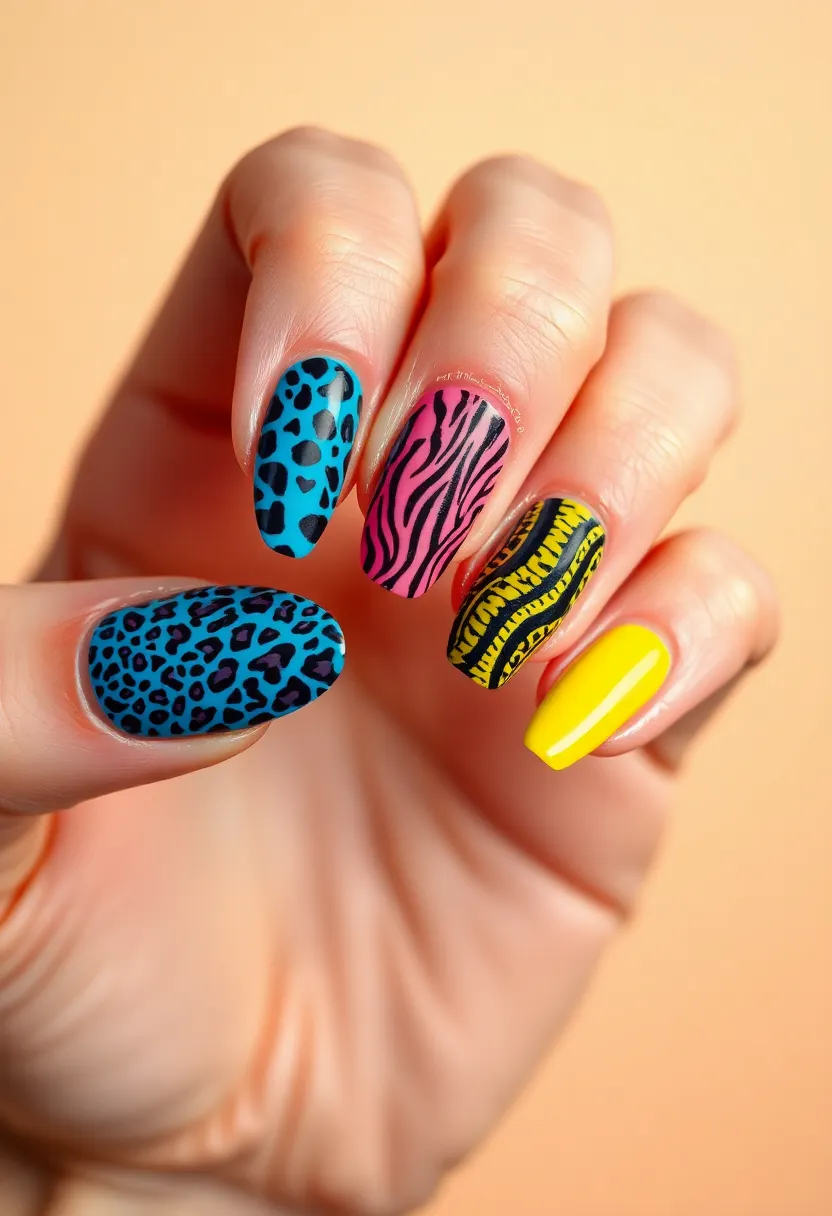
Animal print nails are bold and can be as simple or intricate as you want. Choose a neutral base and add spots or stripes in colors that mimic animal patterns, like leopard or zebra.
Using a small brush or dotting tool, apply your print design with care. Don’t forget to seal your artwork with a top coat!
Tips for Beginners:
– Start with simple designs; you can always add complexity as you grow more comfortable.
– Use contrasting colors to make your prints stand out.
– Mix and match different prints for an eclectic look.
Unleash your inner artist! With animal print nails, every stroke is a chance to express yourself—start simple and watch your creativity roar!
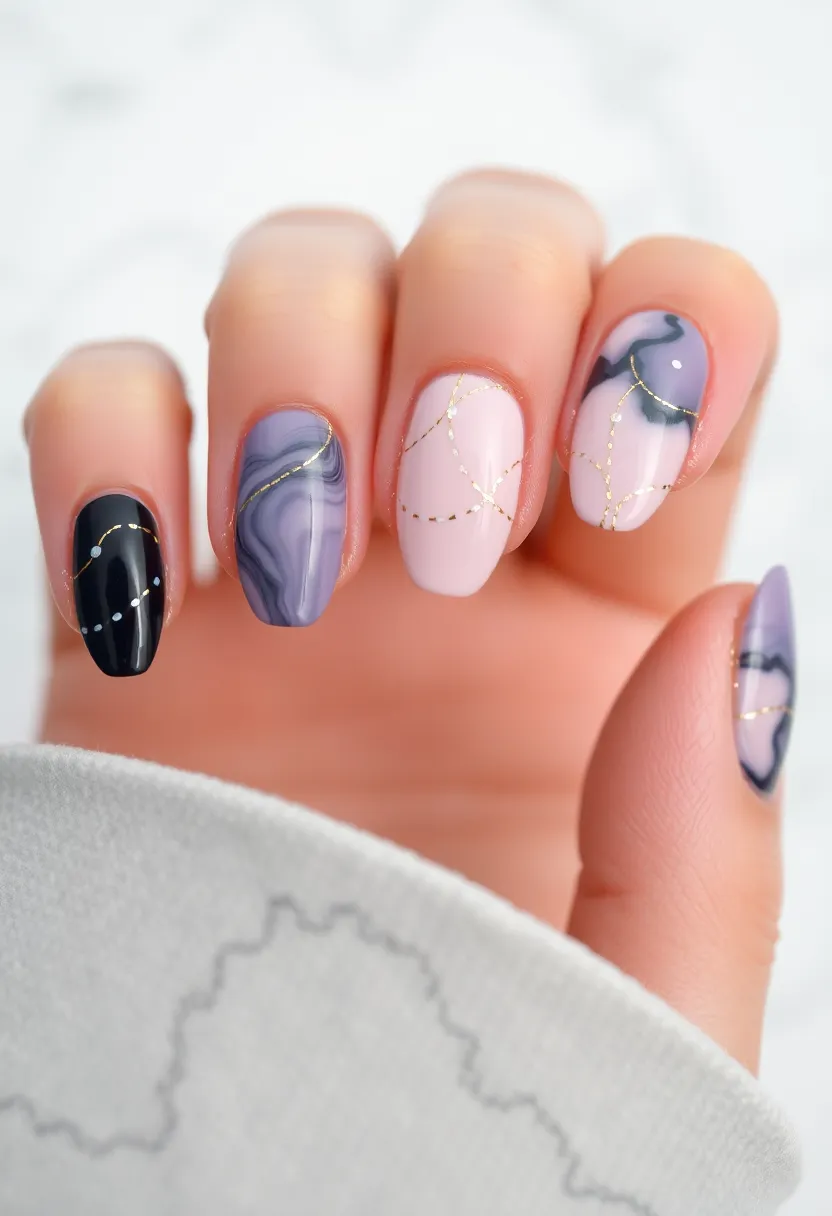
9. Marble Effect
The marble effect gives a luxurious vibe to your nails. Begin with a white base coat, then use a thin brush to swirl a second color (like grey or black) onto the wet polish, creating a marbled look.
You can also achieve this effect with water marbling, where you drop nail polish onto the water surface and swirl it before dipping your nails in. Finish with a top coat for shine!
Pro Tips:
– Practice the swirling technique on a piece of paper first.
– Use contrasting colors for a bolder look.
– Keep your design less uniform for a more realistic marble finish.
10. Color Blocking
Color blocking is a trendy way to incorporate multiple colors into one design. Start with a base color and use tape to section off different areas of your nail. Fill in each section with contrasting colors for a bold look.
Make sure to let each layer dry before applying the next to ensure crisp lines. This technique creates a modern and playful style that’s perfect for anyone looking to make a statement.
Creative Insights:
– Mix different finishes, like matte and glossy, for added dimension.
– Try using three or more colors for a more intricate design.
– Keep the shapes simple for an easier approach!
11. Watercolor Nails
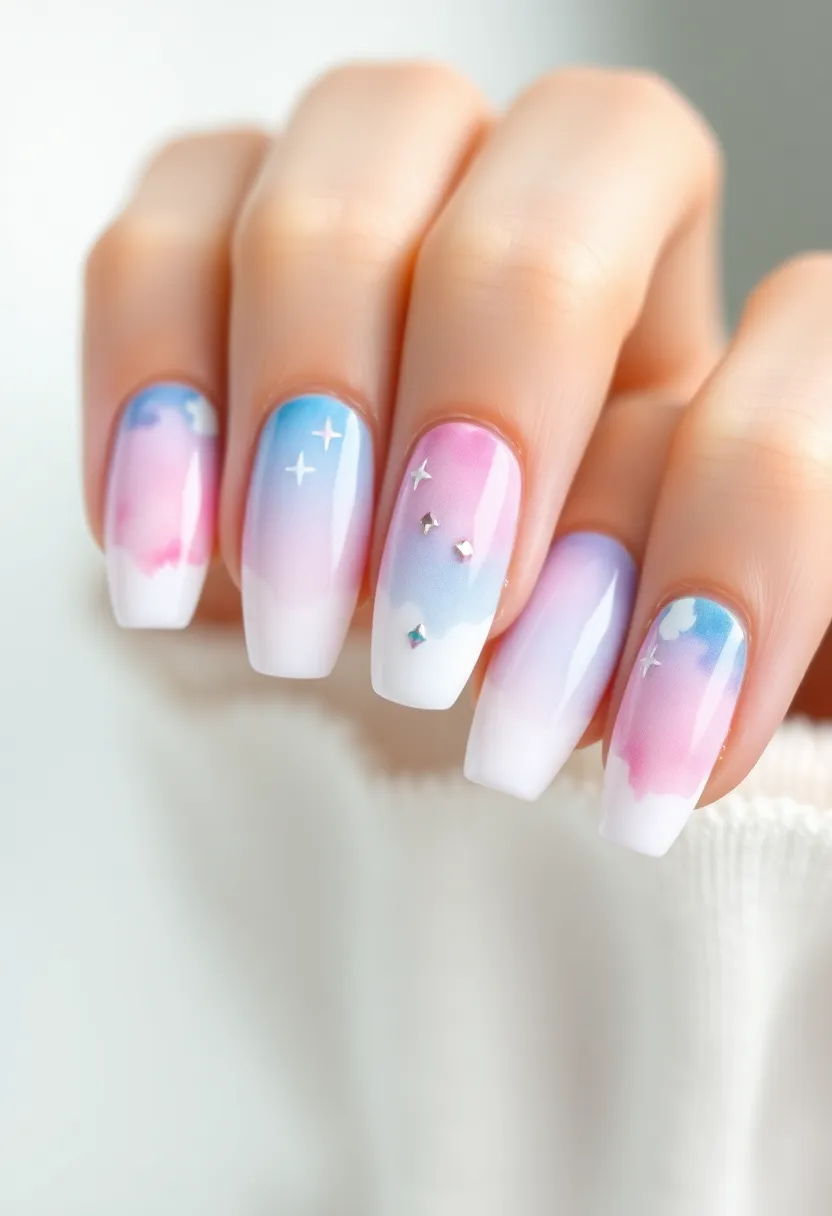
Watercolor nails are soft and dreamy, perfect for a subtle yet artistic touch. Start with a white base coat. Then, use a small brush or sponge to dab on different colors of polish, blending them softly to mimic a watercolor painting.
This technique allows for creativity and individuality, as no two designs will look alike! Finish with a top coat for a smooth finish.
Relaxed Tips:
– Use pastel colors for a softer look.
– Don’t stress about perfection; the beauty is in the blending!
– Try adding a glossy top coat to enhance the watercolor effect.
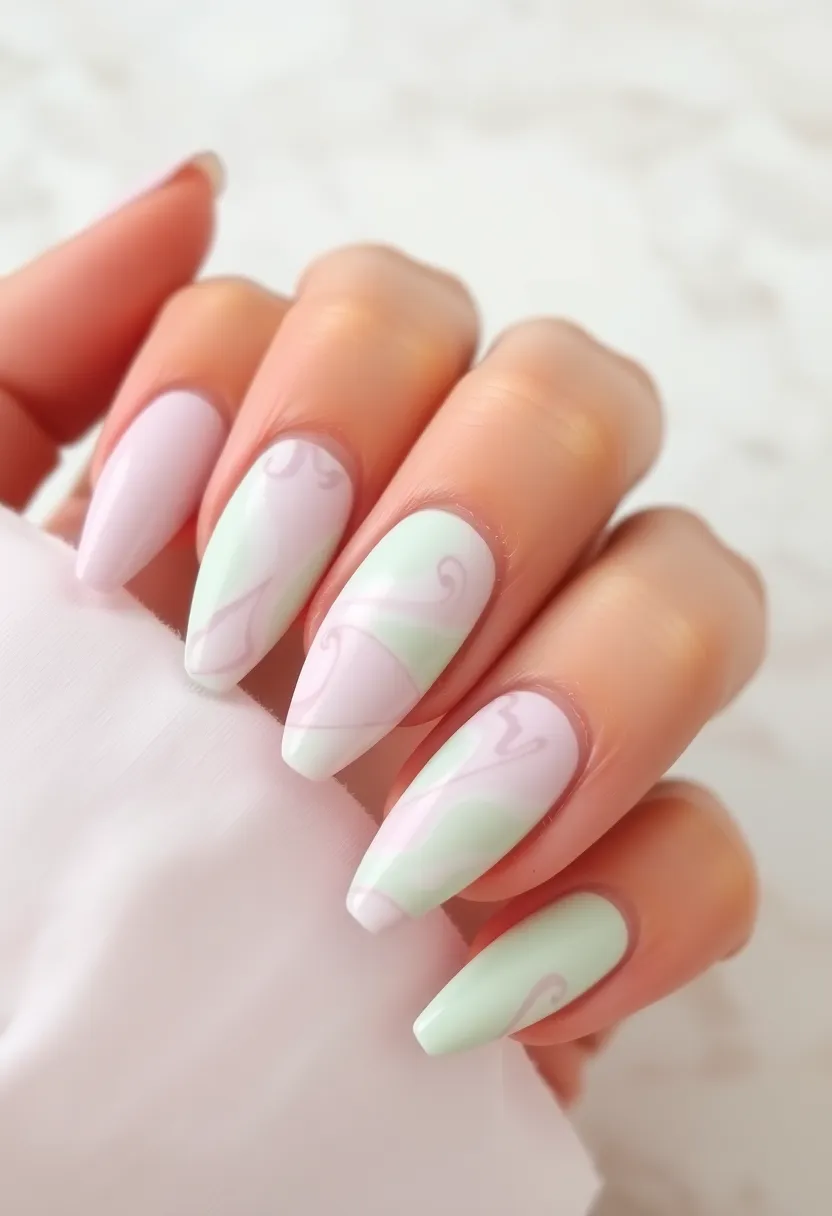
12. Simple Abstract Art
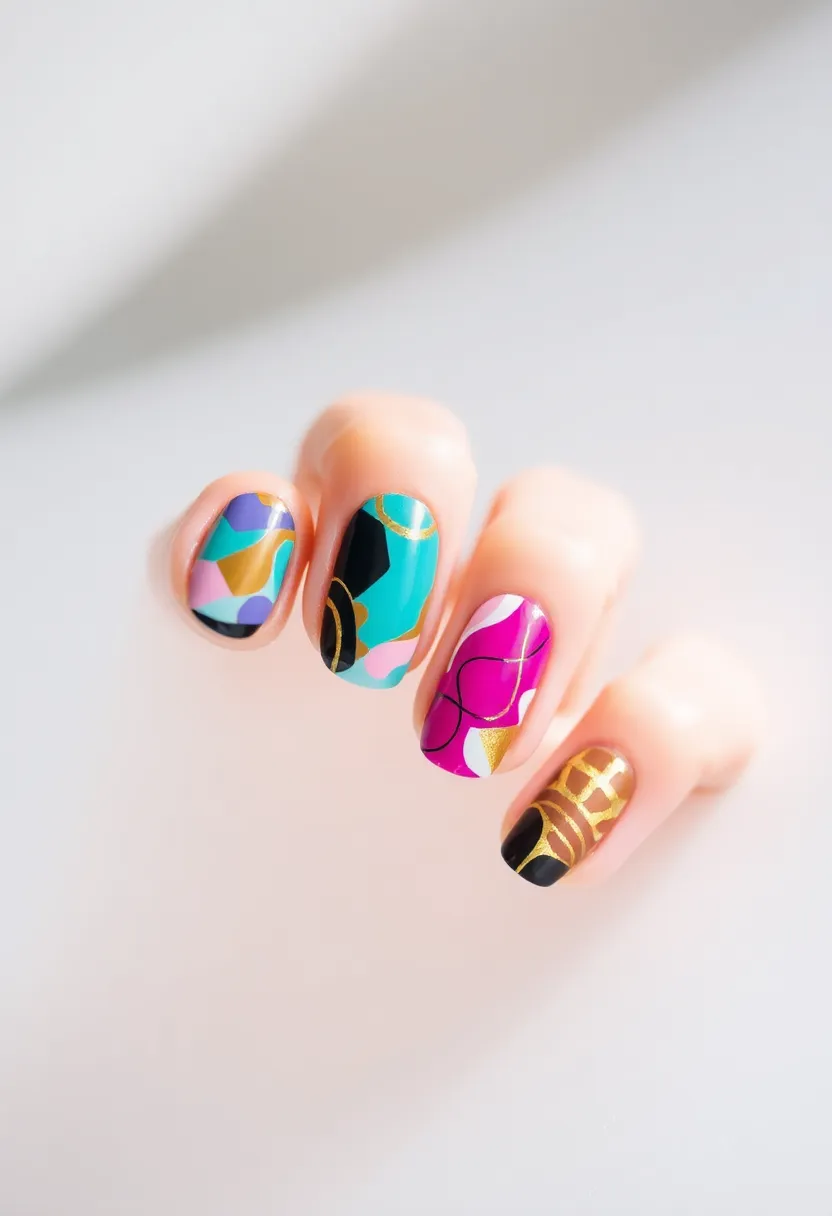
Abstract nail art is all about creativity. With a solid base coat, use a thin brush to create irregular shapes and lines in various colors. The beauty of abstract art is its freedom; there are no rules!
Let your imagination run wild, mixing colors and shapes as you desire. Finish with a clear top coat to lock it all in.
Creative Tips:
– Use contrasting colors for high impact.
– Experiment with various brush sizes for different effects.
– Don’t overthink it; let your artistic side take control!
13. Tie-Dye Nails
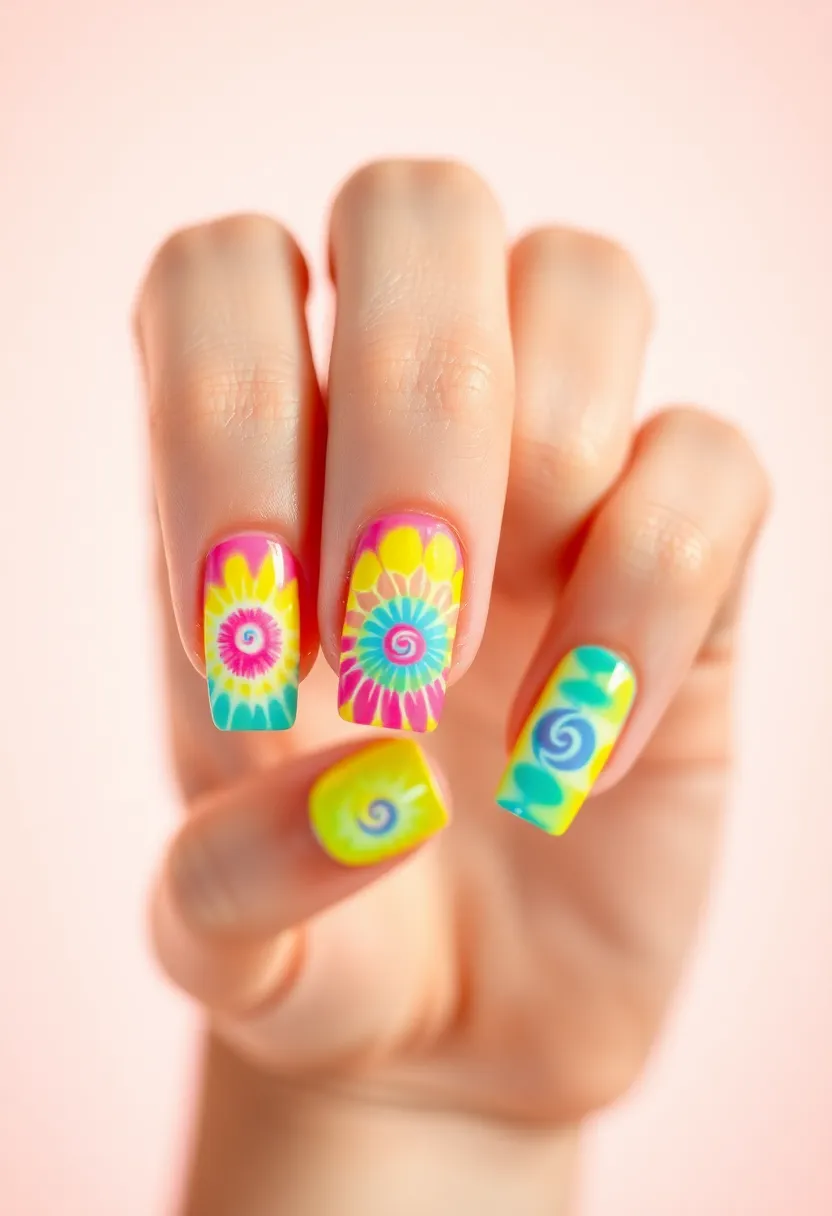
Tie-dye nails are fun and perfect for a boho look. Start with a base coat and, once dry, use a sponge to dab on different colors, blending them together as you go.
The uneven application will give you that classic tie-dye effect. Seal your design with a top coat.
Fun Tips:
– Use bright colors for a lively summer vibe.
– You can apply a matte top coat for an edgier look.
– Keep your patterns random for a true tie-dye feel.
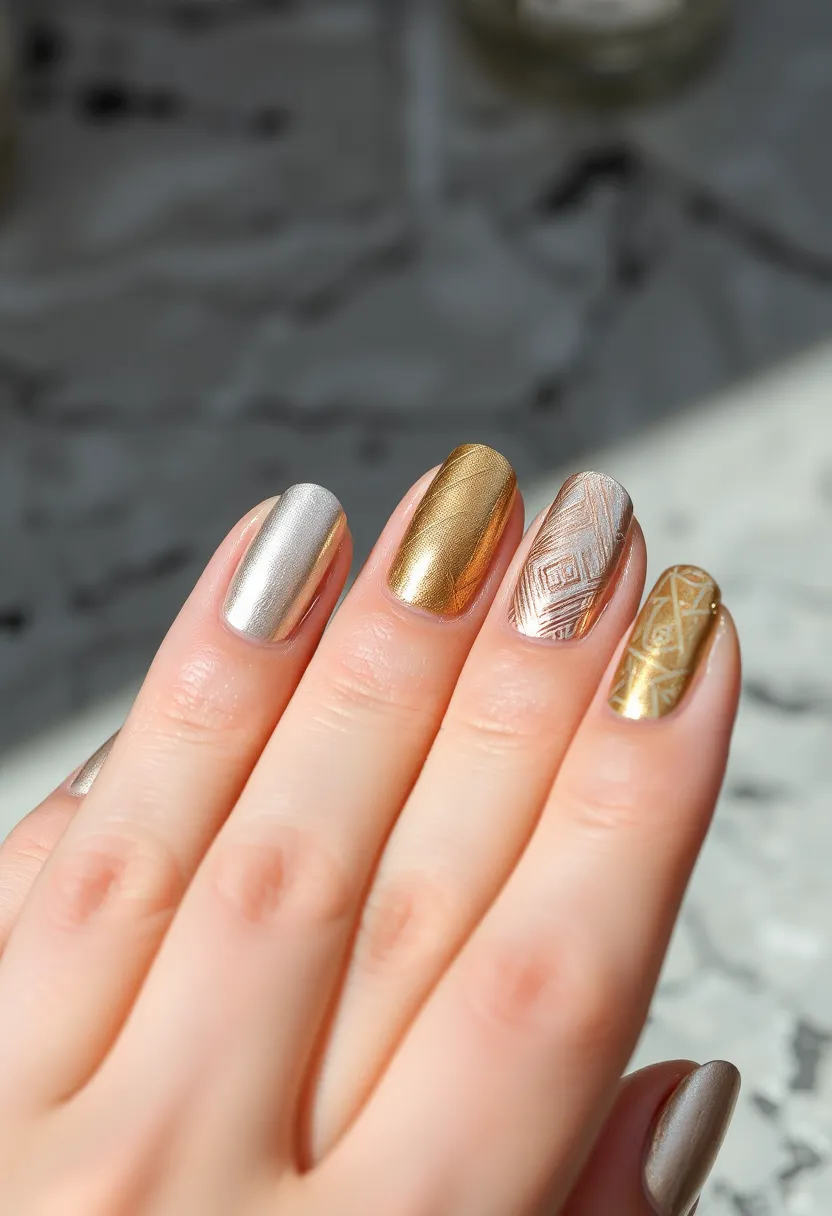
14. Metallic Nails
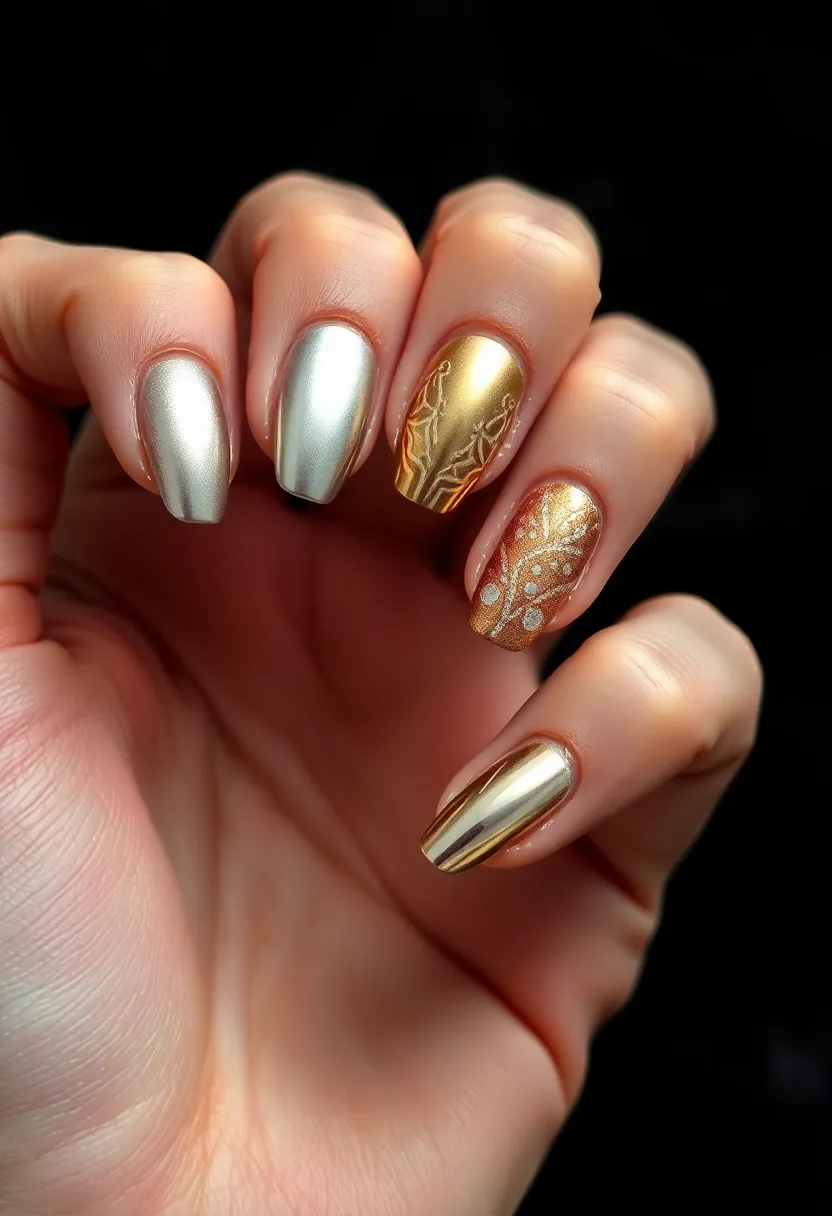
Metallic nails add a chic and glamorous touch to any look. Use metallic polish for a bold statement, or create a gradient using a metallic shade that transitions into a solid color.
To achieve a gradient, apply the metallic shade at the tips and blend it upwards using a sponge. Seal it with a glossy top coat to enhance the shine.
Chic Tips:
– Pair metallic colors with matte finishes for an edgy contrast.
– Consider mixing different metallic tones for a unique effect.
– Use a fine brush for detailed designs with metallic polish.
Dare to shine! Metallic nails are your ticket to effortlessly chic style. Pair with matte finishes for that edgy contrast, and let your creativity sparkle with unique metallic blends!
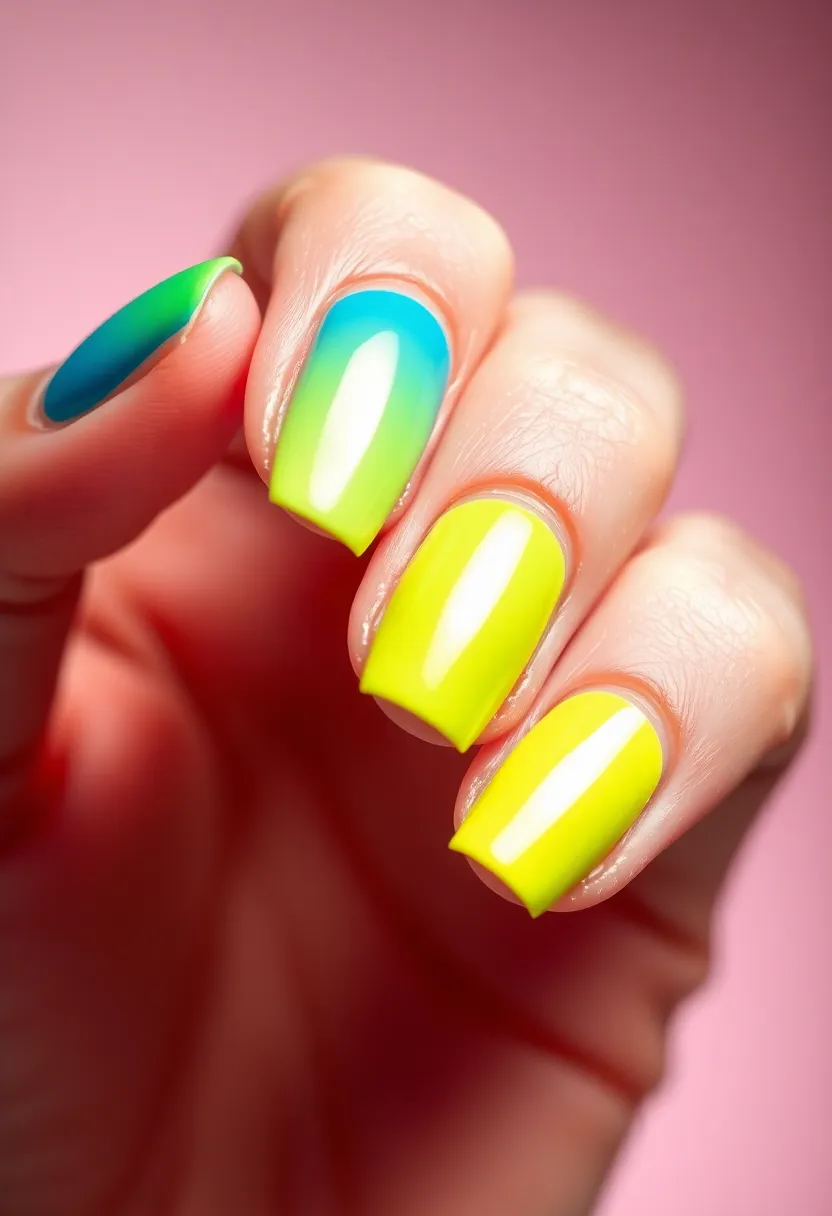
15. Neon Nail Art
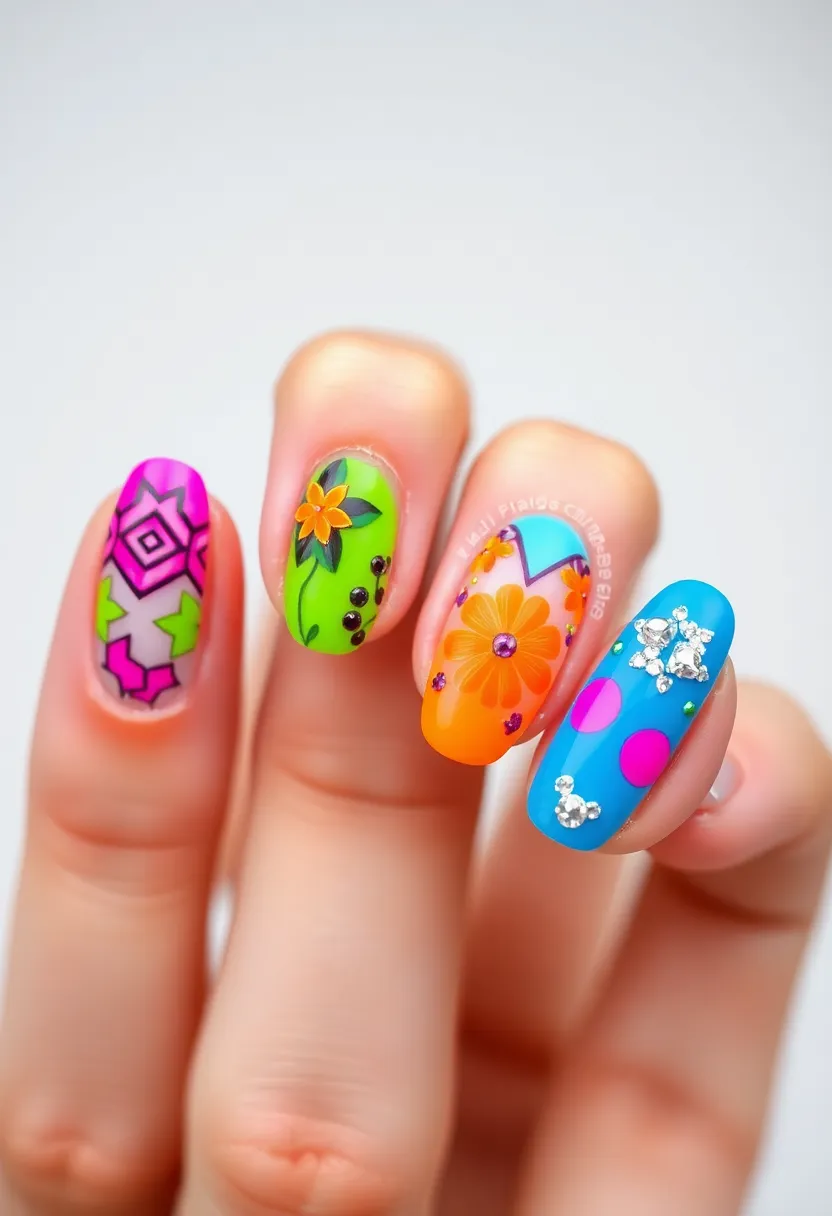
Neon nail art is perfect for making a bold statement. Choose bright neon colors, and paint them as a base or use them to create designs like stripes and dots.
Neon colors pop, especially in the summer! Seal your design with a top coat to maintain the brightness.
Bold Tips:
– Pair neon with white for a crisp contrast.
– Try using a matte top coat for a unique finish.
– Mix in some glitter for added sparkle.
16. Matching Nail and Lip Color
A fun trend is matching your nail color with your lip color. Choose a vibrant lipstick and find a nail polish that complements it perfectly. This coordinated look is playful and fashionable.
Start by applying your lipstick, then do your nails in the matching color. You can even use a slightly different shade for your nails for contrast.
Style Tips:
– Use glossy polish for a chic effect that ties in with lipstick.
– Consider using nude tones for a subtle match.
– Play with finishes—matte nails with glossy lips can be a unique look!
17. Nail Foil Art
Nail foils are an exciting way to add a touch of luxury to your nails. After applying a base coat, use nail foil glue and let it dry until tacky. Then, apply the foil and press down gently to adhere.
The result is a stunning metallic or patterned effect that looks professional yet is easy to achieve at home. Seal with a top coat for longevity.
Pro Tips:
– Cut the foil into small pieces for a more intricate design.
– Mix different foil patterns for a unique look.
– Ensure the glue is tacky but not wet for the best adhesion.
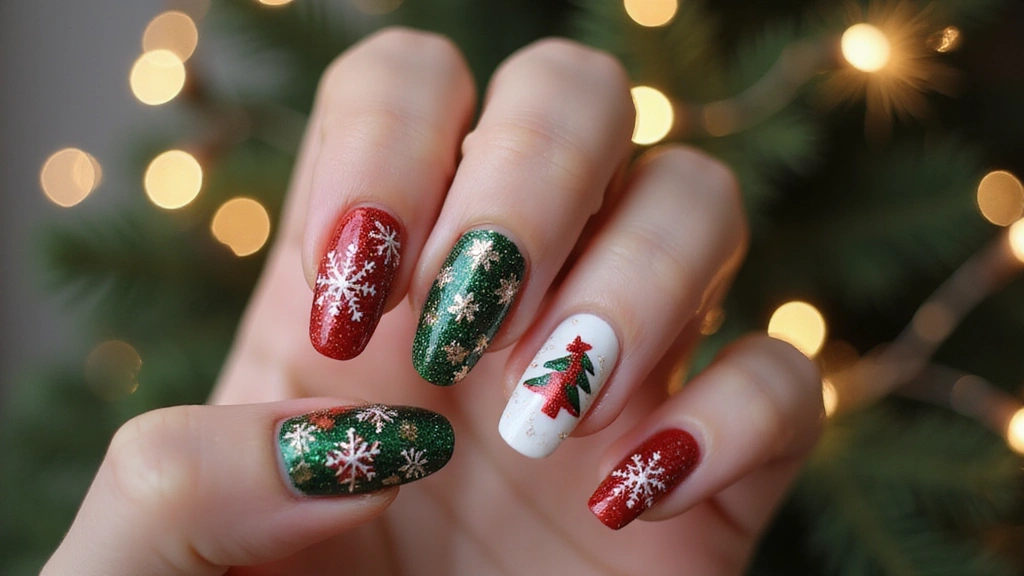
18. Seasonal Nail Art
Embrace the seasons with nail art that reflects the time of year. From autumn leaves to winter snowflakes, seasonal designs are fun and easy to create.
Choose colors that correspond with the season, such as warm oranges and browns for fall or icy blues for winter. You can use stamping plates or hand paint your designs.
Seasonal Tips:
– For fall, try leaf designs or pumpkin motifs.
– Winter can feature snowflakes or holiday-themed art.
– Spring can be all about florals, while summer shines with bright, beachy themes.
19. Marble Dots
Marble dots are an interesting twist on classic marbling. Start with a solid base color and create small dots using a marbling technique with two contrasting colors.
Using a dotting tool, place the lighter color on top of the darker base, swirling them together for a marbled effect. This unique design is eye-catching yet easy to achieve.
Tips for Success:
– Keep the dots small for a more delicate look.
– Use a top coat to smooth out the finished design.
– Experiment with different dot sizes and placements for variety.
20. Lace Nail Art
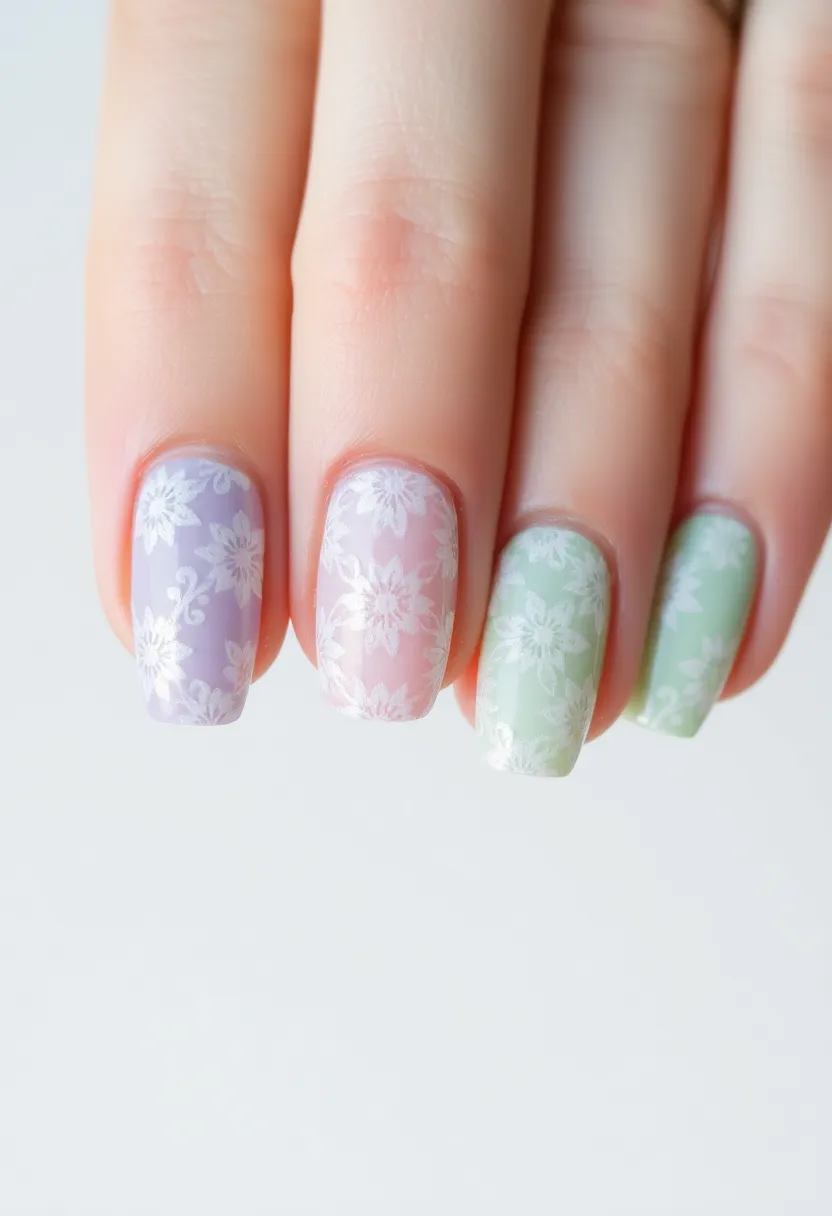
Lace nail art adds a vintage, elegant flair to your manicure. Start with a solid base coat, then use a thin brush to create lace-like patterns with white or contrasting colors.
This design can be as intricate as you wish—think of delicate lines and dots that mimic lace fabric. Finish with a clear top coat for a polished look.
Elegant Tips:
– Choose pastel colors for a soft, romantic effect.
– Don’t worry about perfection; the beauty is in the detail!
– Consider using nail stickers if you’re short on time.
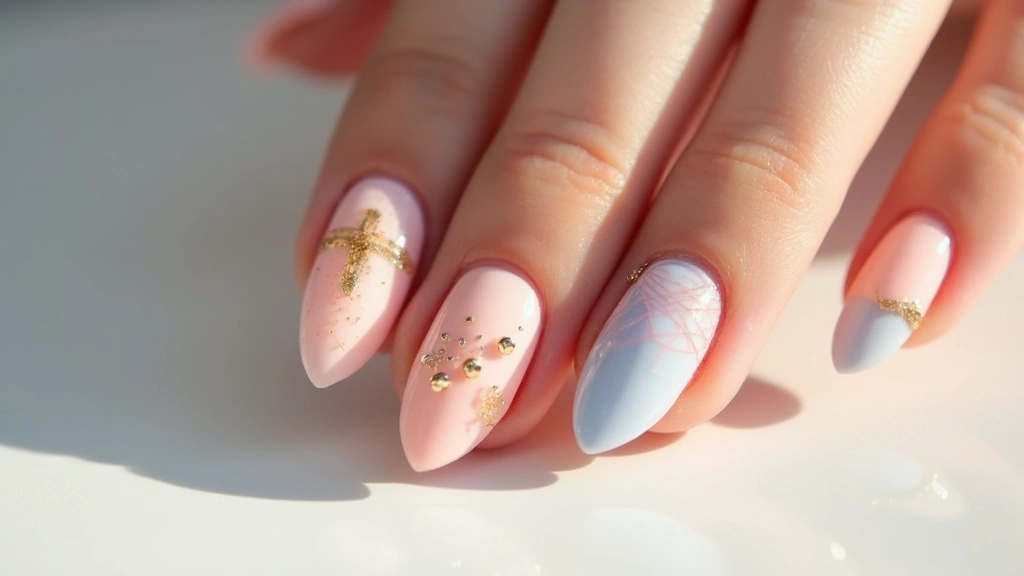
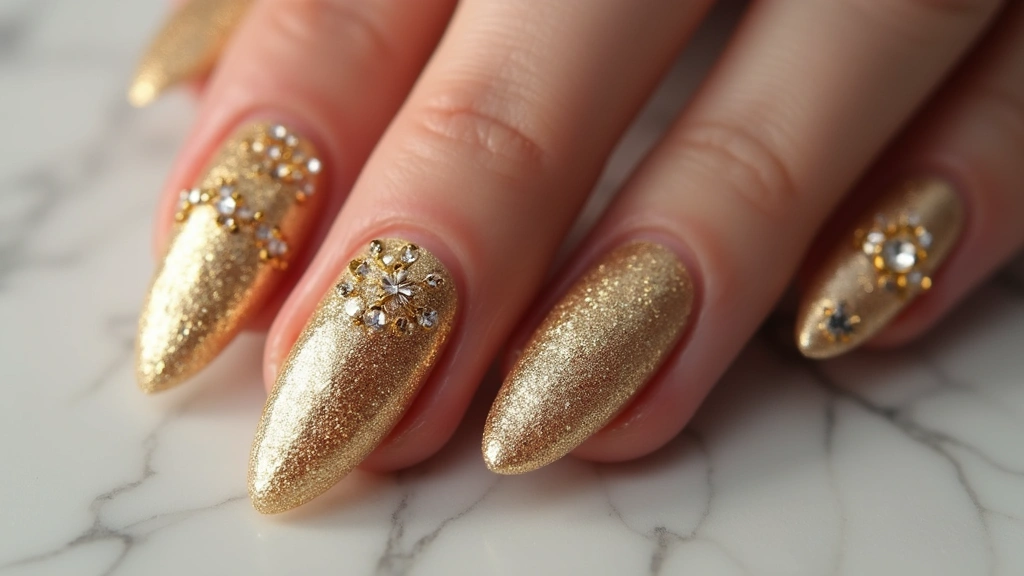
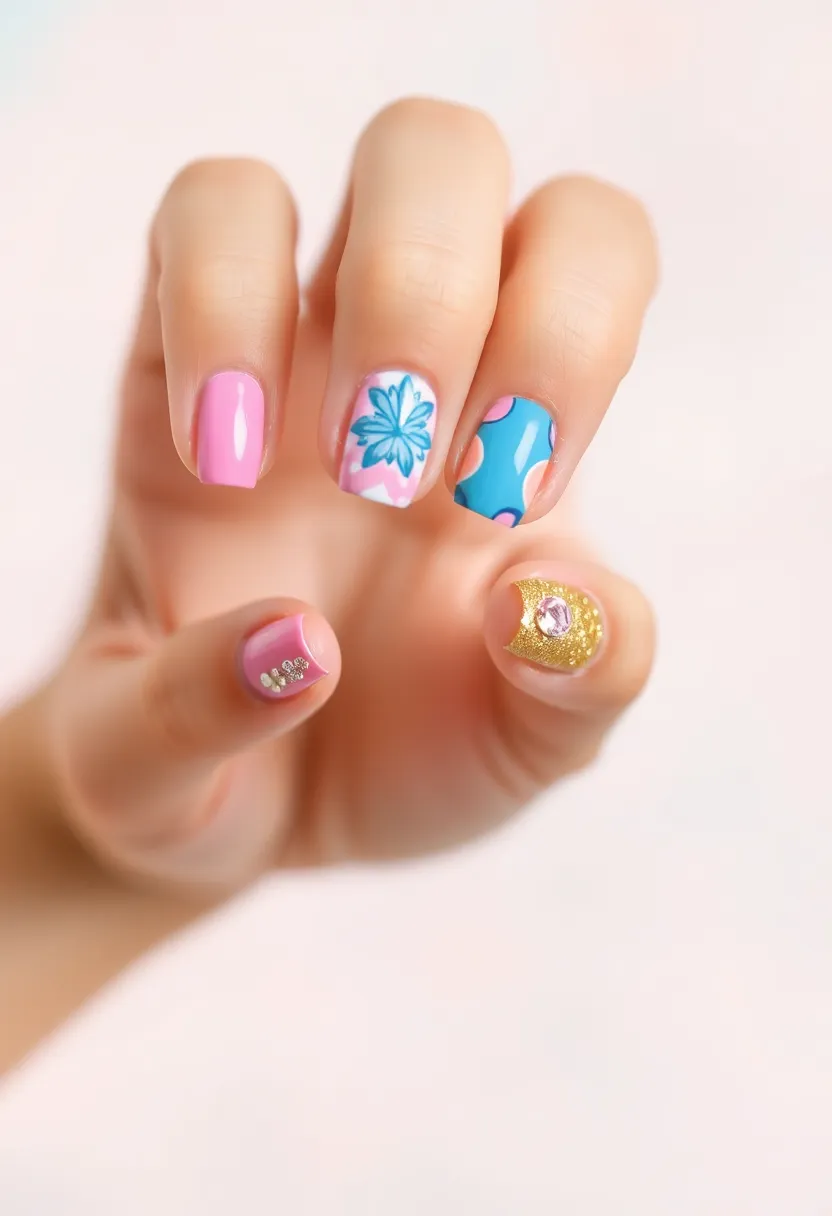
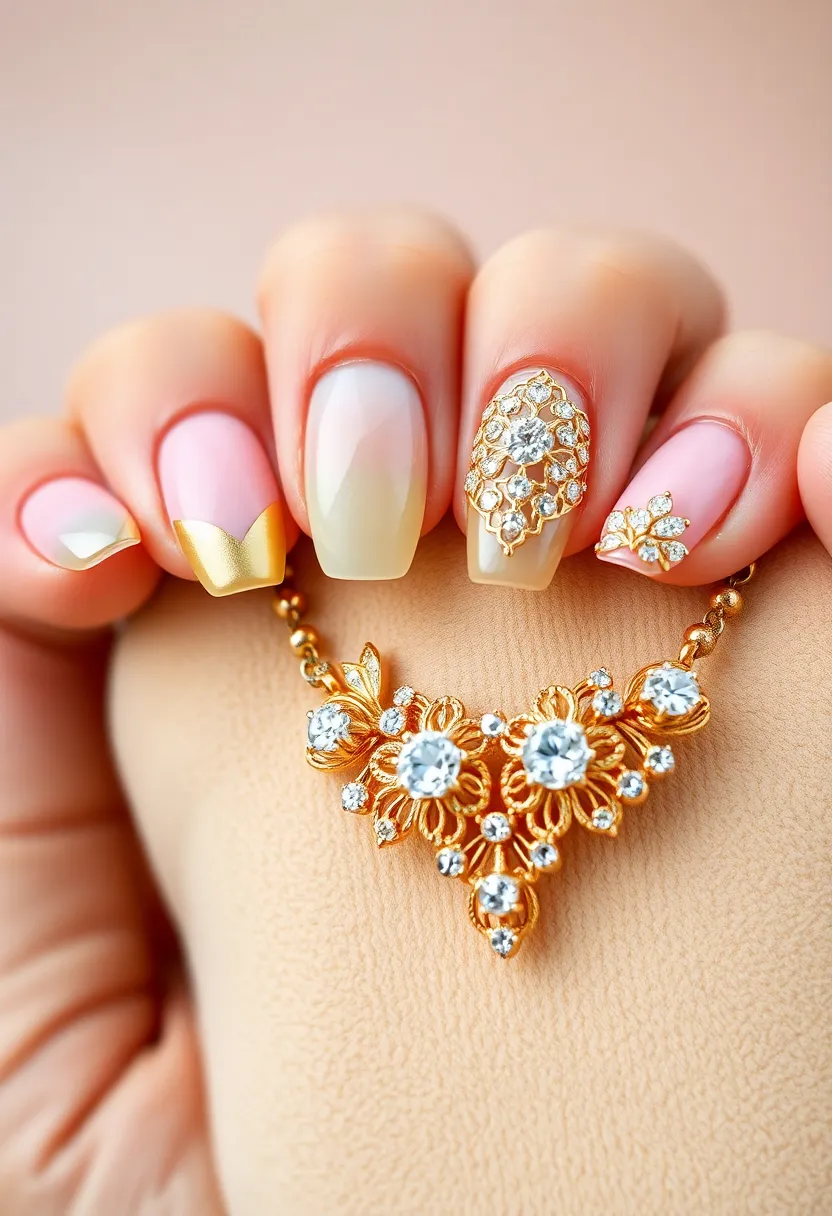
21. 3D Nail Art
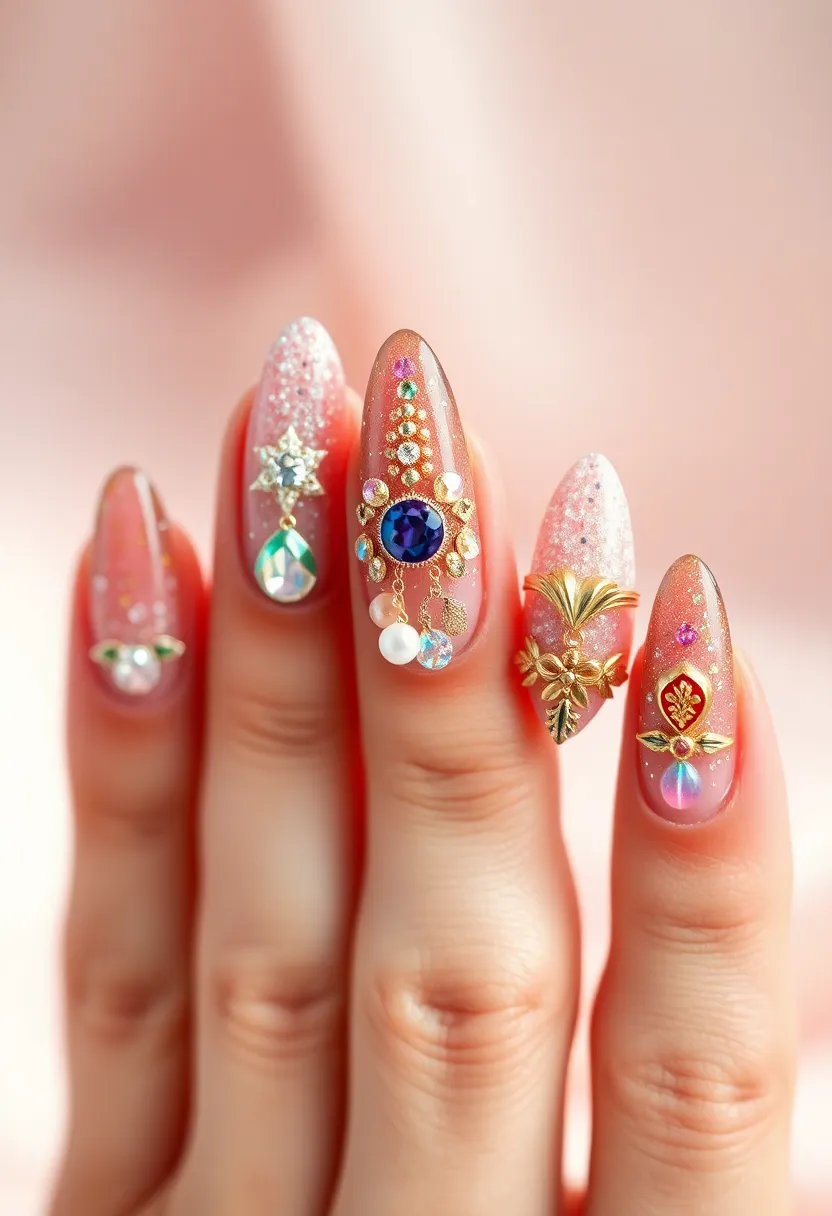
3D nail art is a fun way to add dimension to your designs. Using nail jewels, gems, or even small charms, you can create a textured effect on your nails.
After applying your base coat and color, use nail glue to attach your 3D elements. These can be themed for holidays or simply used for a glamorous effect. Seal everything with a top coat.
3D Tips:
– Use small embellishments for a subtle touch.
– Ensure everything is securely attached to prevent loss.
– Play with different placements for creative designs.
22. Personalized Nail Designs
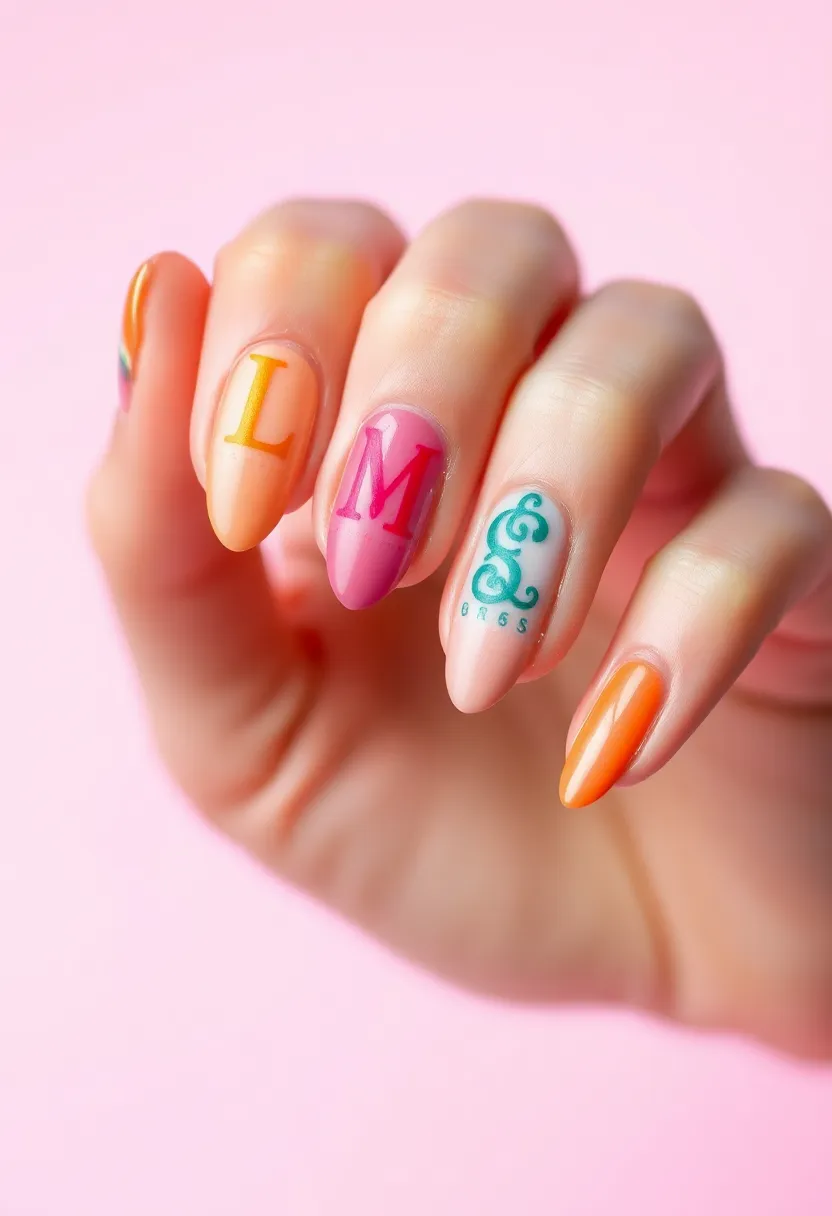
Personalized nail designs allow for complete creativity. Whether it’s your initials, a favorite symbol, or a meaningful phrase, the world is your oyster!
Start with a base coat, and once dry, use a fine brush to create your chosen design. This is also a great way to express your personality and style. Don’t forget to seal it with a top coat!
Personal Touch Tips:
– Choose designs that resonate with you personally.
– Try mixing fonts for an artistic look.
– Keep your designs small for easier execution.
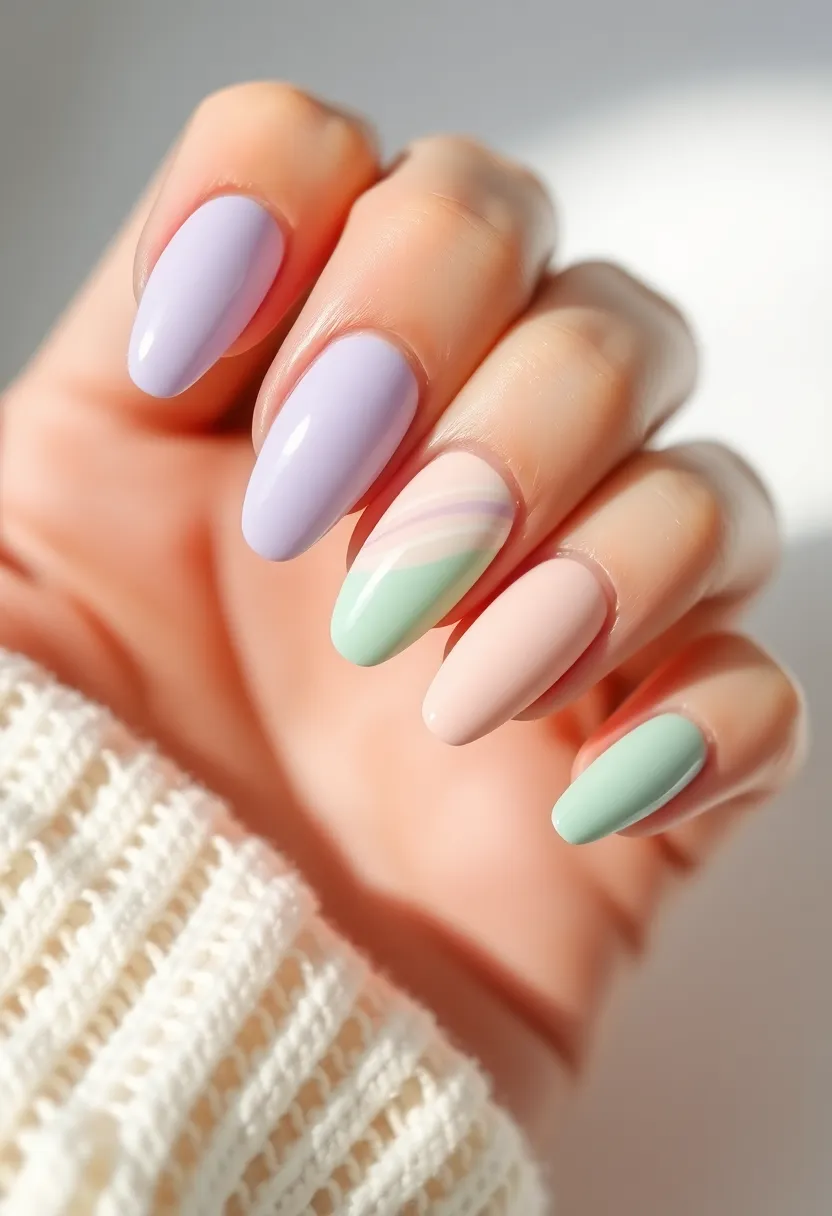
23. Seasonal Colors
Using seasonal colors is a simple yet effective way to keep your nail game fresh. For spring, think pastel shades; for summer, bright neons or corals; for fall, warm earth tones; and for winter, deep reds and cool blues.
You can apply a solid color or create designs with these seasonal palettes. Mixing colors from different seasons can also create a unique style!
Seasonal Color Tips:
– Experiment with color combinations that resonate with the season.
– Consider using glitter or shimmer for added fun.
– Try adding little seasonal embellishments for that extra touch.
Seasonal colors bring your nails to life! Embrace the vibrancy of spring pastels or the warmth of autumn earth tones to keep your nail art fresh and exciting all year round.
24. Nail Art Pens
Nail art pens are a fantastic tool for beginners. They offer precision and control for designs that are harder to achieve with a brush. You can create intricate details and patterns with ease.
Start with a solid base color and let it dry completely. Then, use the pen to draw your designs. They come in various colors, enhancing your creativity. Seal your art with a top coat.
Pen Tips:
– Practice on paper before moving to your nails.
– Consider using pens with fine tips for detailed work.
– Use different colors to create layers and depth in your designs.
25. Interactive Nail Art
互动指甲艺术是一个有趣且引人入胜的趋势。通过在指甲上使用可移动的元素,如小珠子或闪光粉,您可以创建可随意改变的设计。
在指甲上涂上基础色并让其干燥,然后用胶水固定可移动元素。您可以随意更改它们,这为指甲增添了一种新的趣味和活力。
互动技巧:
– 尝试在一个指甲上混合多种元素以增加趣味性。
– 确保每个元素都固定牢固,以防止掉落。
– 尝试与不同的颜色搭配以增强效果。
26. Nail Art with Stickers
Nail stickers are a quick way to add flair to your manicure without much effort. With a wide variety of designs available, you can easily find something that suits your style.
Start with a base coat, apply stickers once your polish is dry, and seal everything with a top coat. This is a perfect solution for those who want cute nails but are short on time.
Sticker Tips:
– Choose stickers that match or contrast with your base color.
– Ensure your base layer is completely dry before applying stickers.
– Trim stickers as needed to fit your nails perfectly.
27. DIY Nail Kits
DIY nail kits are perfect for those who want to try their hand at various nail art techniques without investing in individual tools. These kits often include everything you need, from polishes to tools.
Start with the basics provided, then let your creativity guide you! Follow included instructions or mix and match techniques you’ve learned. These kits usually cater to different skill levels, so you can find one that suits you.
Kit Tips:
– Look for kits that include tutorials for easy understanding.
– Consider sharing a kit with friends for a fun nail art night.
– Explore different styles as you build your skills.
28. Colorful Glitter Tips
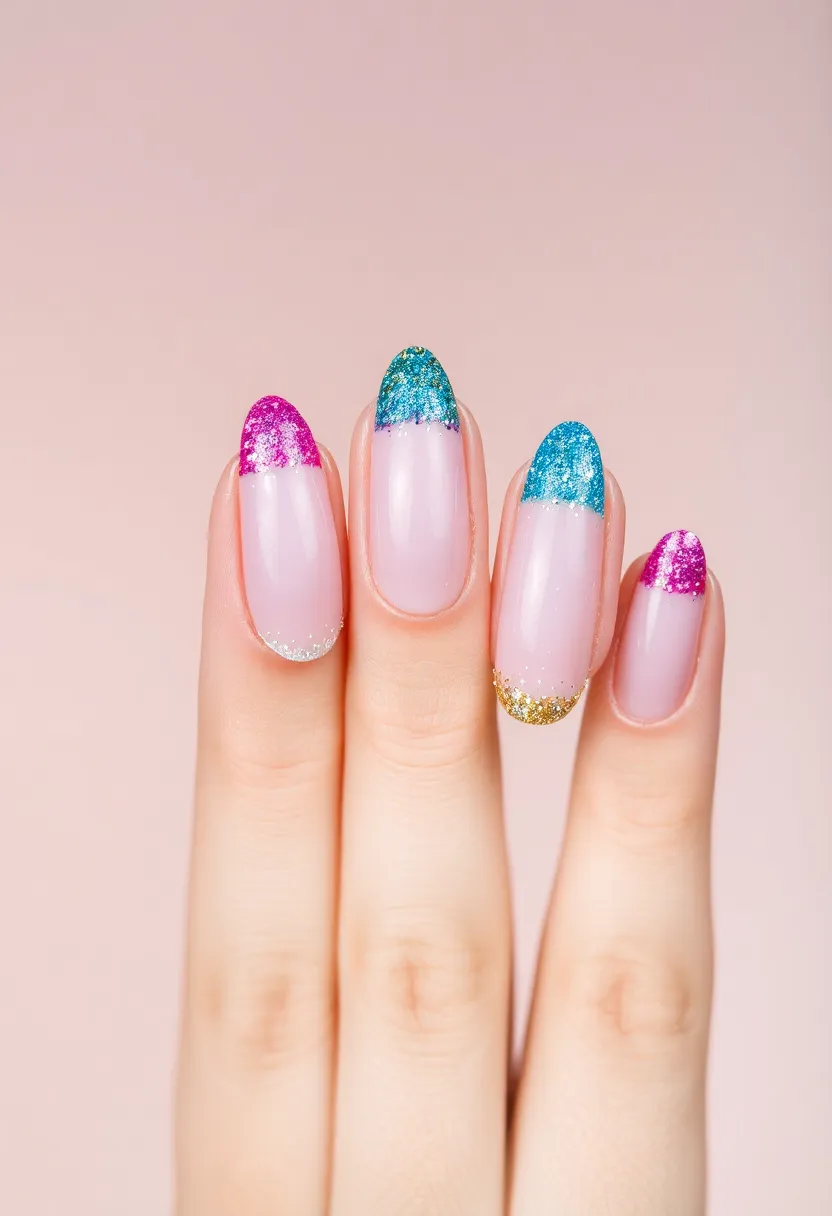
Add some sparkle to your tips! Instead of the classic French tip, try a glitter tip. Start with a solid base color and apply glitter polish only to the tips, creating a fun and eye-catching design.
This easy technique adds glam and can be done quickly. Finish with a top coat to ensure it lasts.
Glitter Tip Tips:
– Use a complementary color to your base for a stylish contrast.
– Experiment with different sizes of glitter for a unique effect.
– Try ombre glitter tips by fading the glitter up from the tips!
29. Nail Art for Men
Nail art isn’t just for women! Men can also enjoy stylish nail art with more minimalist and rugged designs. Start with a clear or neutral base, then add simple designs like stripes, dots, or even subtle symbols.
This trend is great for expressing personal style without being too flashy. Seal your design with a top coat to keep it looking sharp.
Men’s Nail Art Tips:
– Choose colors that match your wardrobe.
– Keep designs simple and understated for a sophisticated look.
– Use matte finishes for a modern touch.
30. Positive Affirmation Nail Art
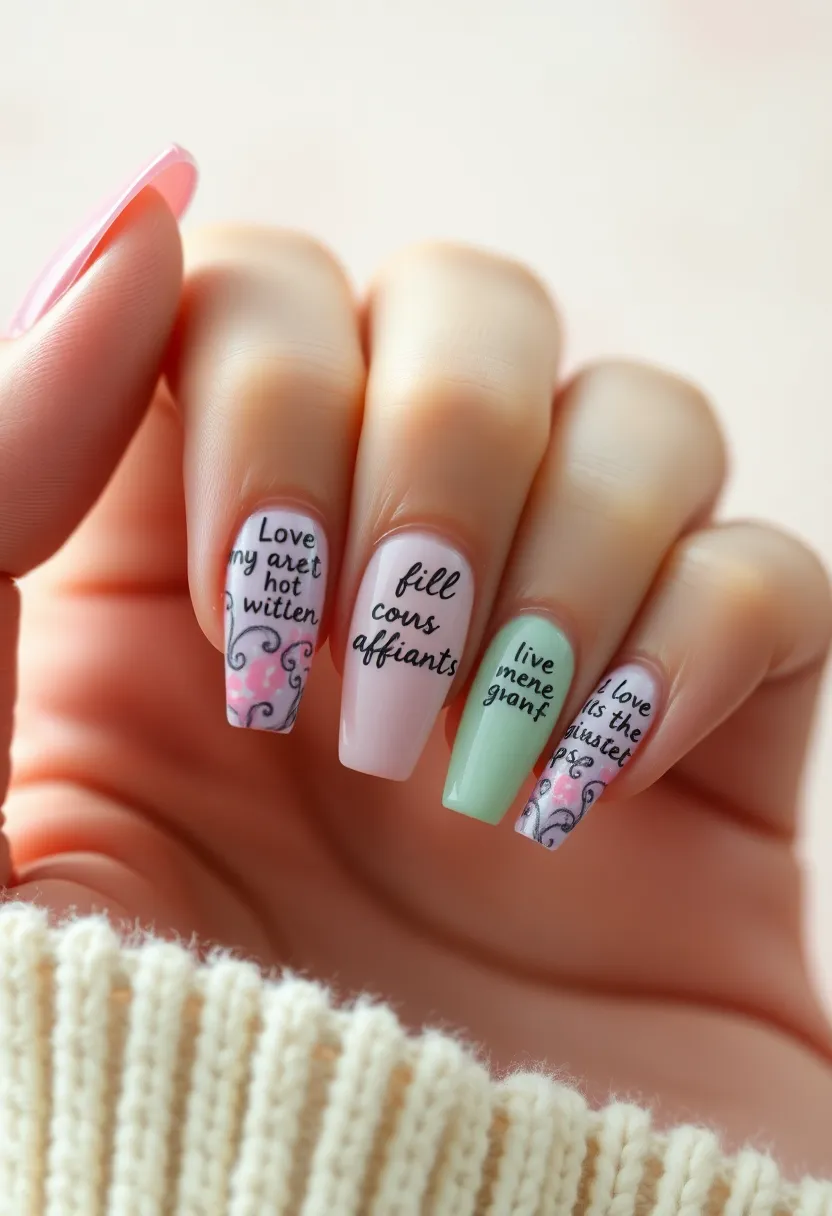
Incorporate positivity into your nail art! Choose words or phrases that inspire you and paint them on your nails using a fine brush.
Start with a solid base coat, and once dry, carefully write your affirmations. This will not only brighten your day but can also serve as a reminder of self-love. Seal with a top coat to protect your messages.
Affirmation Tips:
– Keep phrases short for better readability.
– Use a thin brush or nail pen for precision.
– Choose colors that uplift your mood!
Conclusion
Nail art is a fabulous way to express your creativity and style.
With these 30 easy tutorials, there’s no need to feel overwhelmed—you can start right away and find your favorite techniques. Experiment, have fun, and let your nails be a reflection of you. The only limit is your creativity!
Frequently Asked Questions
What are some beginner-friendly nail art techniques I can start with?
If you’re just starting out, some great beginner-friendly nail art techniques include polka dots, stripes, and the classic French tip. These designs are simple to master and require minimal tools. For instance, you can create polka dots using a toothpick or a dotting tool, and stripes can be easily achieved with striping tape. Just remember to have fun and experiment with colors!
Do I need special tools for DIY nail art, or can I use regular items?
You don’t need a full professional kit to get started with DIY nail art! Many beginner nail tutorials suggest using everyday items like a toothpick for dotting, tape for clean lines, and even makeup sponges for the ombre effect. As you progress, you might want to invest in some specific tools like nail art pens or brushes, but starting with what you have is perfectly fine!
How can I keep my nail art looking fresh for longer?
To keep your nail art looking fabulous, start with a good base coat to protect your nails and ensure your designs adhere well. After applying your nail art, seal it with a top coat to add shine and durability. Additionally, avoid exposing your nails to harsh chemicals and try to wear gloves when doing chores. Regular moisturizing with cuticle oil can also help maintain healthy nails!
Are there any seasonal nail art ideas that are easy to create?
Absolutely! Seasonal nail art can be a fun way to express your creativity. For example, for autumn, you can try leaf designs using warm colors, while winter can inspire snowflake patterns using white and blue shades. Spring can feature floral designs, and summer can be all about bright neon colors. Many of these designs can be done easily with basic techniques and are perfect for beginners!
What are some creative nail styles that can be done in a short time?
If you’re short on time but still want to flaunt beautiful nails, consider trying glitter tips or nail stickers. Glitter tips involve applying glitter polish just at the tips for a chic look, while nail stickers can add flair without much effort. You can also experiment with color blocking, which allows you to use different colors on sections of your nails quickly. These styles are not only creative but also super easy to pull off!