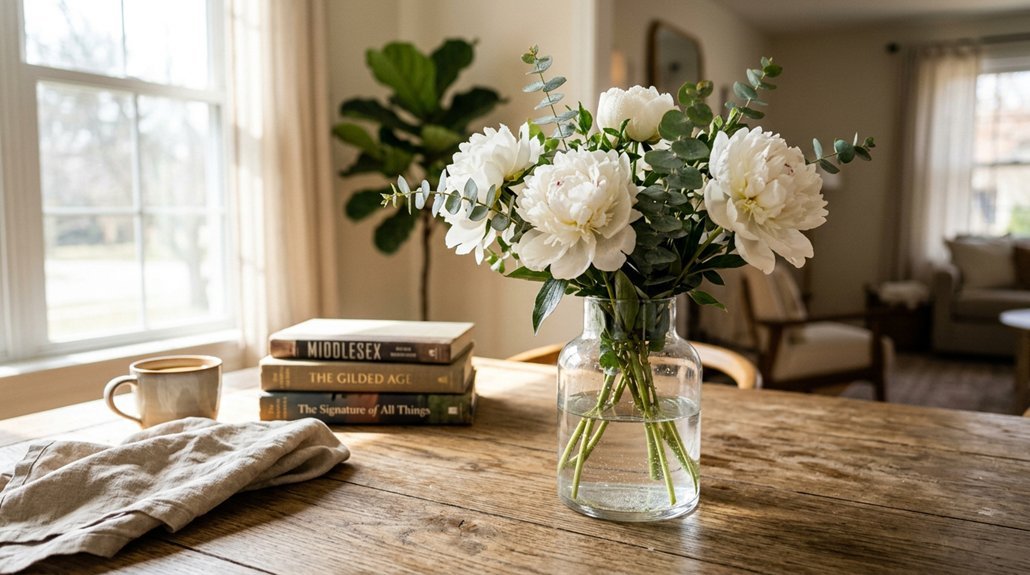
You want arrangements that don’t flop over by day two, and you’re tired of watching stems drift apart like awkward party guests.
Start with the right foundation: a vase that fits your bloom count, not your ambitions.
You’ll build structure with greenery first, create a hidden grid for support, and place your stars before filling in the gaps.
But here’s the catch: most people skip the step that keeps flowers alive twice as long, and you’ll never guess which one.
Choose the Right Vase for Your Flower Arrangement
Why does the right vase matter so much? Your vase choice shapes everything, from how many stems you’ll need to whether your arrangement stands tall or flops over. You’ll want to pay close attention to vase opening size: aim for about 3 to 4 inches. Go wider, and you’re forced to buy more stems to achieve fullness, which drains your wallet fast.
Container height matters just as much. Tall, dramatic arrangements demand sturdier vessels that won’t tip. You can use almost anything that holds water, but wider mouths always need more flowers.
Your best bets? Low, wide bowls, footed compote bowls, ceramic pitchers, or small urns. For clear glass, you’ll want to create a grid with floral tape. It keeps stems exactly where you place them, especially in shorter containers where every move shows.
Select Fresh, In-Season Blooms That Last Longer
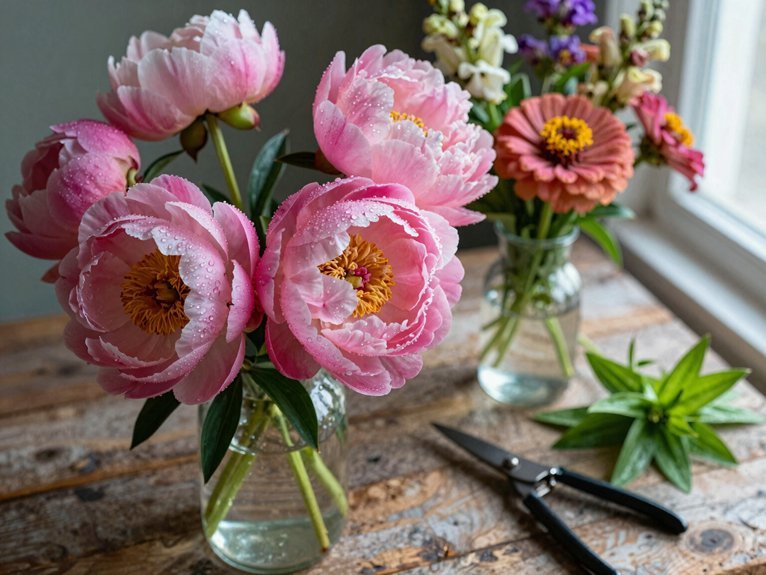
You’ll save money and get more bang for your buck when you stick to flowers that are actually growing right now, since in-season blooms haven’t traveled halfway around the world to reach your vase. Look for stems with tight, firm buds and crisp green leaves; these are your best bet for arrangements that won’t wilt by Wednesday.
Skip the sad, imported roses in January unless you’re made of cash. Your local market’s daffodils or dahlias will outlast them anyway.
Seasonal Selection Benefits
Where should you actually hunt for flowers that won’t wilt before your weekend guests arrive? Start with seasonal selection at your local flower market, where you’ll score deals on in-season blooms while enjoying the hunt. These markets burst with stems at peak freshness and lower prices than forced-out-of-season imports.
Don’t overlook grocery stores with floral departments either; they’re convenient sources for current-season options when time’s tight. Let seasonal color guide your picks, creating arrangements that feel cohesive and current without trying too hard. When fresh choices disappoint, faux florals step up convincingly. You’ll stretch your budget further and your creations will actually survive the party. Smart seasonal choices mean better value, longer life, and arrangements that look like you planned them, not like you’re hoping they’ll last.
Freshness and Longevity
Finding seasonal blooms is only half the battle, keeping them alive through your event is where skill meets preparation. You maximize freshness by buying in-season stems at local markets or grocery floral departments, scoring better prices and avoiding wilted, overpriced imports.
Hydration starts the moment you unpack. Let stems rest at room temperature for a couple hours, then trim at a 45-degree angle and strip leaves below the waterline so nothing blocks water uptake. Your arrangement’s longevity depends on maintenance: change water and retrim every two days, and mist thirsty hydrangeas to prevent drooping.
These small, consistent actions transform a pretty bunch into a lasting centerpiece. You didn’t buy flowers to watch them die tomorrow; treat hydration seriously, and they’ll reward you with vibrant, extended life.
Prep Stems: Strip Leaves and Cut at 45 Degrees
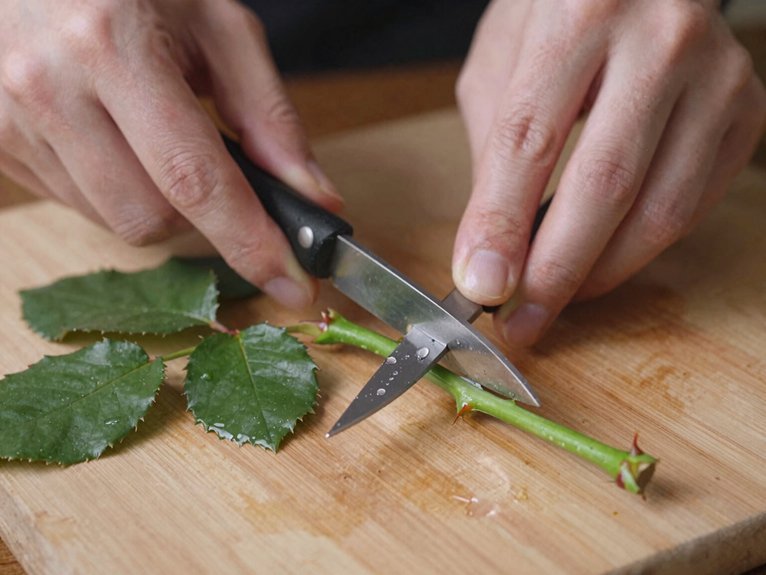
You’ll strip away any leaves that’d sit below the waterline, since submerged foliage breeds bacteria and clouds your water fast. Cut each stem at a 45-degree angle right before arranging; this opens more surface area for drinking and keeps your blooms perkier longer.
Don’t forget to snip woody stems with a quick vertical slit too. They’ll hydrate easier and you won’t fight to push them into place.
Remove Submerged Foliage
Once you’ve chosen your blooms, don’t just drop them in water and hope for the best. You’ll need to do some careful pruning first. Strip away any foliage that would sink below the waterline; submerged leaves rot fast and breed bacteria that’ll kill your flowers prematurely.
Check each stem twice, even after trimming, since new growth can slip past the waterline. This simple step keeps your vase cleaner and your arrangement fresher longer. You’re essentially giving your stems a clean environment to drink from, nothing fancy, just smart prep.
Skip this and you’ll watch perfectly good flowers wilt in cloudy, stinky water within days. Do it right, and you’ve bought yourself extra days of vibrant color without any extra cost or effort.
Angle Stem Cuts
Why does a bouquet fade fast? Often, it’s poor vase prep. You’ve stripped the leaves, now grab those shears.
Angle stem cuts make all the difference, slice each stem at 45 degrees right before plunging it into water. This angled cut boosts water uptake by maximizing the surface area and stopping stems from suctioning flat against the vase bottom.
For woody stems like lilac or cherry, follow that angled cut with a quick vertical split, think of it as opening a straw wider. Don’t cut roses ahead of time, they’ll scab and block their own drinking tube.
You’re setting up a hydration highway. Get this step wrong, and even good flowers starve. Cut fresh, cut angled, cut smart.
Prevent Bacterial Growth
Before your blooms ever hit the vase, you’re fighting a hidden enemy: bacteria. You’re stripping every leaf that’ll sit below the waterline, because submerged foliage turns your water into a bacterial breeding ground. You’re cutting stems at a 45-degree angle just before they touch water, maximizing surface area so they’ll drink deeply.
Got woody stems? You’re adding a short vertical slice after that angled cut, improving both hydration and fit. You’re removing those lower leaves to keep water cleaner and bacteria at bay. This prep work isn’t fussy; it’s necessary. Proper trimming and leaf removal promote better water absorption, helping your flowers stay fresher longer. You’re not just arranging; you’re engineering longevity through smart stem preparation and vigilant bacteria control.
Create a Grid or Use Chicken Wire for Stem Support
How do you keep your flowers from flopping over in a vase? You build reliable stem support using a grid or chicken wire.
For clear vases, you’ll create a grid with floral tape stretched in a tic-tac-toe pattern across the opening, securing it about half an inch down the sides so it stays visible and spaces stems evenly. With opaque vessels, skip the grid and use chicken wire instead. Cut a 12-inch square for a 3–4 inch opening, wearing protective gloves, then form it into a snug two-layer ball and push it inside. Secure it with an X of floral tape if it shifts.
Start by tucking greenery into your grid or wire base to establish structure and spacing before adding your main blooms.
Start With Greenery to Build Volume and Structure
Choose your greenery first, because this decision shapes everything that follows. You’ll want to grab eucalyptus if you’re after that soft, dripping cascade, or maybe Hypericum berries for little bursts of color and texture, or Ruscus if you need something sturdier and more architectural.
Once you’ve picked your greens, start placing them at angles right away, building an asymmetrical framework that spills heavier on one side, so your arrangement already has movement and shape before a single flower hits the water.
Choose Your Greenery
Greenery isn’t just filler; it’s the backbone that transforms a few stems into something that actually looks intentional.
You’ll build your arrangement’s structure from the base outward, using greenery to create volume and dimension before a single bloom touches water. Here’s how to make it work:
- Pick your foundation. Eucalyptus gives you that drip and whimsy everyone wants; if it’s scarce, grab Hypericum berries or Ruscus instead.
- Angle your stems. Don’t stand them straight up; place them at diagonals to form your framework.
- Fill the grid. Work greenery into base areas first, creating stable spacing and an even foundation.
- Let it cascade. Load one side heavier than the other for living, breathing movement in your vase.
Establish Asymmetry First
Before you even think about blooms, you’ll lock in your arrangement’s personality with greenery, and that starts with embracing imbalance. You’ll create asymmetry by letting stems cascade from just one side of your vase placement, not both, building tension from the start.
Start with a half-filled water vase and add flower food. You’ll weave eucalyptus and other greenery through each grid section, letting stems intertwine loosely for natural support. This early framework establishes spacing and prevents floppy disasters later.
Layer your greenery to build height and depth before any focal flowers touch the water. You’re defining the silhouette now, creating volume that guides every bloom that follows. The foliage forms your sturdy base, so you’ll position larger stems with purpose, adding texture that shapes where everything else lands.
Use the Rule of Thirds to Size Your Stems
How do you keep a bouquet from looking like it’s either drowning in its container or floating away from it? You’ll solve this with the Rule of Thirds, a simple proportion system that transforms your stem sizing from guesswork into precision.
Here’s how you’ll apply it:
- Measure your vase height, then multiply by three to find your target overall arrangement height.
- Cut your tallest stems to reach roughly one-third to two-thirds above the rim, creating that balanced 1:2 or 1:3 ratio.
- Layer shorter fillers below to fill remaining space without overcrowding.
- Adjust slightly for curved shapes or heavy blooms, keeping the framework flexible.
For a 25 cm vase, you’re aiming near 75 cm total. This prevents spindly, top-heavy disasters and grounds your composition beautifully.
Place Focal Blooms First, Rotating for Balance
Where do you actually start when you’re staring at a pile of stems and an empty vase? Grab your focal blooms, the largest flowers you’ve got, and place them first. These heavy hitters anchor your whole design, so position them where they’ll draw the eye immediately.
Don’t just set and forget; rotation is your secret weapon. Spin that vase as you work, checking every angle to catch lopsided spots before they harden into mistakes. You’re building balance through movement, trimming stems at slight angles so each focal bloom locks into place with purpose.
Layer some greenery underneath first, giving those stars a proper stage. Step back often, turn the vase again, and adjust until no single view feels crowded or empty.
Add Texture With Fillers and Smaller Flowers
Once your focal blooms have claimed their spots, you’re ready to bring in the supporting cast that transforms a basic bunch into something magazine-worthy. You’ll add texture and depth by weaving in fillers and smaller flowers that fill gaps and create interesting texture throughout your arrangement.
Here’s how to layer effectively:
Layering is the secret to transforming scattered flowers into a cohesive, professional-level arrangement that feels abundant and intentional.
- Start with base greenery like eucalyptus or ferns to establish shape and fullness
- Tuck in fillers such as lisianthus or poms to build volume and dimension
- Add wax flowers for subtle citrus scent and delicate texture between larger blooms
- Finish with spray roses and smaller flowers, distributing them evenly to prevent lopsided clustering
Use your hand as a guide to check balance as you work. This layering approach ensures no awkward empty spaces remain, giving your arrangement that professional, abundant look you’re after.
Distribute Colors Evenly for Visual Harmony
Why let your gorgeous blooms fight for attention on one lonely side of the vase? You’ll achieve true visual harmony by spreading colors and flower types evenly rather than clustering similar blooms together.
Start by placing larger focal flowers first, then intersperse mid-size fillers to stagger colors throughout your design. Use your hand as a guide to maintain even distribution, adjusting stems until no single hue dominates any section. You’ll want to balance neutrals and accents carefully so every angle delivers the same pleasing effect.
Rotate the vase as you work, reworking any lopsided spots immediately. This color balance ensures your arrangement looks professionally designed from all viewpoints, not just the front. With practice, you’ll instinctively spot uneven patches and fix them before stepping back to admire your creation.
Refresh Water and Trim Stems to Extend Life
You’ve balanced your colors and built a gorgeous arrangement, now let’s keep it alive. Smart vase care means staying ahead of wilting. Every couple of days, you’ll change the water and trim stems to keep things fresh. Here’s your routine:
- Dump old water and rinse the vase to clear bacteria buildup
- Trim stems at a 45-degree angle so they drink better, no flat bottoms suctioning to the glass
- Strip any leaves below the waterline, they’ll rot fast and foul your water
- For woody stems like roses, add a short vertical cut after the angle for extra absorption
Use room-temperature water with flower food. Your blooms will open gradually and stick around longer. Skip these steps and you’ll watch your work fade fast.