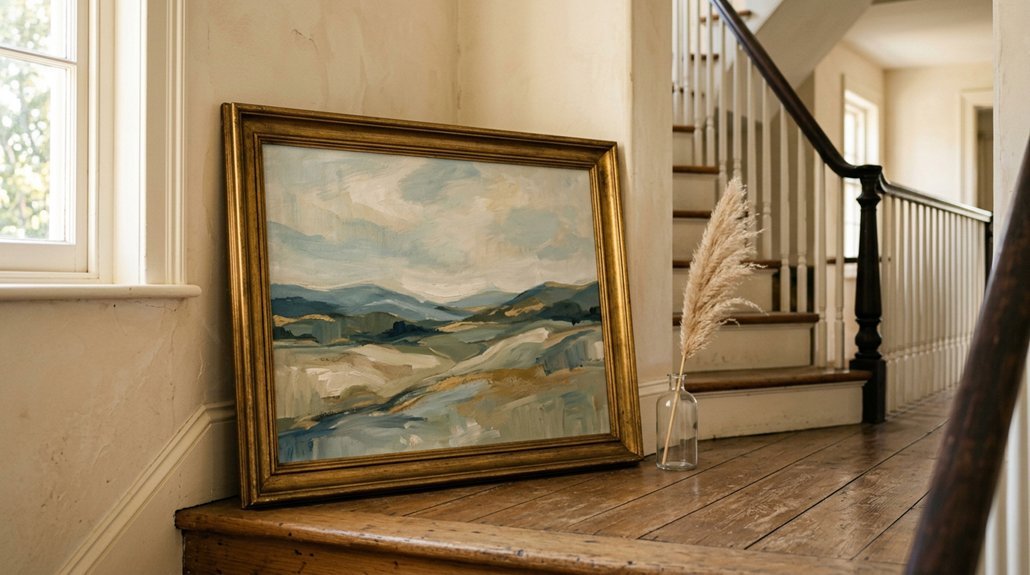
You’ve got that awkward stairwell wall staring at you, and you’re not sure where to start. Most people eyeball it and end up with crooked frames or holes they regret. But there’s a smarter way to tackle this tricky space, and it starts with one simple trick that saves your walls from unnecessary damage. You’ll want to stick around for that.
Mark Your Stairwell Angle Before You Pick Up a Hammer
How do you keep a gallery wall from looking like a chaotic mess when your wall itself won’t stay still? You map the stair pitch first, that’s how. Grab some painters tape and follow the slope, don’t fight it. Run a visual stair line parallel to your handrail, this becomes your backbone for every decision ahead.
Mark anchor points every few feet, and establish an eye-level centerline about 57–60 inches from the treads, this gives your staircase gallery a consistent midpoint that feels natural as you climb. Check your sightlines from both landings before committing, what reads balanced from below might look off from above. Respect handrail clearance and any sconces, your wall art placement needs to work with the architecture, not against it.
Recommended Products

Hook Applicable Sizes: these adjustable picture hangers for gallery rail are designed with a hole diameter of 0.14 inch, compatible and suitable for steel or nylon cables with a diameter of 0.04 - 0.08 inch; They provide a snug fit without damaging your cables while maintaining the overall balance of your artwork

For a single suspension point. Includes all installation hardware
Choose Art Sizes That Work From Both Floors
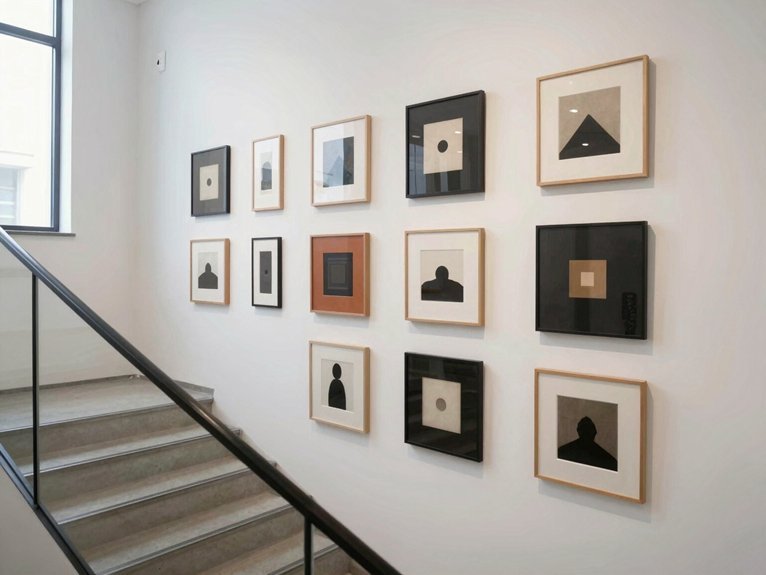
Why does a gallery wall fall apart when you view it from upstairs? You’re seeing broken sightlines and mismatched art sizes that looked fine from below but collapse from above. Fix this by planning your staircase gallery wall for dual perspectives.
Apply the two-thirds rule: your grouping should span about two-thirds of each visible wall segment. This keeps proportions grounded whether you’re climbing or descending. Maintain tight frame spacing, just 2–3 inches, so your stairwell hanging feels connected, not scattered.
At landings, anchor with your largest artwork, then taper smaller pieces upward or downward. This creates a visual pause and natural rhythm. Mix 8×10 frames with smaller ones in a stair-step pattern to build a balanced grid across levels.
Always verify sightlines from both floors before committing. Adjust until the composition holds together from every angle.
Recommended Products

BUILT-IN BUBBLE LEVEL: Highly visible bubble vials let you check level on picture frames, mirrors, and wall art in one glance, so your decor hangs straight on the wall

【3-in-1 Hanging Tool for Daily Use】This angle measuring level ruler combines a measuring ruler, built-in bubble level, and magnetic nail holder in one compact tool. It helps with marking, aligning, and hanging frames or wall decor more easily during everyday home decorating projects.

PICTURE PERFECT LEVEL: Keep ready to customize your picture frame with Johnson's picture-perfect level. This lightweight and easy to use too is versatile enough to save a spot in handymen's tool kit.
Preview Your Layout With Paper Cutouts (Save Your Walls)
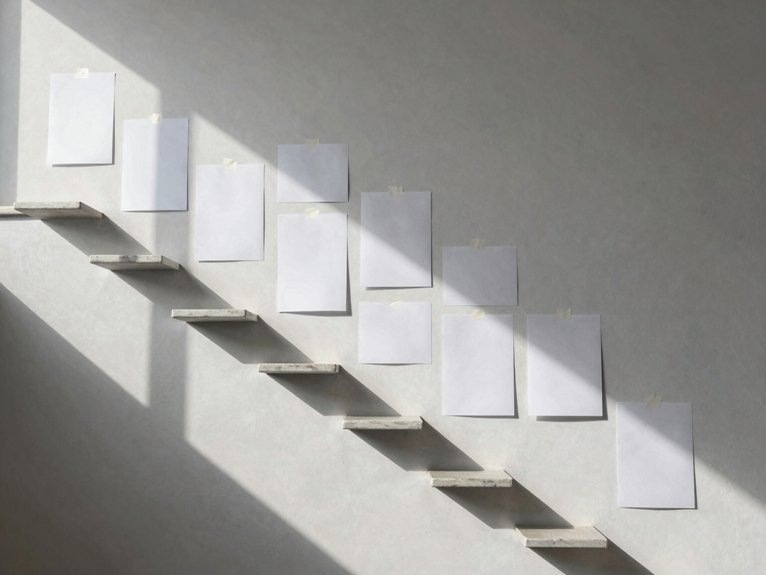
Once you’ve nailed down your sizes and sightlines, it’s time to stop guessing where nails go. Grab some kraft paper and trace every piece of wall art you’re hanging. These paper templates let you test drive your gallery wall without committing to a single hole.
Stop guessing where nails go—paper templates let you test drive your gallery wall without committing to a single hole.
Here’s how to nail your layout preview:
- Cut kraft paper to match each frame size, then tape them loosely to your staircase wall
- Adjust until you hit 2–3 inches between pieces for proper spacing guidance
- Mark vertical hanger points on each template where hardware will sit
- Build one large paper template representing your full gallery wall, snap a photo for reference, then transfer marks to guide installation
This simple step prevents extra wall holes and gives you confidence before you hammer.
Recommended Products

TOUGHER ladder leveler is made of high-quality alloy steel, which is firm and durable. The ladder foot is removable and replaceable, made of natural rubber, which maximizes the friction between the ladder and the ground, anti-skid and wear-resistant.

Heavy-Duty Support: With a 380-pound load capacity, this leveler offers stable, non-slip performance. Designed for precise angles of 26°±1° and 77°±1°, it handles slopes, indoor steps, wooden or grassy surfaces, and rooftops with ease.
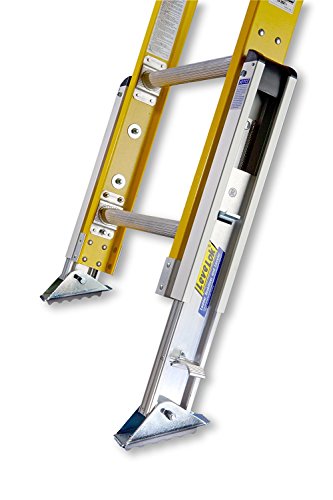
Installs on most aluminum and fiberglass, extension, combination and articulating ladders, rated up to 375 pounds.
Check Your Wall Type and Weight Limits Early
Before you even think about where that first nail goes, you’ve got to know what you’re working with, because your wall type decides everything about how you hang. Grab your stud finder and scan for studs; if you’ve got drywall without stud access, you’ll need heavy-duty toggles or anchors rated well above your piece’s actual weight.
Don’t guess your weight limits: check your hanging system specs and add up everything, frame, glass, mat included. If you’re clustering multiple pieces, calculate total load distribution so your wall won’t bow or creep over time.
Mark anchor points with a level, pre-drill into studs when possible, and use wood screws for solid holds. Skip cheap plastic anchors; they fail, and you’ll regret it.
Recommended Products

❗❗❗ PLEASE NOTE! Connect the HOOK side to the LOOP side. Do NOT connect hook to hook or loop to loop - they will not stick together.

Heavy-Duty Support: Each pack includes 40 strips (20 pairs) of adhesive strips, allowing you to hang pictures on wall without nails, with four pairs holding up to 16 lbs for frames up to 24 x 36 inches

【Heavy Duty Wall Adhesive Strip】: MERDTTES Picture hanging kit includes 40 pieces (20 pairs) Velcro self-adhesive wall strips. Compared to other picture hanger strips, we have larger size: 2*10cm for each. The wider and longer Power Velcro adhesive provides 20 pounds of pull per 6 pairs. Large-size hanging strips can be freely cropped according to the size of your photo frame.
Hang From the Center Out, 2–3 Inches Apart
Where do you even begin when a staircase wall stretches above you like a blank canvas waiting to fight back? You start at the midwall anchor, the visual center of your staircase gallery, and build outward.
- Find your starting point by marking eyelevel centers at 57–60 inches from the treads.
- Create your centerout layout with painter’s tape testing before you drill anything.
- Maintain gallery spacing of 2–3 inches between pieces for clean wall spacing.
- Align large staircase art to follow the vertical rhythm parallel to your handrail.
This approach lets you step back from both landings and see symmetry that flows with the stairs. No more crooked surprises, no awkward gaps. Your eye travels naturally from piece to piece, creating a staircase gallery that actually works with the architecture instead of fighting it.
Recommended Products

Mr. Pen picture hanging kit contains 220Pcs of accessories including wires, hooks, nails and other hardware components packaged in a hard, safe box for easy storage.

TIMELESS PICTURE FRAMES: Our frames are meticulously constructed using natural oak wood, known for its timelessness and durability. The slim profile of these frames effortlessly blends into any interior decor, adding a contemporary touch. The clean lines and sleek design make these picture frame a perfect choice for those seeking a stylish, understated display solution.

TIMELESS PICTURE FRAMES: Our frames are meticulously constructed using natural oak wood, known for its timelessness and durability. The slim profile of these frames effortlessly blends into any interior decor, adding a contemporary touch. The clean lines and sleek design make these picture frame a perfect choice for those seeking a stylish, understated display solution.