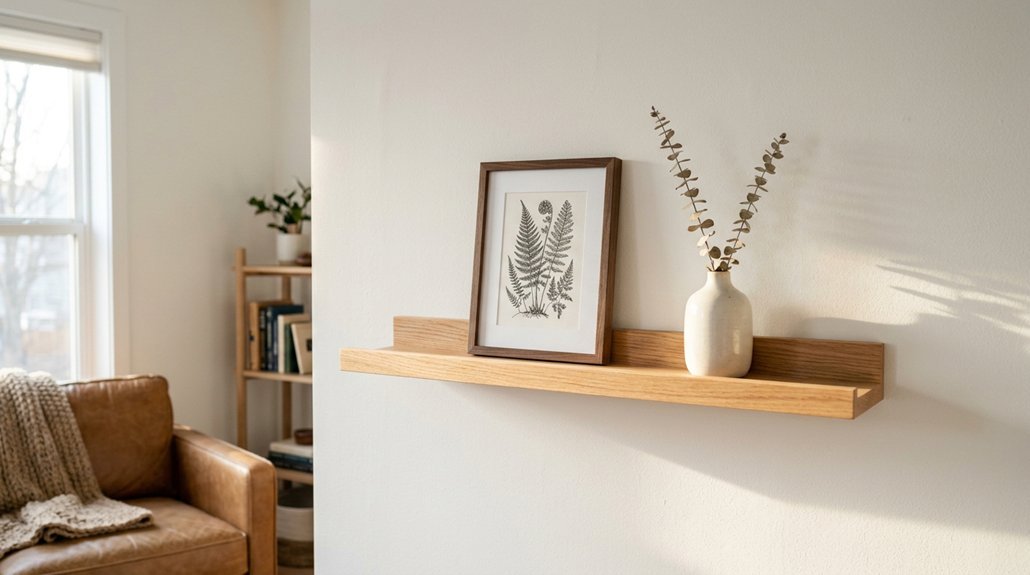
You want to make your rental feel like home, but your landlord’s strict no-nails policy leaves you staring at blank walls. You’re not stuck with bare drywall: eight proven methods let you hang art securely without losing your security deposit.
Some options work better for heavy frames, others for posters or temporary displays, and a few will surprise you with their versatility. The trick is matching the right product to your specific piece, wall type, and how long you plan to stay put.
Before you grab the first adhesive strip you see, you need to know which solutions actually hold up and which ones will send your artwork crashing at 2 a.m.
Hang Pictures With Adhesive Strips and Hooks
Why wrestle with drills and spackle when adhesive strips let you hang art in minutes? You’ll find these products transform wall decorating into a quick, commitment-free task. Clean your wall surface thoroughly, then apply the adhesive strips and wait for them to set before hanging your frame.
Command Large Hanging Strips support impressive weights when you match the strip count to your frame size. Don’t push the limits, though; distribute weight across multiple strips if you’re uncertain. Grab scissors to trim strips precisely, preventing gaps that weaken the hold. When it’s time to move, quality strips peel away cleanly without residue, protecting your security deposit. This method suits lightweight frames well, offering renters flexibility without permanent marks.
Mount Frames With Velcro Strips for Adjustable Holds
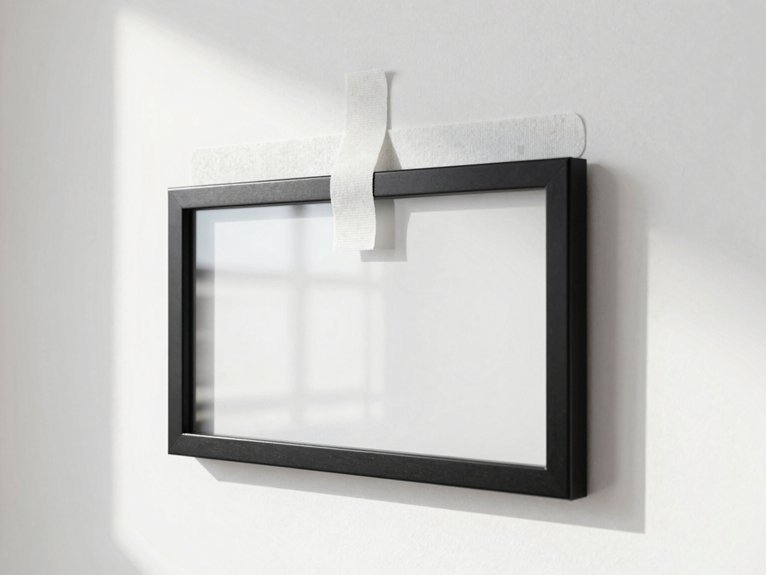
Velcro strips give you the freedom to tweak your gallery wall on a whim without committing to a single nail hole, and most brands promise clean removal that won’t scar your paint or leave you explaining damage to your landlord. You’ll need to check the weight rating carefully though, because exceeding the limit means watching your frame crash at 2 a.m., and lighter pieces with slim mats work far better than chunky canvases.
Pick strips rated for your frame’s actual heft, prep both surfaces so they’re bone-dry and dust-free, and follow the removal instructions precisely when it’s time to relocate.
Reposition With Ease
One of the most frustrating parts of decorating is committing to a spot, then realizing three days later that your frame is crooked or the lighting hits it wrong. Velcro strips solve this headache completely. You attach strips to both your frame and wall, then adjust until everything looks right. No nail holes, no do-overs.
Check weight ratings carefully, your frame plus glass adds up fast. For heavier pieces, pair Velcro with a slim hook or rail to share the load. Always test adhesion in a hidden corner first, and let the adhesive cure fully before trusting it with your artwork. You’ll gain flexibility without sacrificing security, good for renters who rearrange constantly or want another shot at getting things straight.
Clean Removal Promise
How exactly do you get your security deposit back when every nail hole threatens your wallet? You choose Velcro strips, the renter’s secret weapon for damage-free mounting.
You’ll love how Velcro strips peel away, leaving no residue on most walls when you follow the rules. Prep your surface first, wipe it down, and match the strip’s weight rating to your frame. Press firmly, wait an hour, then hang. When your style changes, you reposition without starting over.
The real magic happens at move-out. You grasp the strip’s base and pull slowly, parallel to the wall. No patches, no paint tears, no landlord headaches. You’ve kept your walls pristine and your deposit intact. That’s the clean removal promise you can actually trust.
Weight Capacity Matters
Getting those strips off cleanly means nothing if your frame crashes down at 2 a.m. because you ignored the numbers on the package. Velcro strips give you wiggle room for repositioning, but that flexibility only works when you’ve sized them right.
Check your frame’s total weight: glass, backing, everything. Then grab Velcro strips rated for more than that number, not less. Never cheap out here.
Spread the load. Use multiple strips per frame, following the manufacturer’s count recommendations. One strip holding ten pounds sounds fine until humidity hits.
Before you stick anything, clean that wall surface. Dust kills adhesion. Press firmly, then wait the full cure time.
When it’s time to move, pull slow and low, keeping that 90-degree angle. Peel gently if paint fights back.
Use Wall Putty for Lightweight Posters and Prints
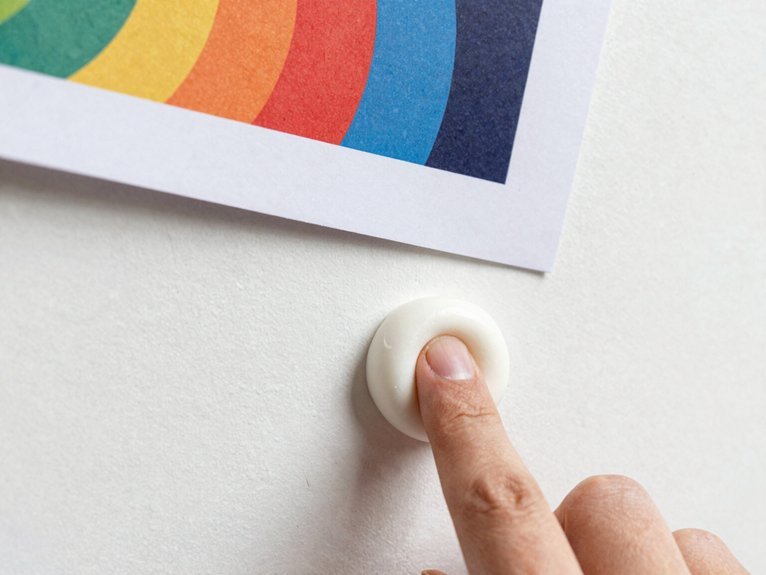
Why wrestle with a hammer and nails when you’ve got a blob of sticky stuff that actually works? Wall putty, also called sticky tack, handles lightweight posters and prints without leaving holes or significant residue when you peel carefully.
You apply small dots or strips behind each corner and center edge to distribute weight evenly. This prevents sagging corners and keeps your art flat against the surface.
When it’s time to move, you gently twist and roll the poster while pulling the putty away from the wall. This technique minimizes paint lift better than yanking straight off.
If stubborn residue remains, you clean it with mild soap and water or a gentle adhesive remover. Always test cleaners on a hidden spot first. Wall putty gives you flexibility without commitment, suited for temporary displays or people who rearrange constantly.
Lean Art Against Walls and Furniture
Where’s the rule that says art must hang anyway? You can create a noticeable gallery feel without nails by simply leaning large frames against walls on sturdy furniture like a TV console, entry table, or sideboard. This approach keeps your walls pristine while adding depth and drawing the eye across any room.
You’ll want to vary heights and orientations to balance the display and guide attention naturally across your arrangement. Stability matters, so place non-slip mats or felt pads beneath each piece to prevent sliding or accidental knocks. For extra safety, pair heavier frames with lightweight items like films, posters, or kids’ drawings that won’t cause damage if something shifts.
You’re building a flexible, layered look that moves when you do, suited for renters who want good looks without commitment.
Display Pieces on Floating Shelves and Mantles
You’ll maximize your display options by mounting floating shelves with damage-free adhesive brackets that hold frames securely when you respect weight limits. Prop pieces on sturdy consoles or mantles to build layered arrangements without touching your walls with a single nail.
Vary your heights and orientations across multiple shelves, keeping heavier items low and balanced so nothing tips or wobbles.
Floating Shelf Displays
How do you show off your favorite prints when hammering a single nail feels like a commitment you can’t make? You grab floating shelves and skip the damage entirely.
Floating shelves mount with adhesive strips or removable brackets, giving you a sturdy stage for framed art without puncturing drywall. You’ll group three or four pieces together, creating gallery impact while keeping your security deposit safe. Balance weight carefully, heavy frames on the ends, lighter ones center, and never overload.
These shelves add depth and height variation that flat wall hangs can’t match. You swap pieces seasonally, rearrange when bored, or clear the shelf entirely for cleaning. Renters love the flexibility, landlords love the intact walls, and you love the zero-commitment decorating.
Mantle Arrangement Ideas
Why settle for a blank fireplace when your mantle’s already a built-in stage? Lean frames, small sculptures, and layered art directly on the surface to build a cohesive gallery without touching the wall. This approach keeps your security deposit safe.
You’ll create a single focal point by grouping pieces with intention, which means less re-hanging later. Floating shelves above the mantle expand your options, using damage-free adhesive strips instead of drills. Some renters install slim picture rails with removable supports, letting you swap art seasonally.
Combine leaning frames, floating shelves, and removable decals for maximum flexibility. Your landlord sees no holes; you see personality everywhere. It’s reversible decorating that actually looks intentional, not temporary. Your mantle becomes the room’s anchor, no hammer required.
Hang From Existing Picture Rail Molding
One of the smartest ways to hang art without touching your walls is working with picture rail molding that’s already in place. Picture rail molding lets you skip drilling entirely. You’ll use hooks or cords that rest on the rail, keeping your wall surfaces pristine.
You can attach lightweight frames with adhesive strips or small hooks directly to the molding, avoiding any damage below. The rail acts as a built-in stopping point for cables or wires, helping distribute weight evenly along its length.
You’ll like how easy it is to reposition artwork, sliding pieces along the rail without grabbing tools. Just check that your hardware matches the rail’s groove and weight rating so nothing slips or causes damage.
Decorate With Removable Wall Decals
What if you could cover an entire wall in bold, gallery-worthy art without touching a single nail? You can, with removable wall decals. These peel-and-stick graphics transform blank spaces into statement pieces, no drills required.
You’ll find removable wall decals in many patterns, from oversized florals to geometric abstractions. They mimic expensive murals at a fraction of the cost. Clean your wall first, smooth out bubbles as you go, and you’re set. When your lease ends, peel them off cleanly, no spackle needed.
They’re good for high-traffic spots where frames might get knocked around. Mix them with adhesive strips or leaning art for layered, reversible displays. Your security deposit stays safe, and your walls stay pristine.
Skip Wall Mounting: Use Easels and Display Stands
Where else can you show off your favorite pieces if you’re done fighting with walls entirely? You can skip hanging art without nails completely by bringing in easels and display stands instead. These floor-based and tabletop options let you showcase frames, photos, and decor without touching a single wall.
You’ll find sturdy floor-standing easels handle heavy pieces with confidence, while compact tabletop models work well on consoles or shelves. This approach gives you a layered, gallery-style look you can rearrange whenever the mood strikes. No residue, no paint damage, no landlord headaches.
Pair your easel with leaning art or shelf displays for maximum flexibility. You’re preserving wall integrity while building a space you can change easily. For renters who want zero wall commitment, this method delivers complete freedom.